
From the raw wood to the finished guitar we show photos of the building process of a mini Jumbo steel string guitar.
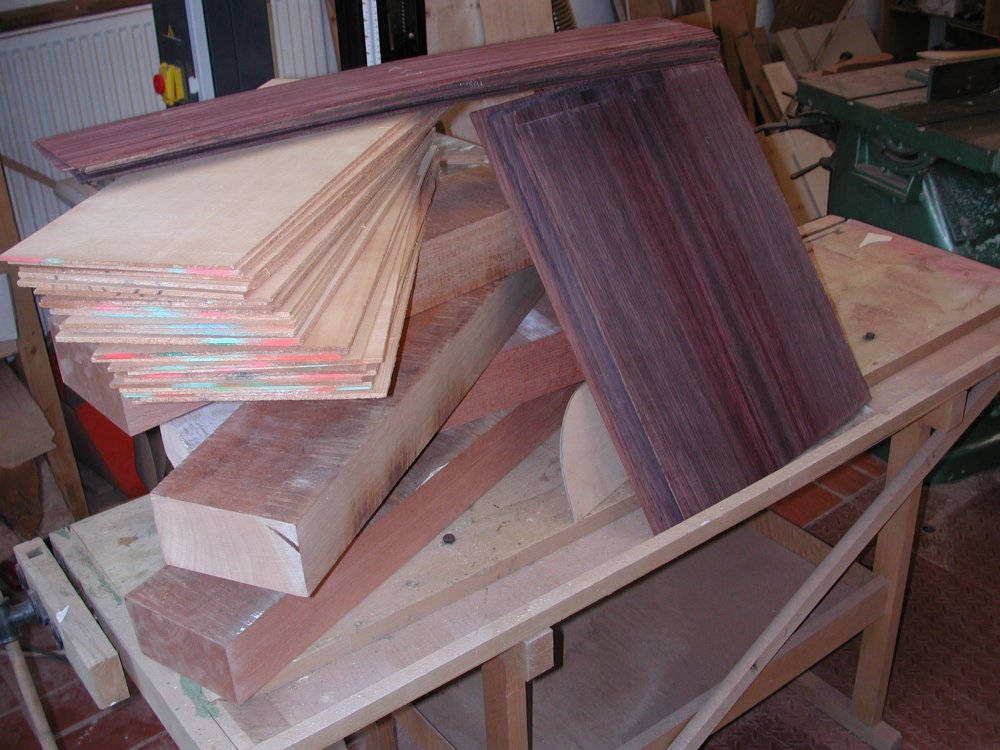
The wood: So unremarkable, almost featureless. And yet from these woods master guitars will be built.
Neck: The necks are cut, the channel for the trussrod is milled
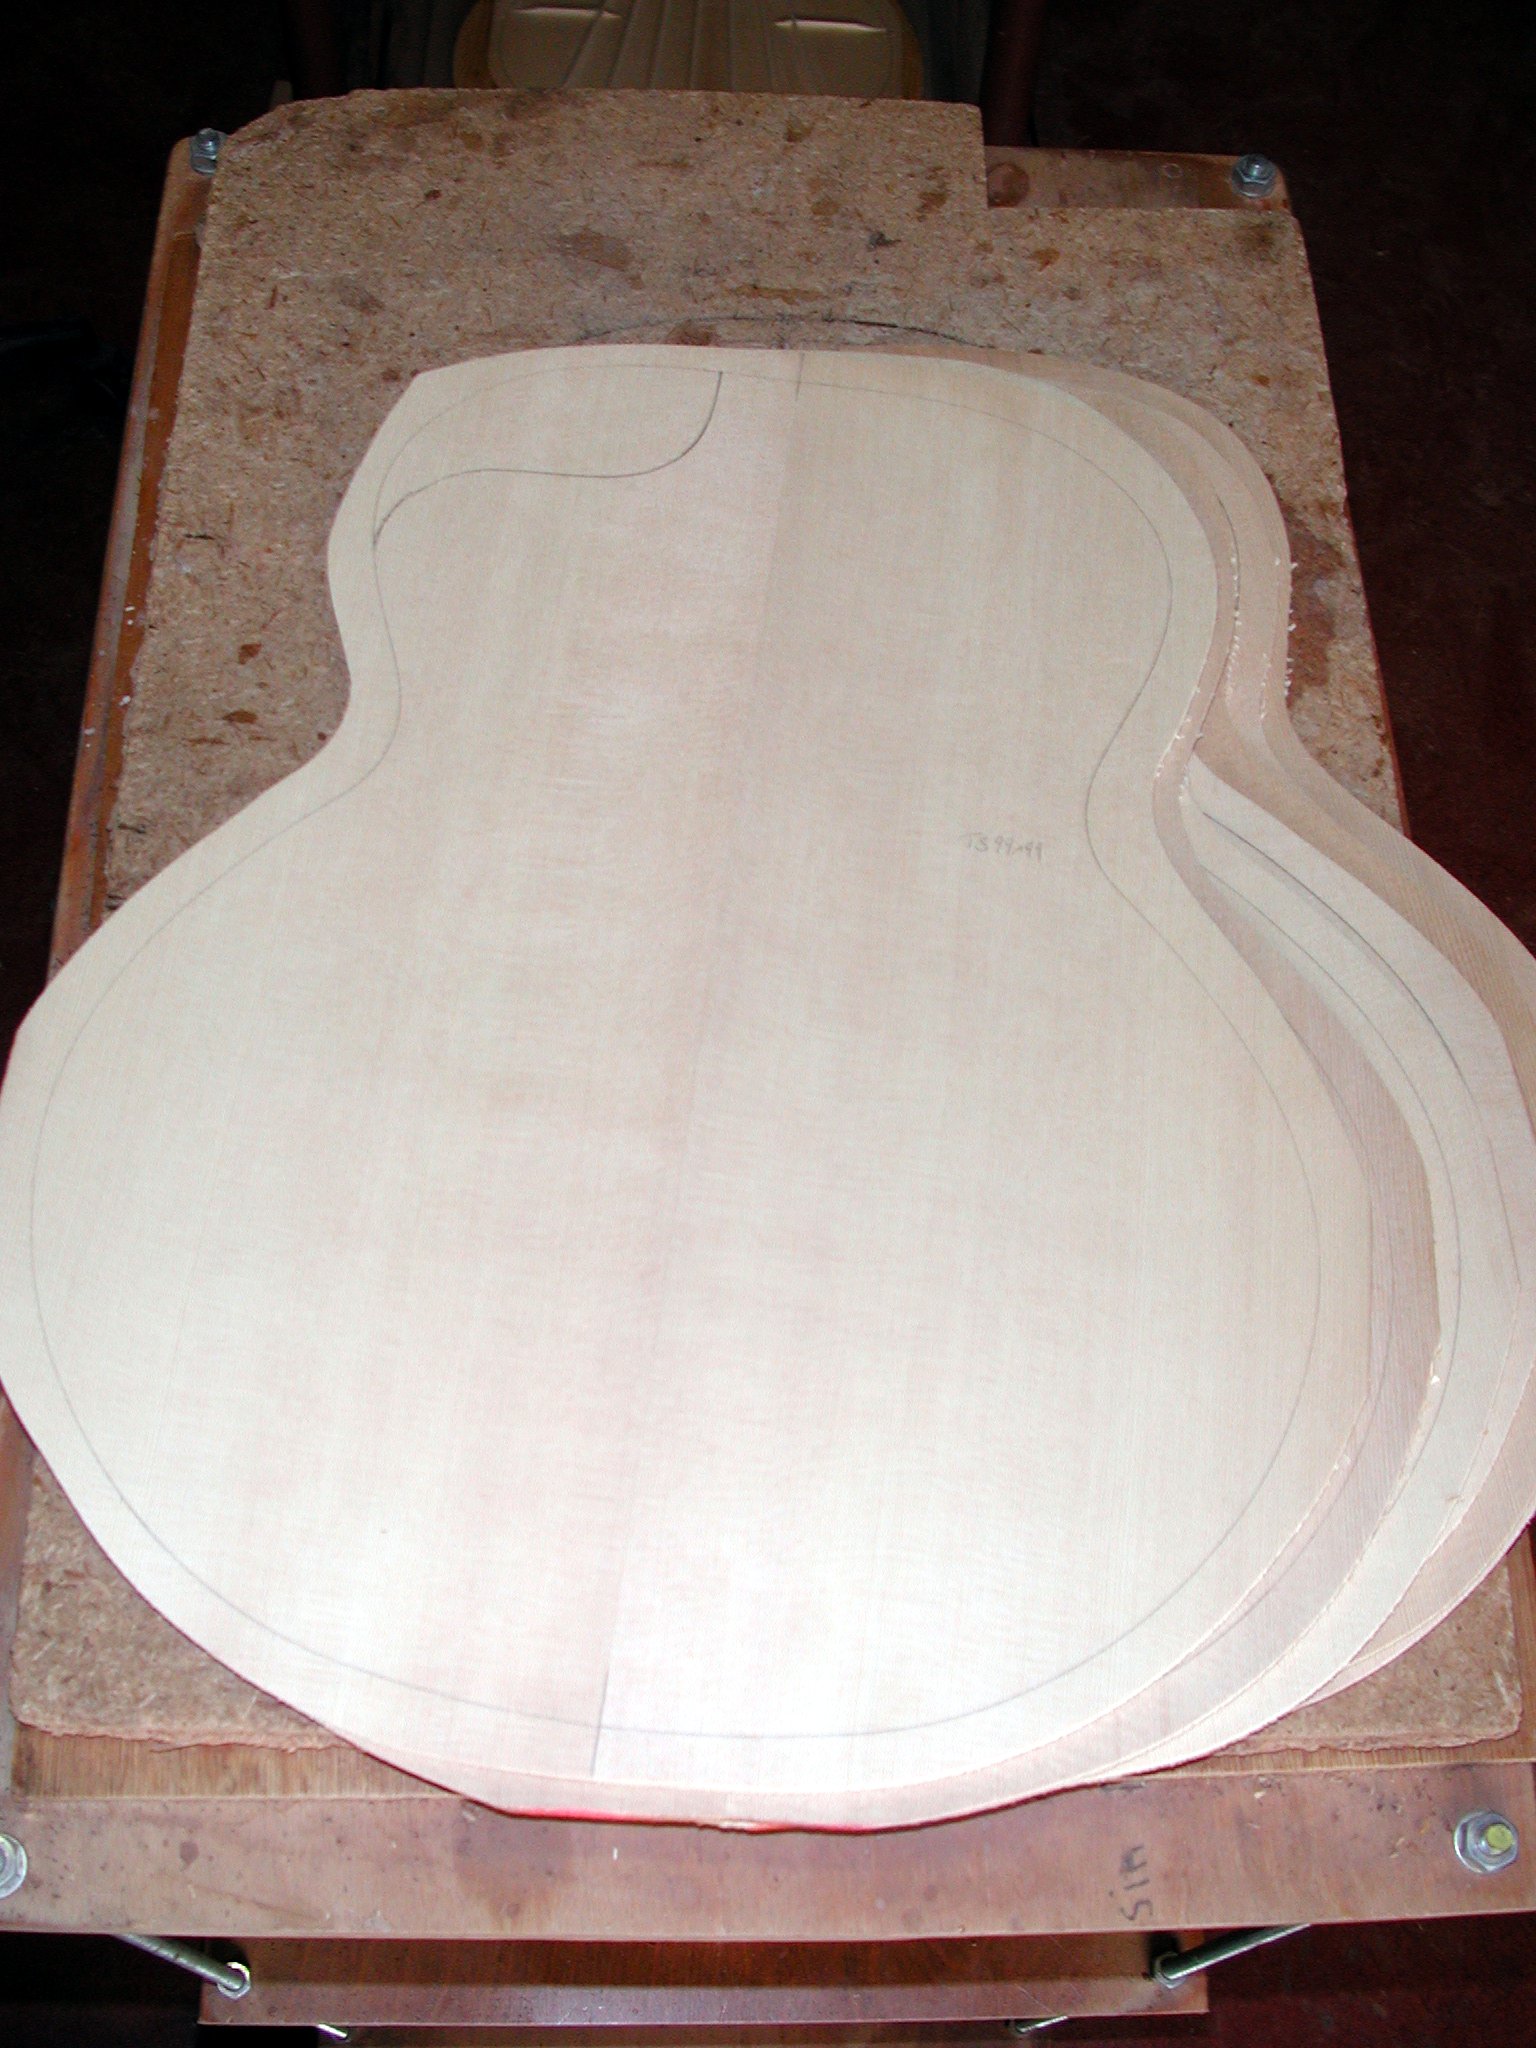
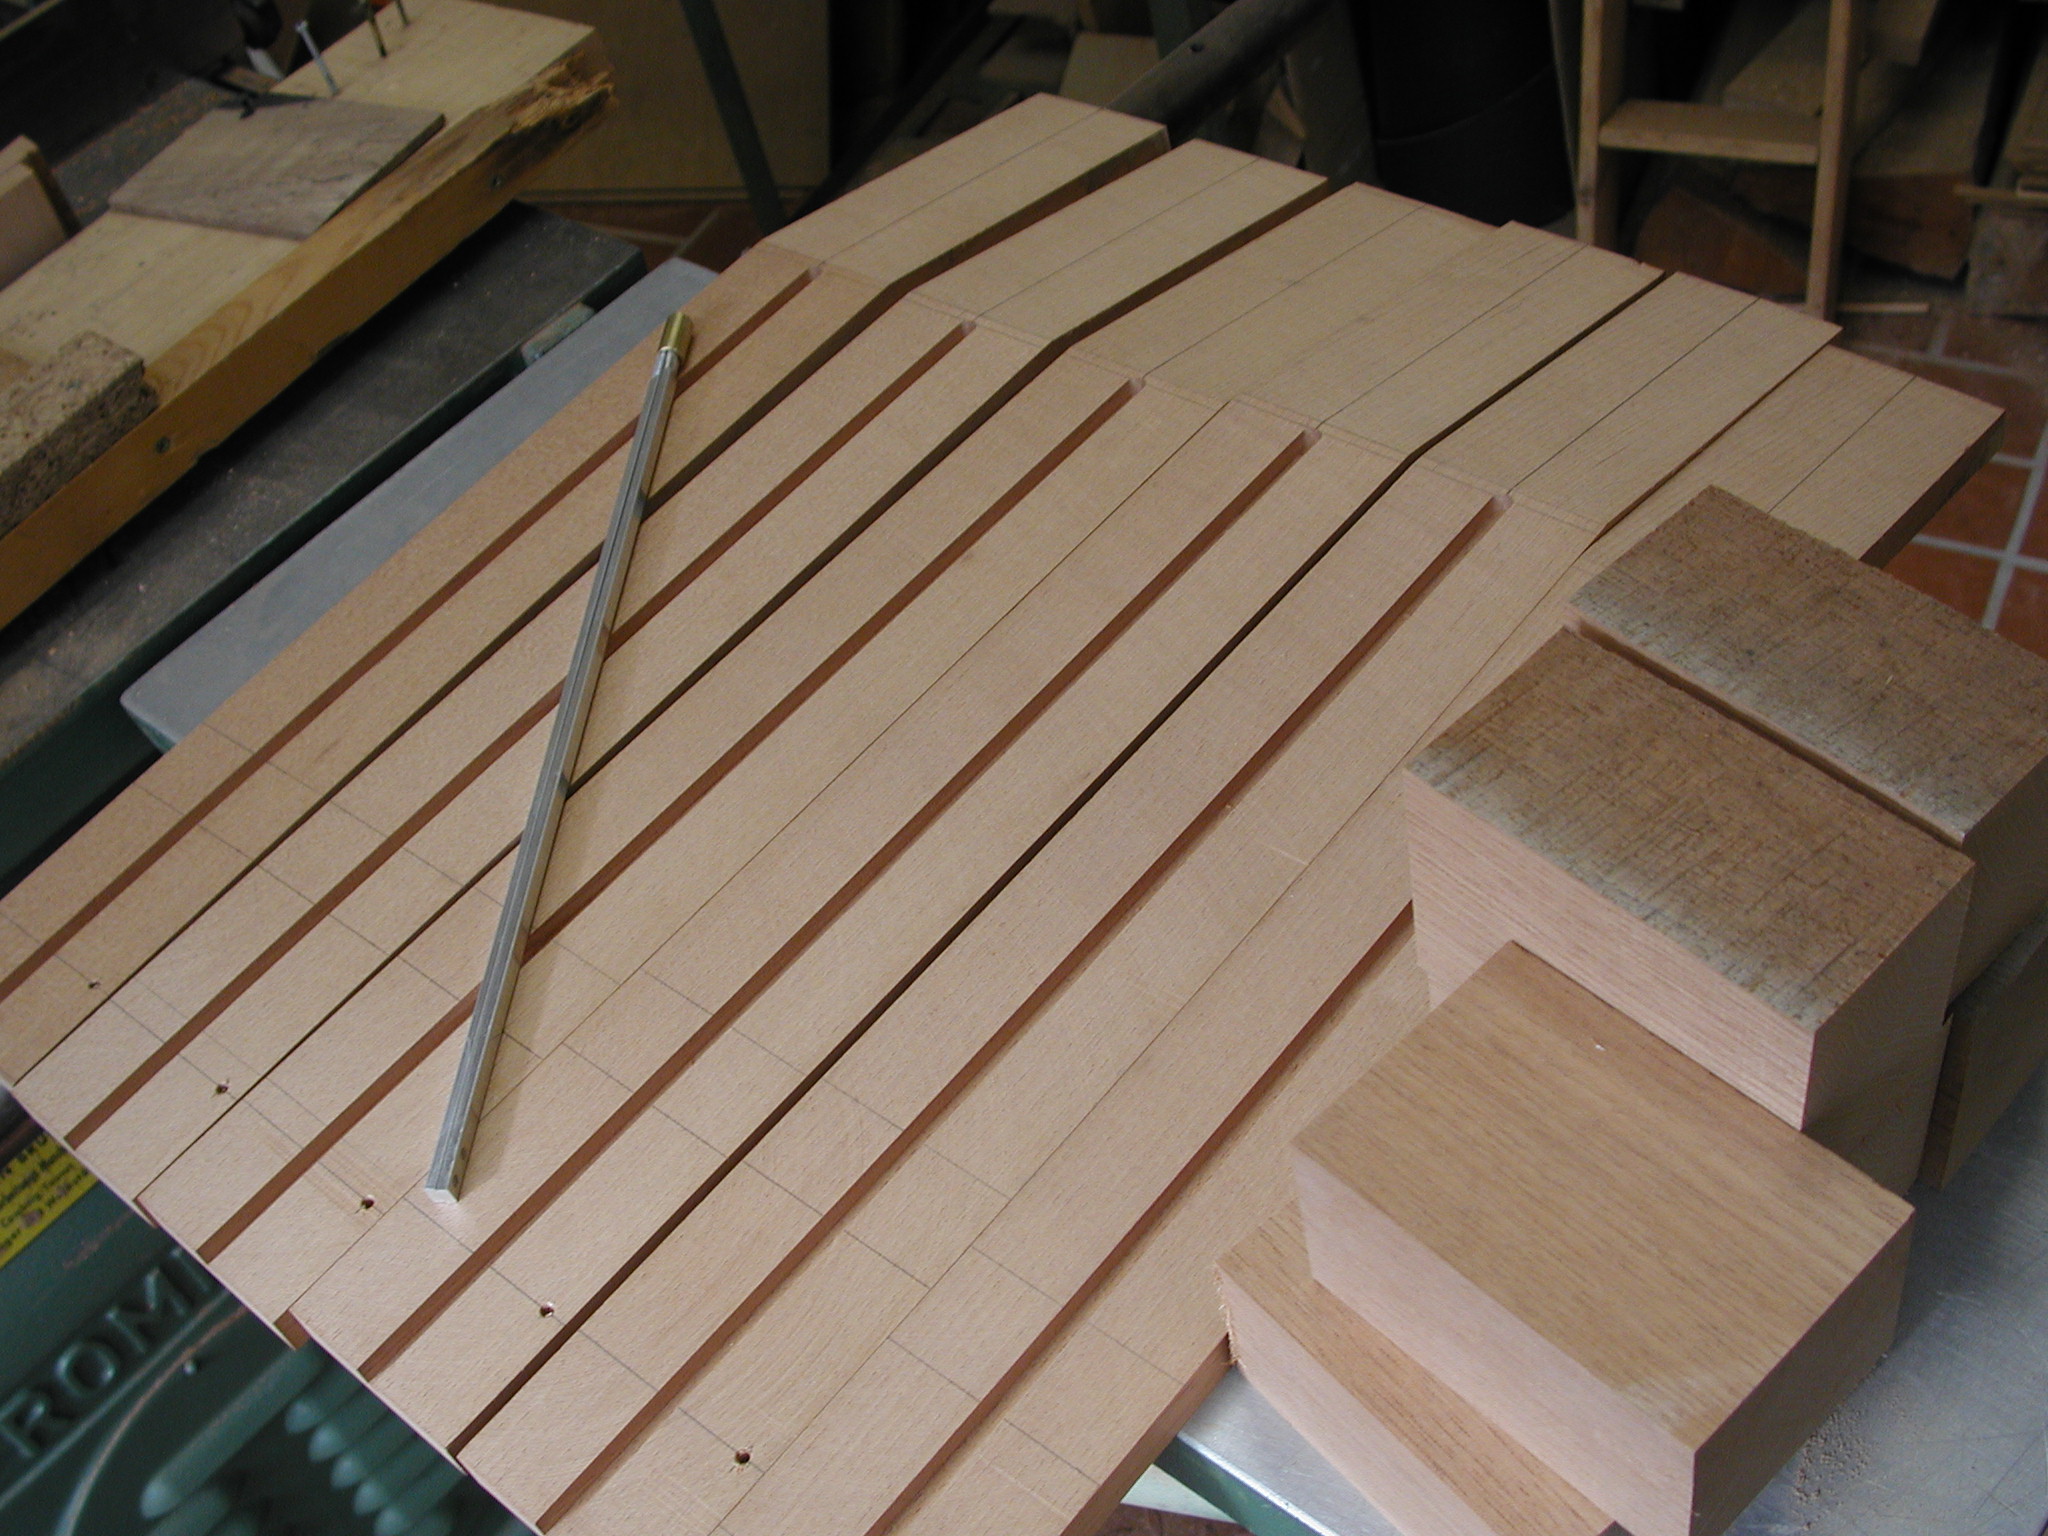
Top: The Sitka tops are cut into a rough shape...
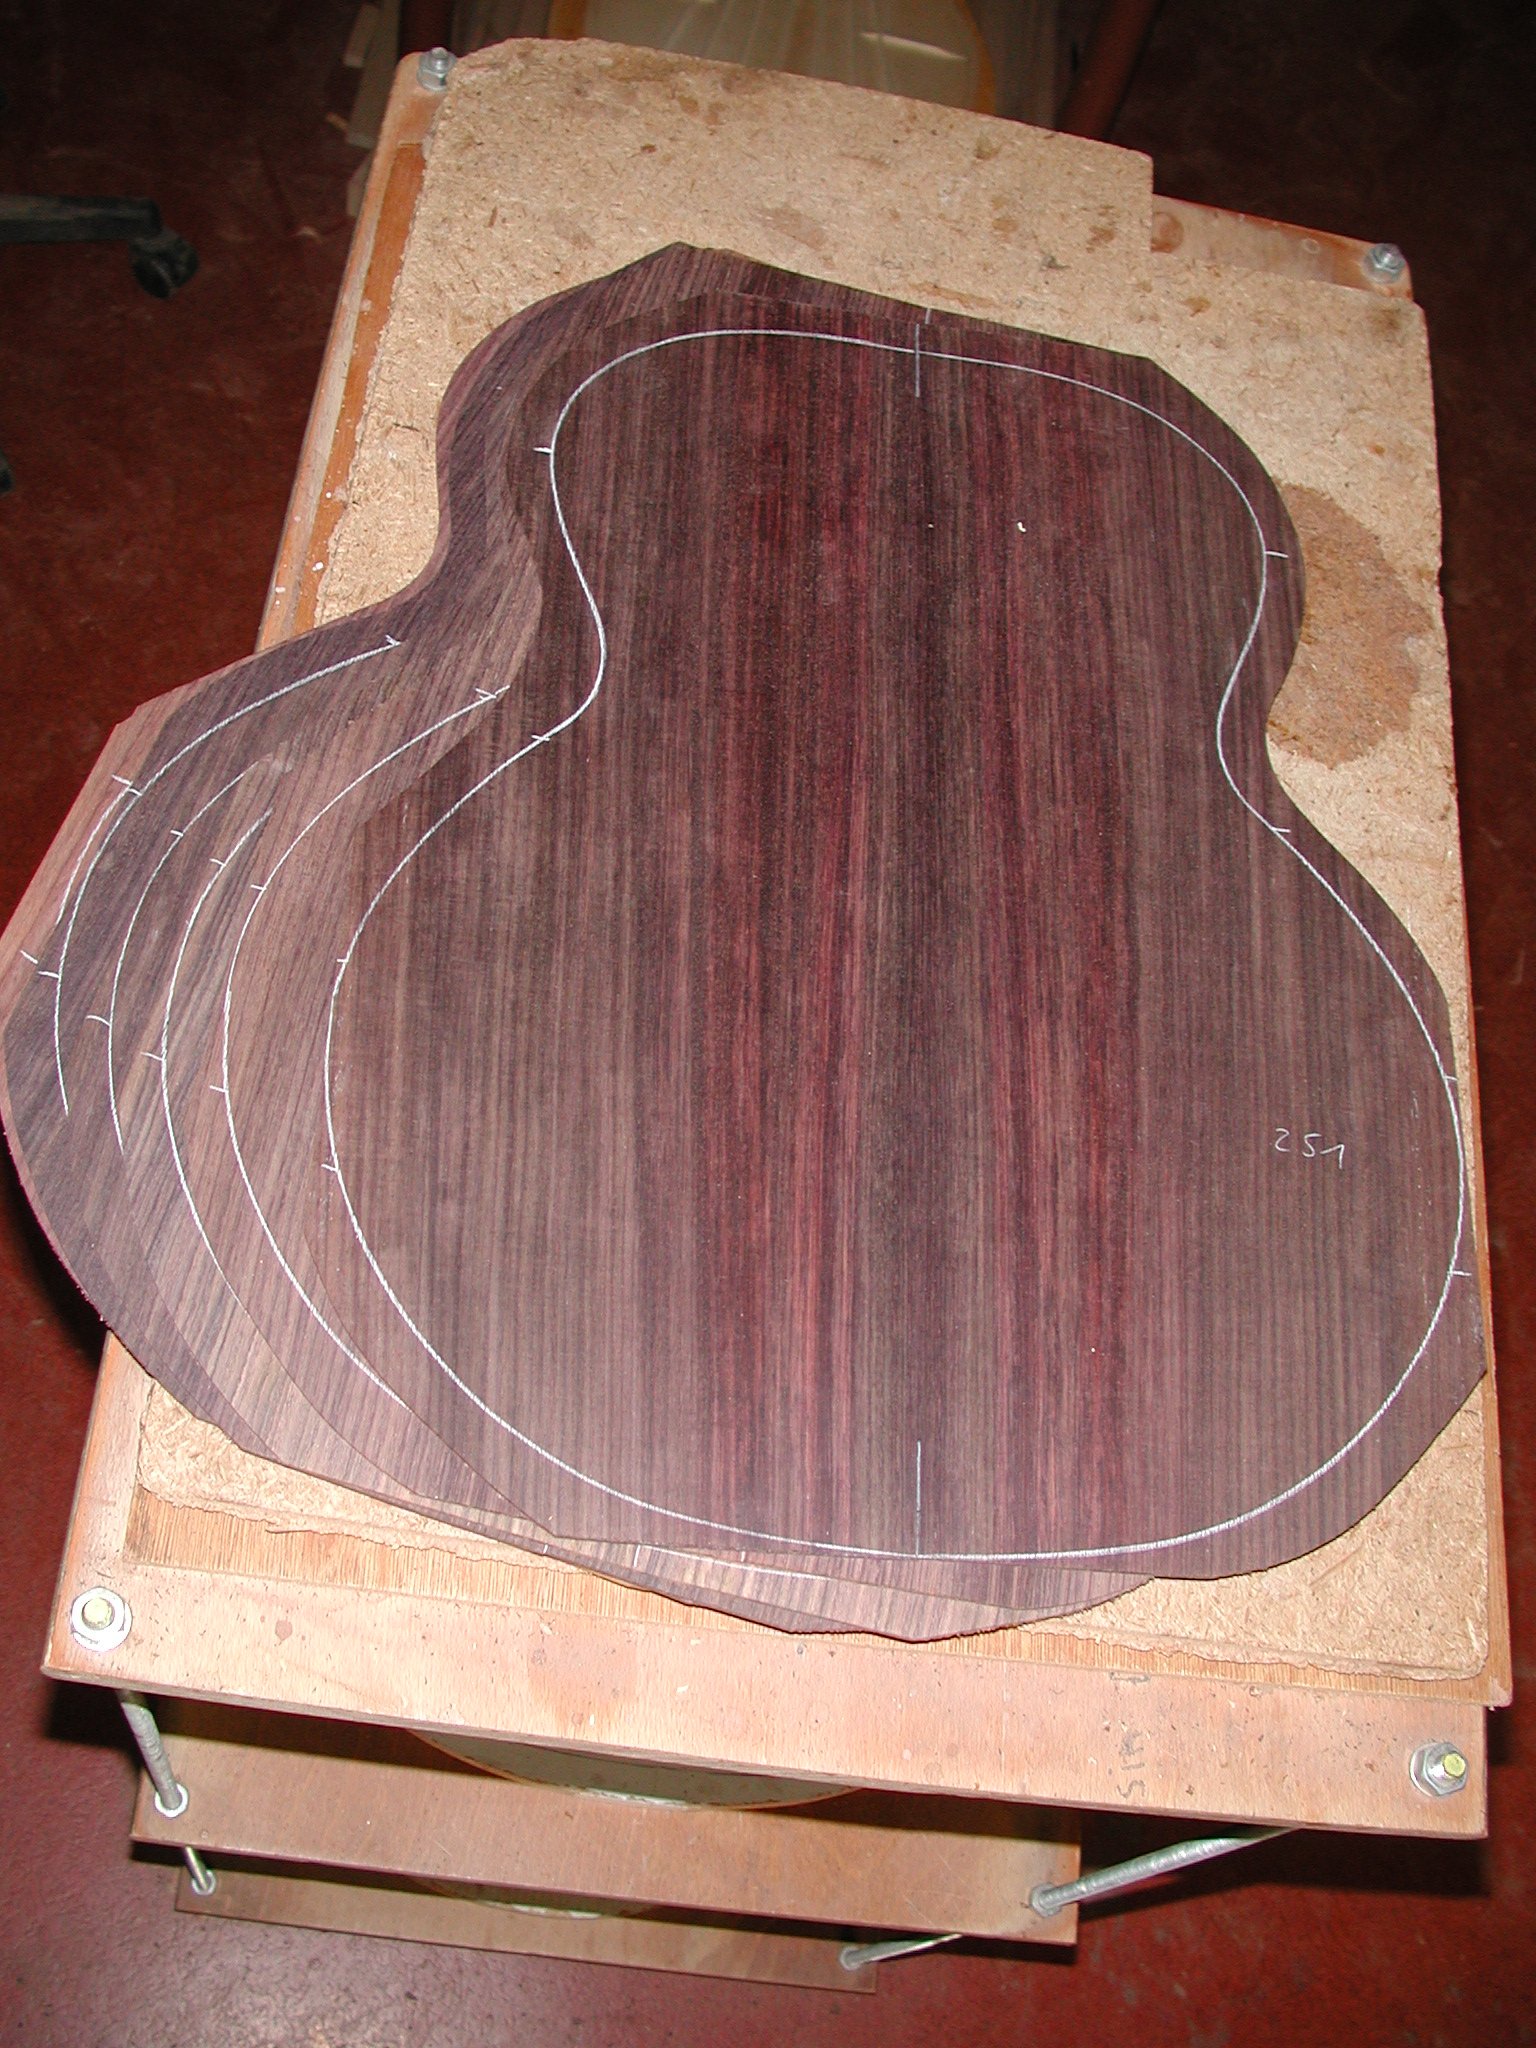
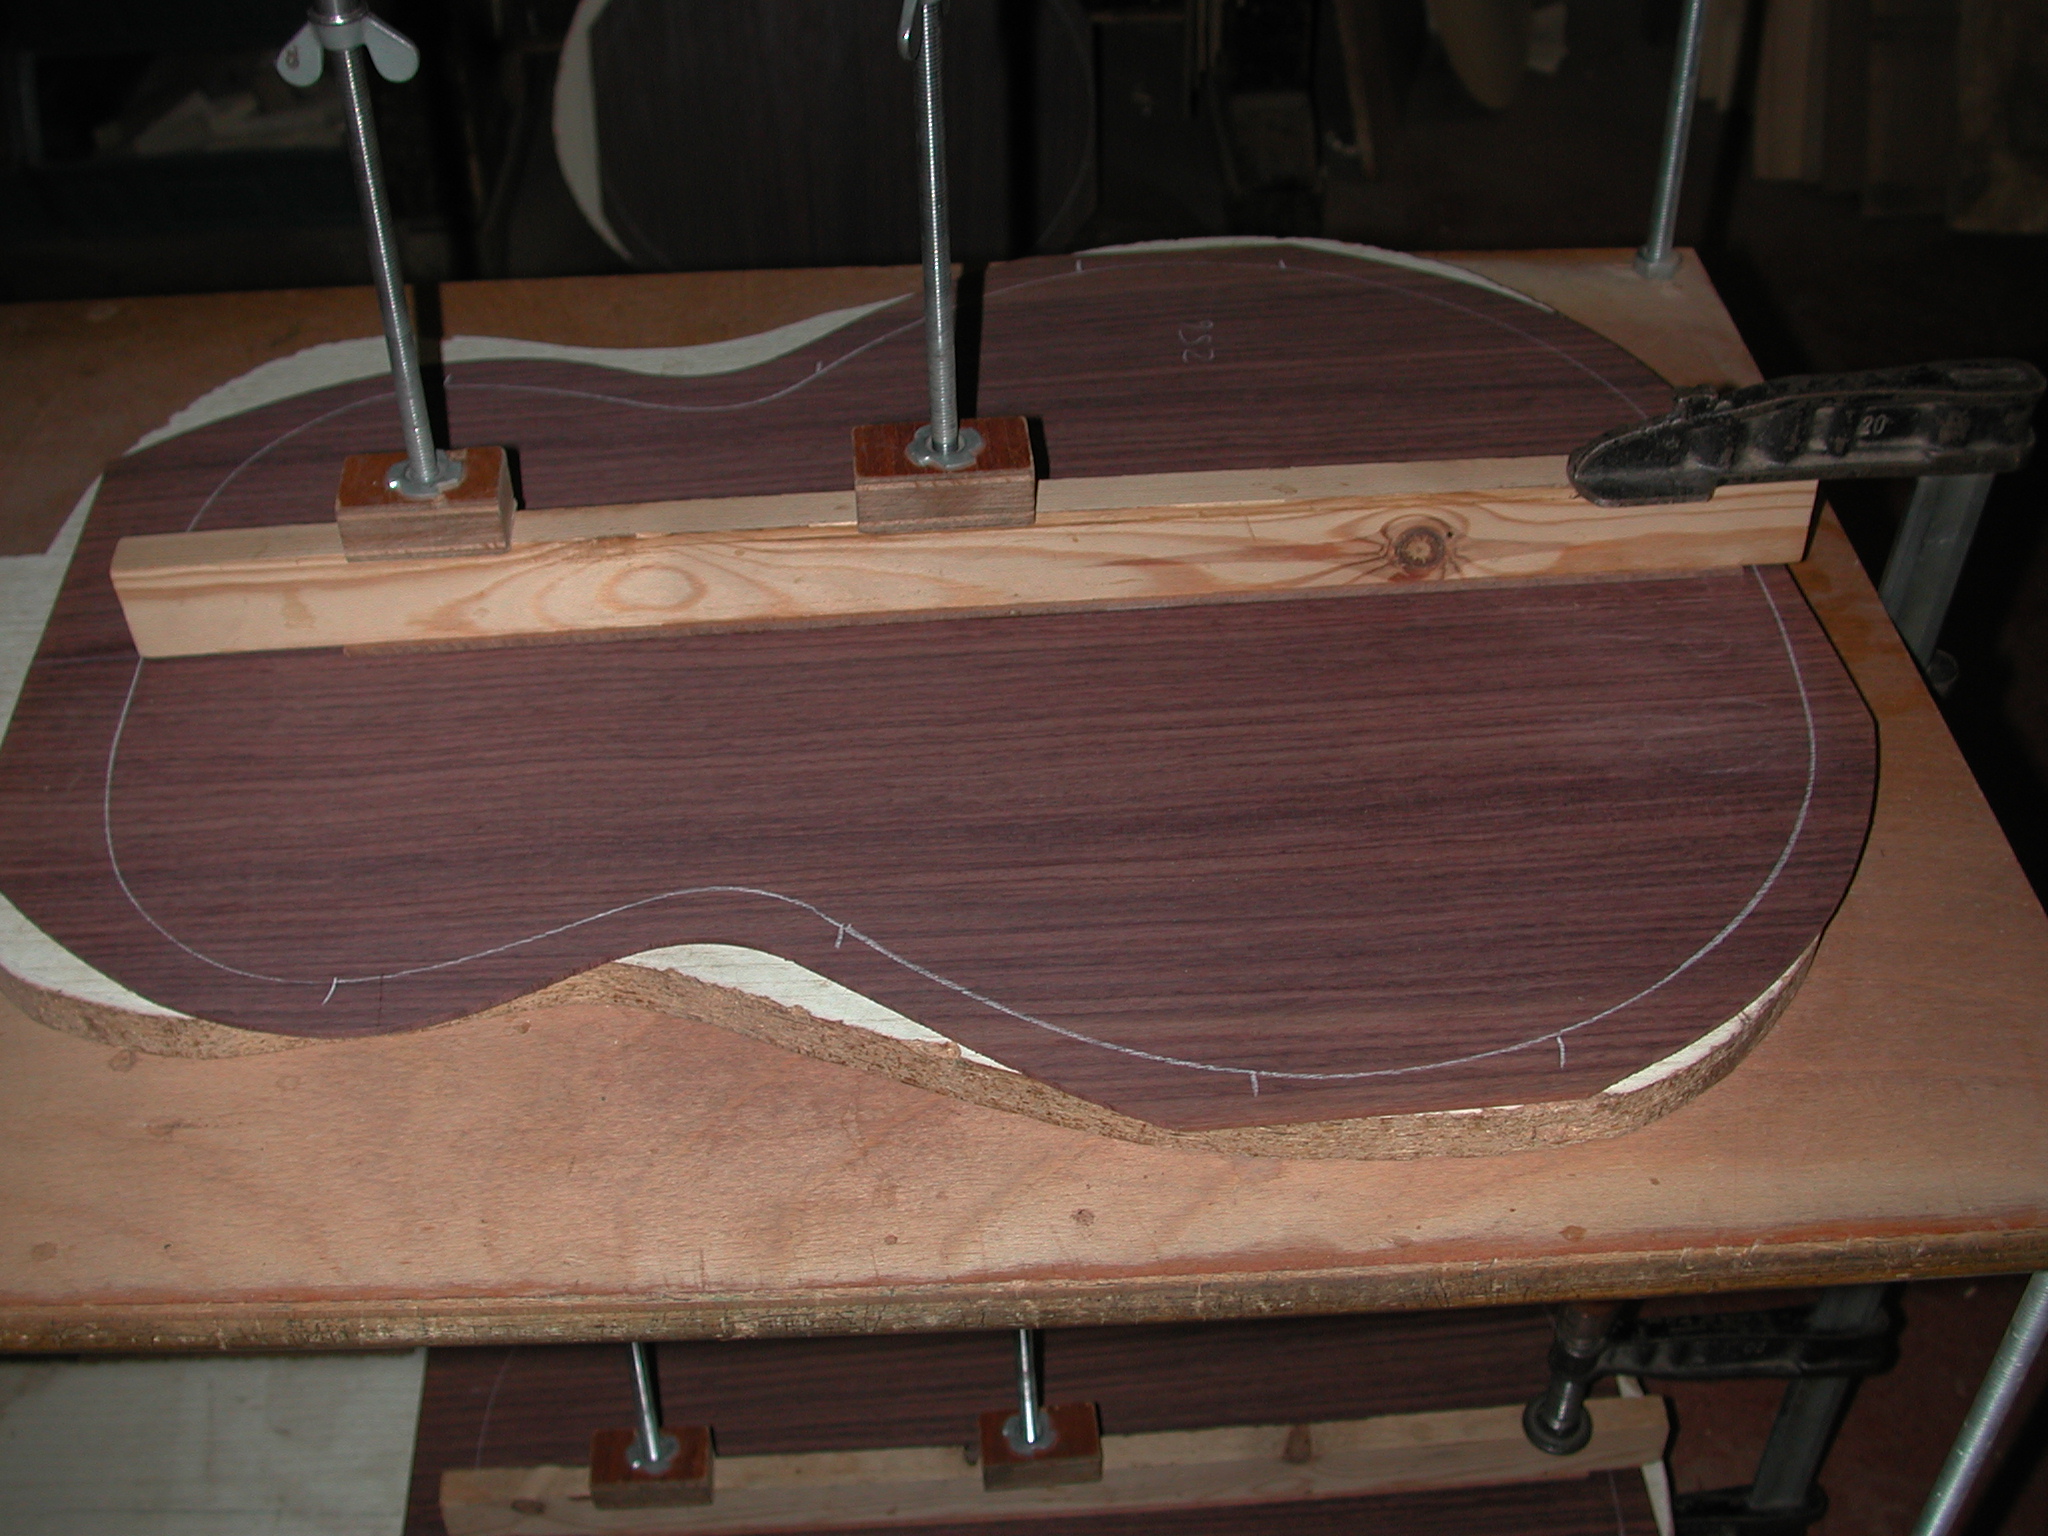
Back: ...just like the Rosewood backs

Neck: The neckwidth is fixed, the ledge for the top is milled
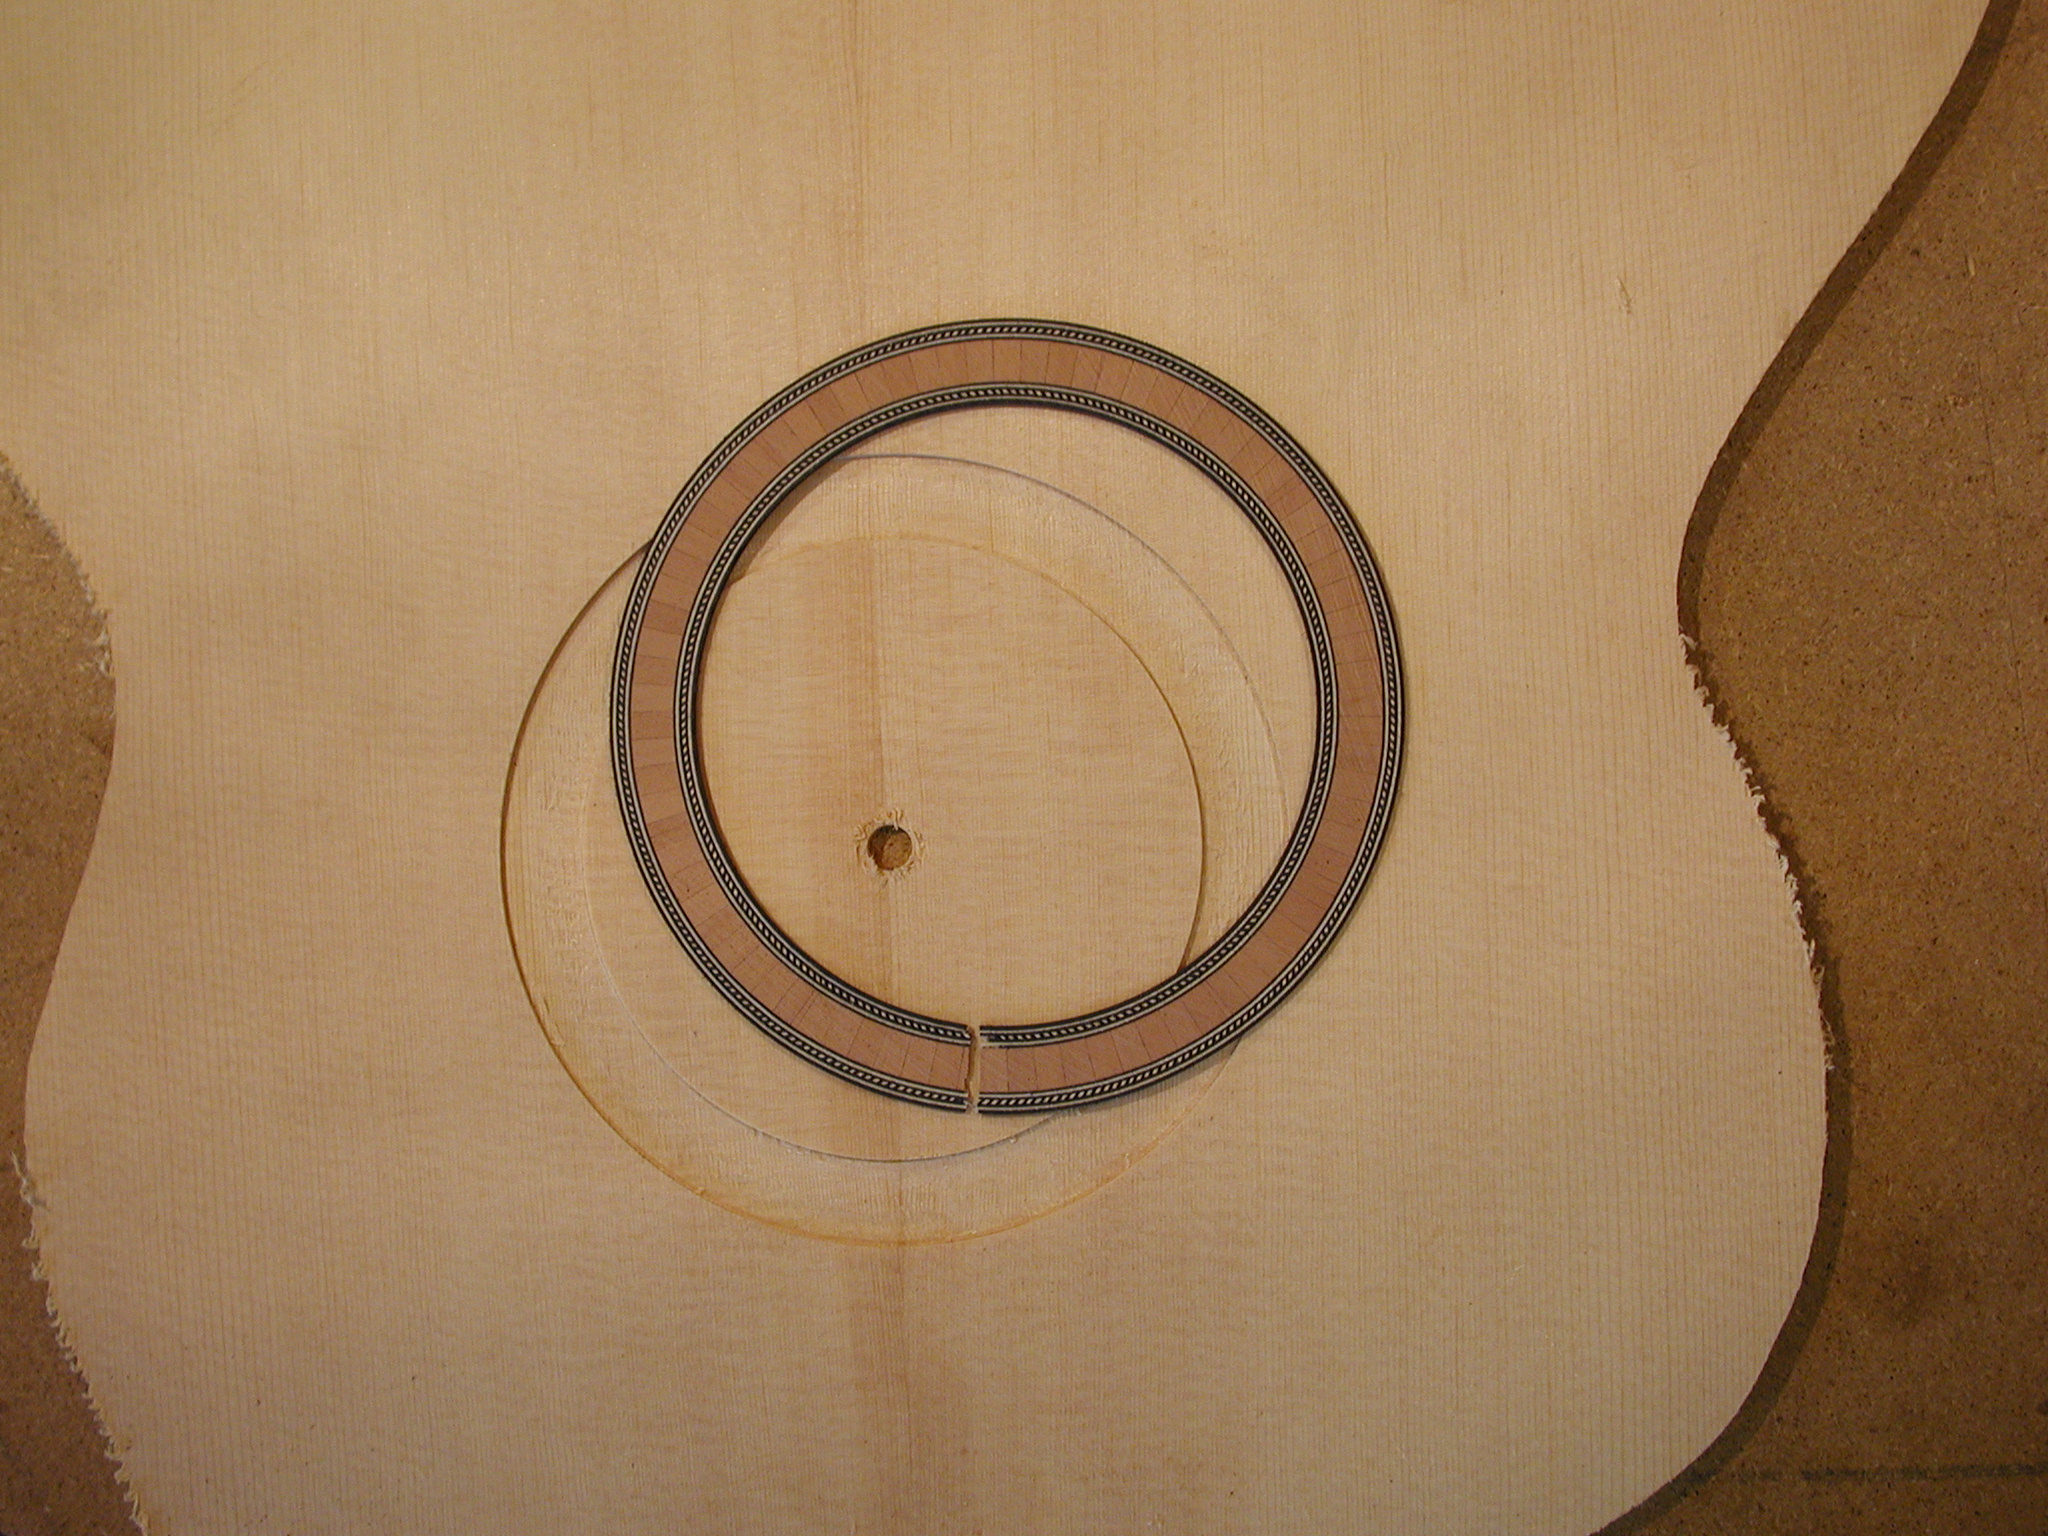
Top: The soundhole rosette is being inserted.
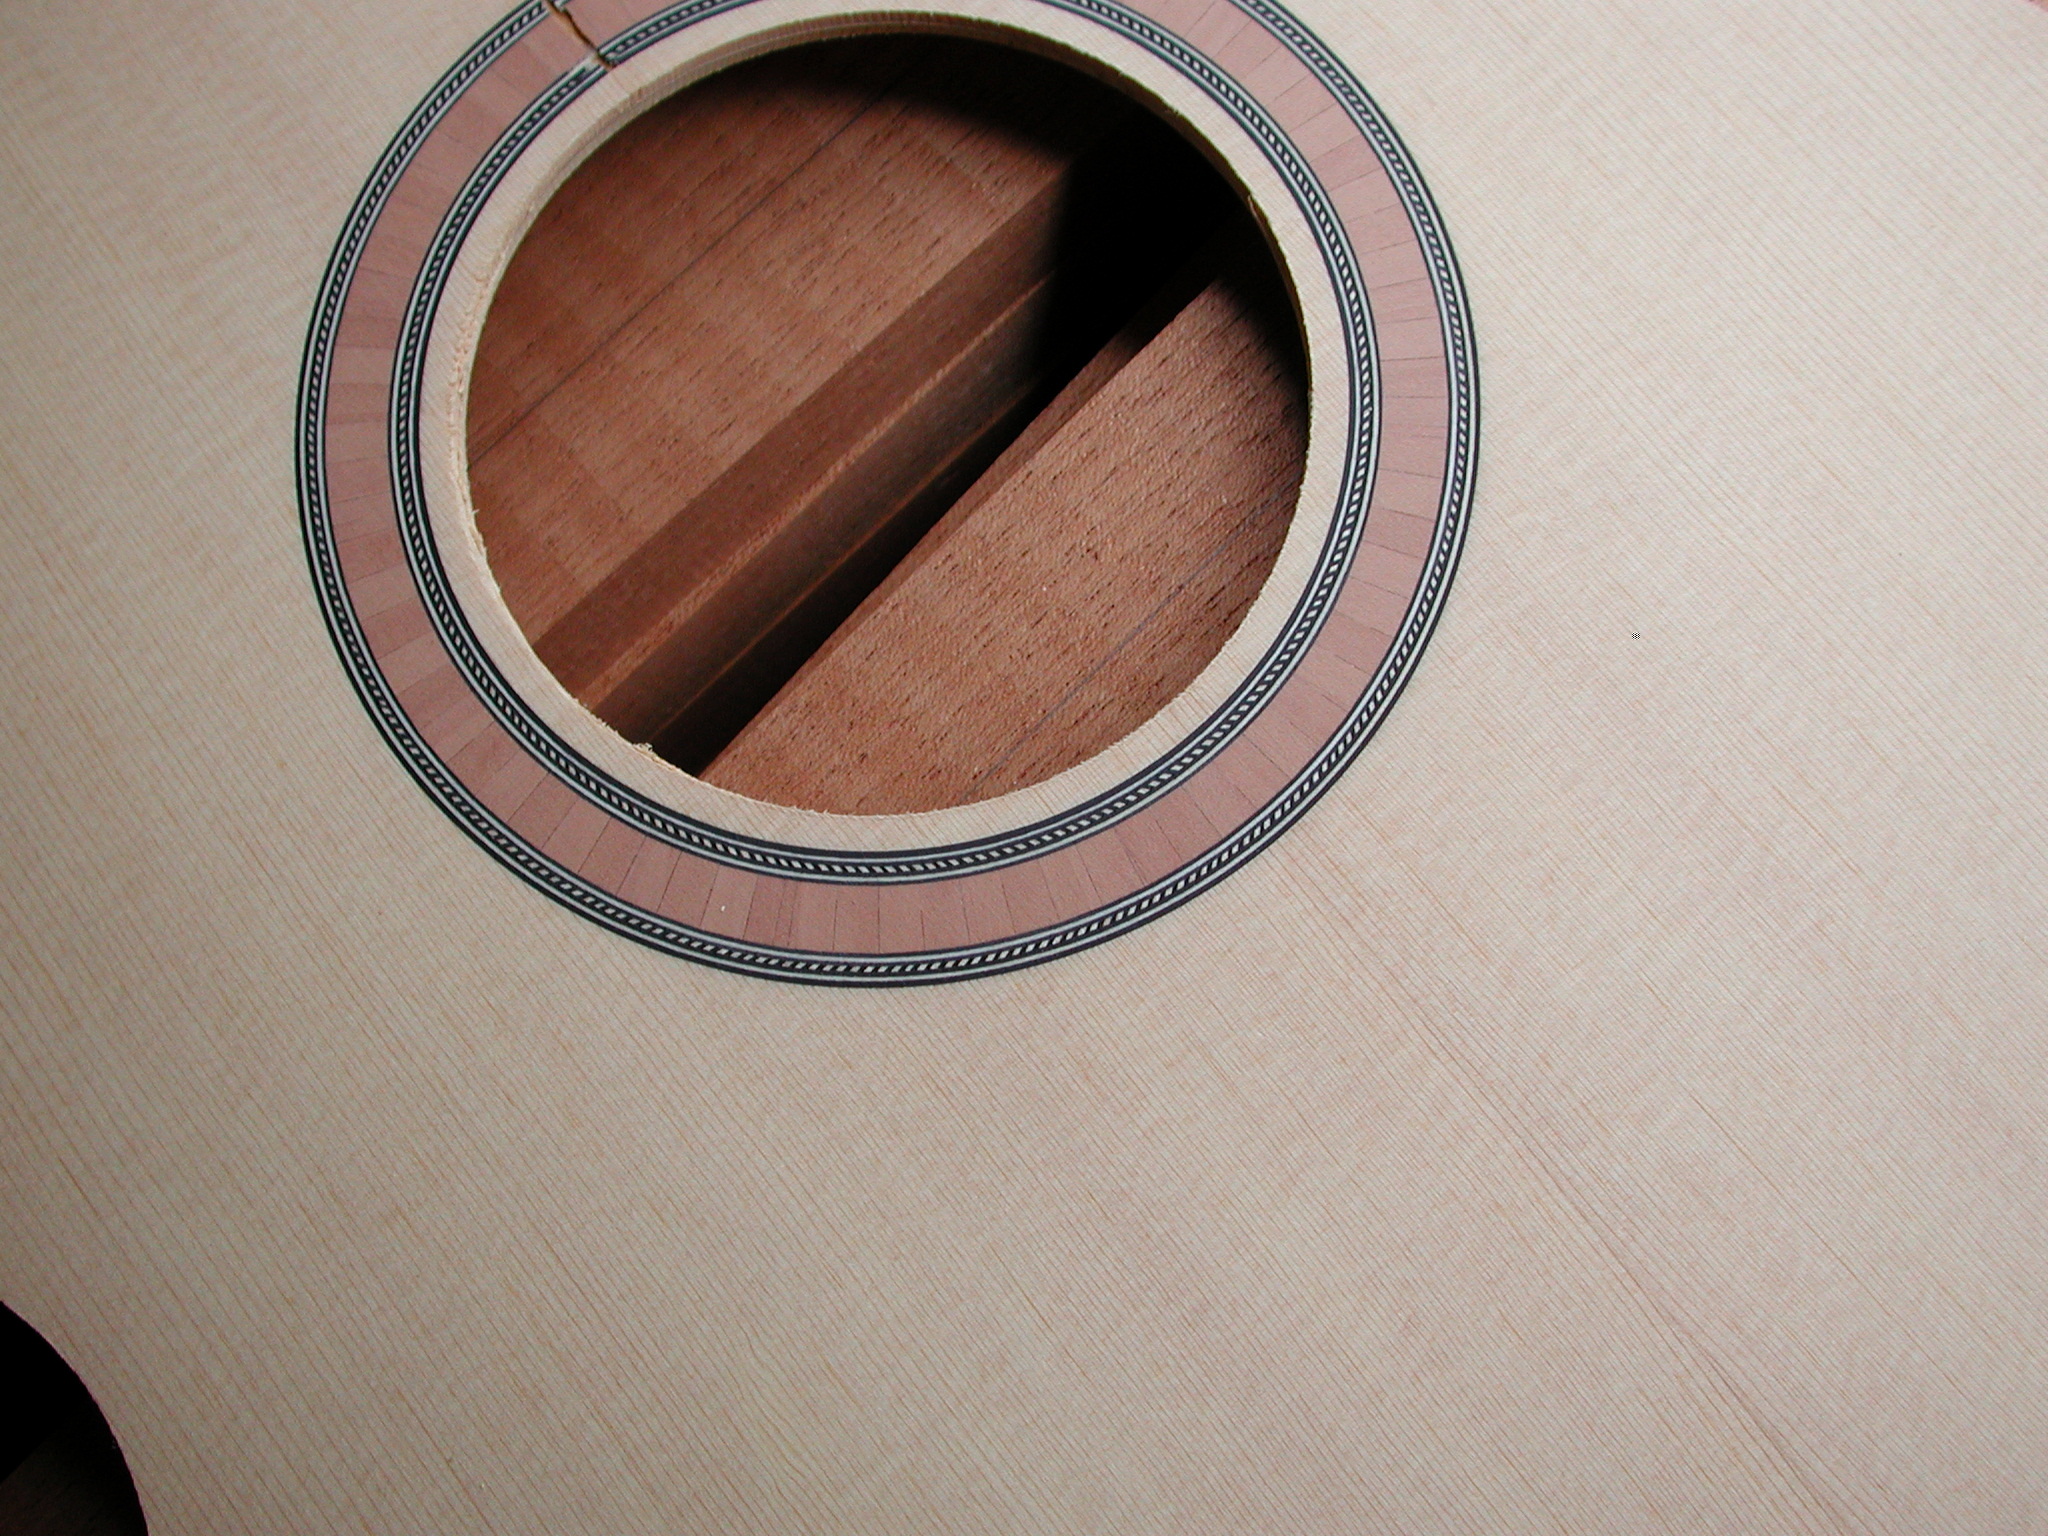
Top: fits!
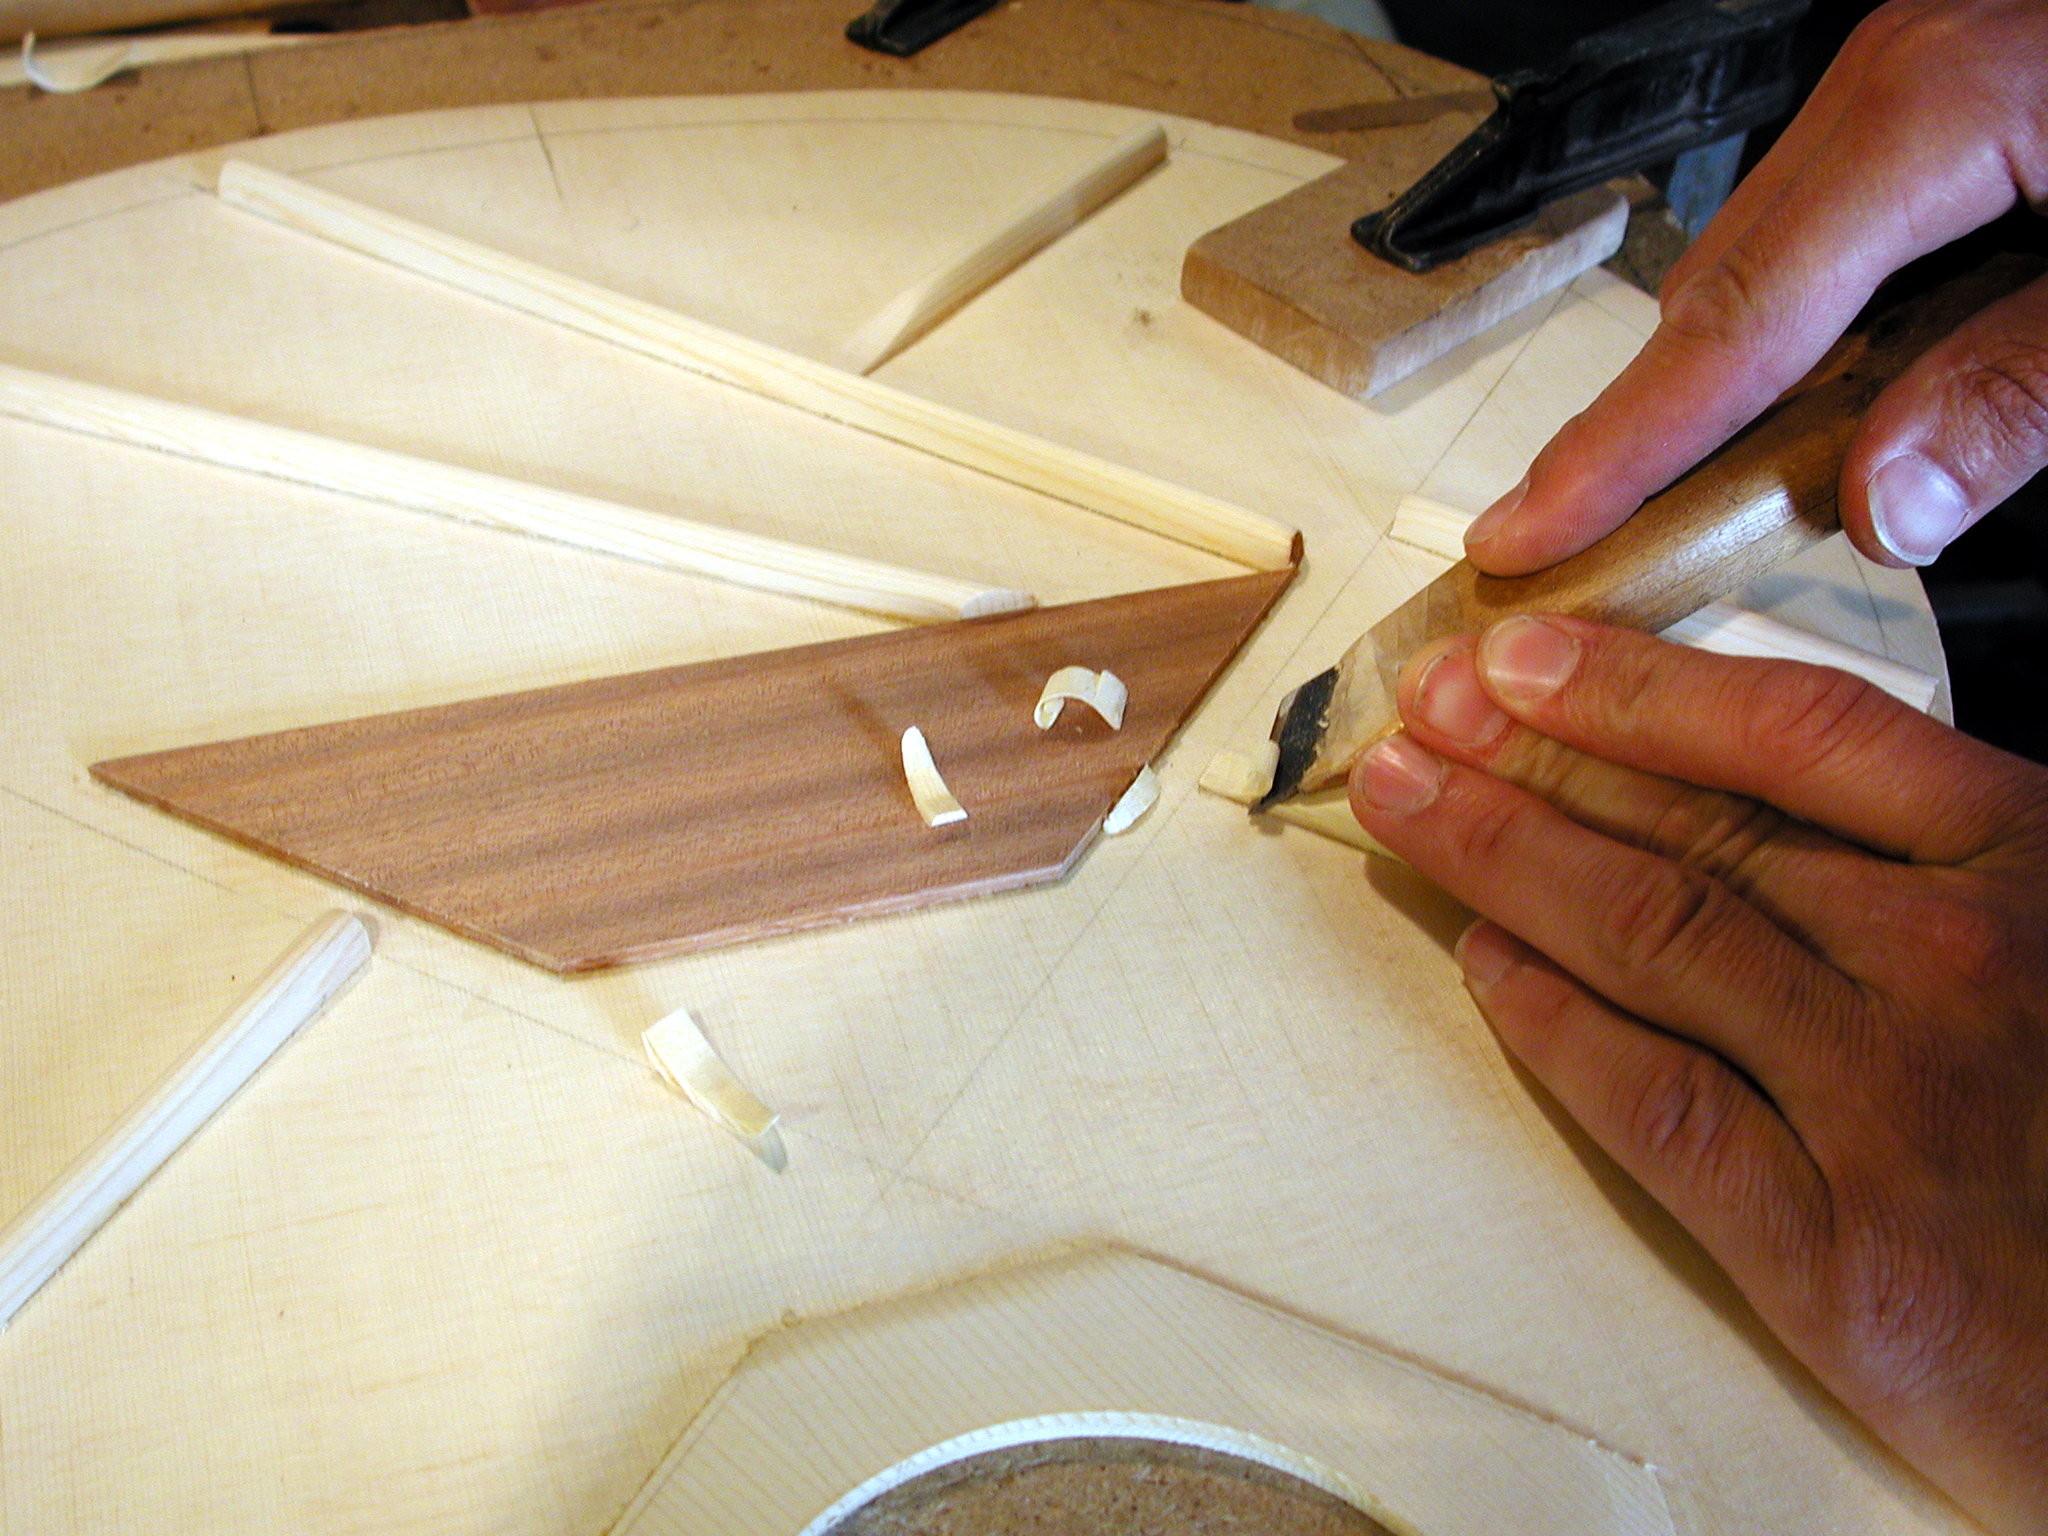
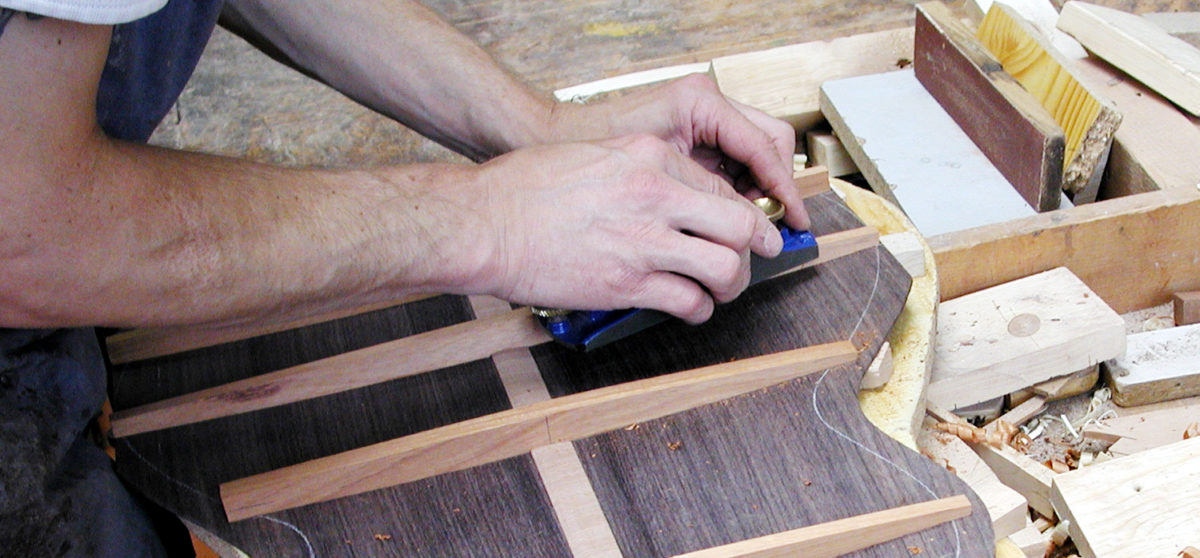
Bracing: The bracing is being carved.

X-Bracing: The bracing is made in three consecutive operations. The x-bracing is the last to be glued.
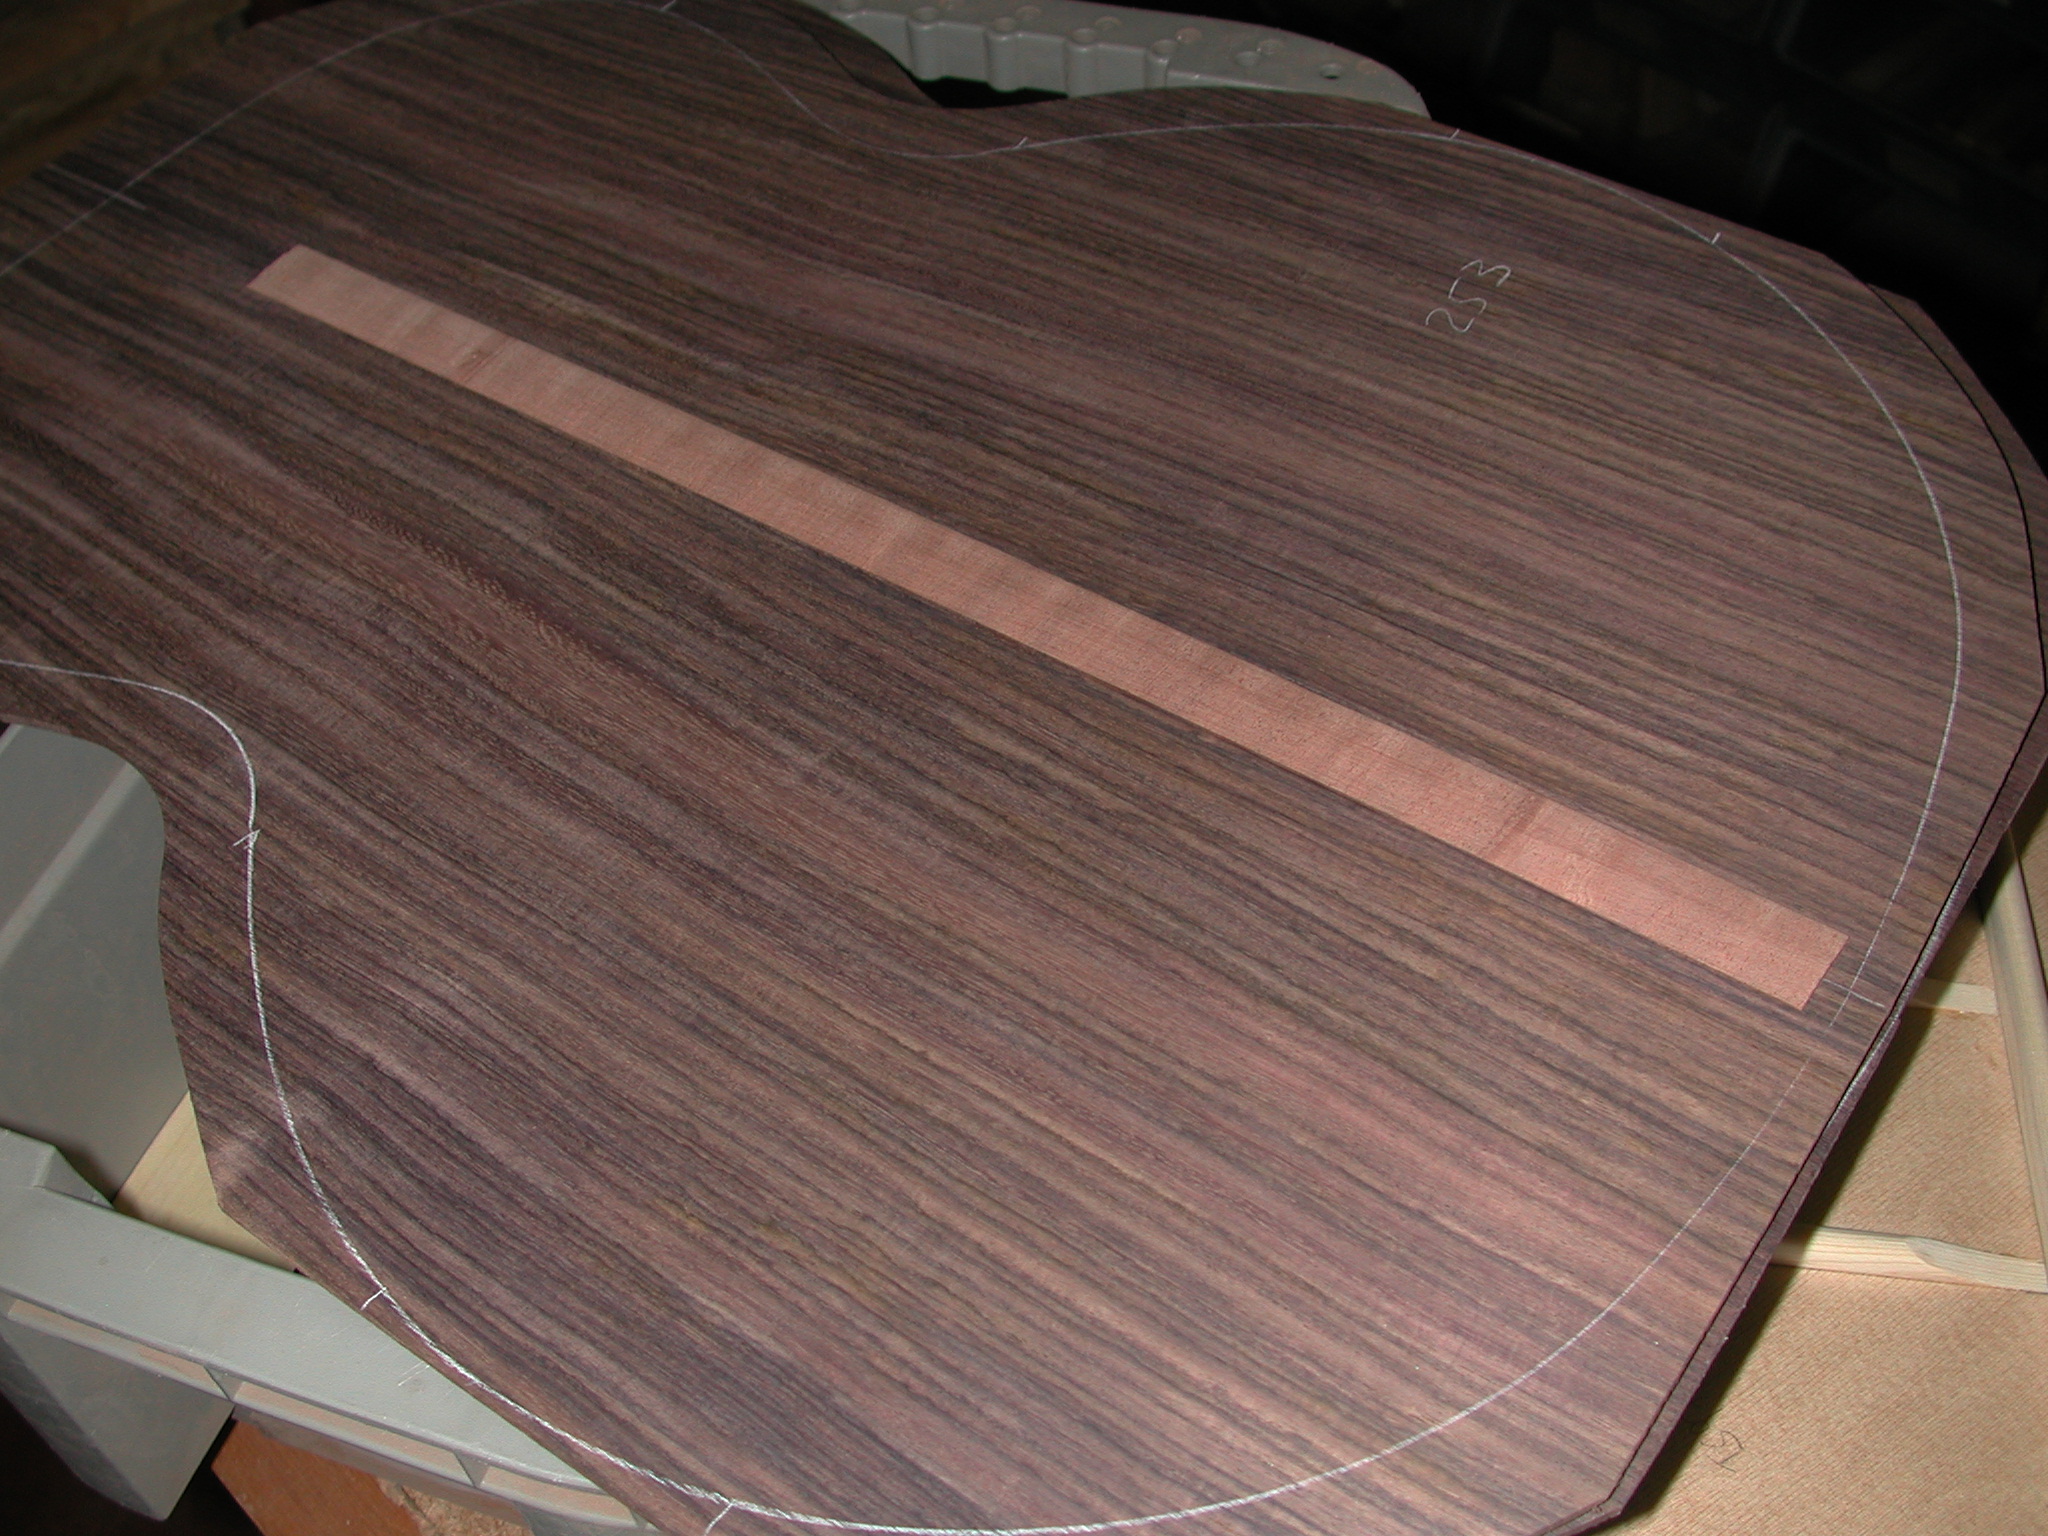
Back: The Back Joint Interior Reinforcement is glued to the back...
Back: ...and sanded.
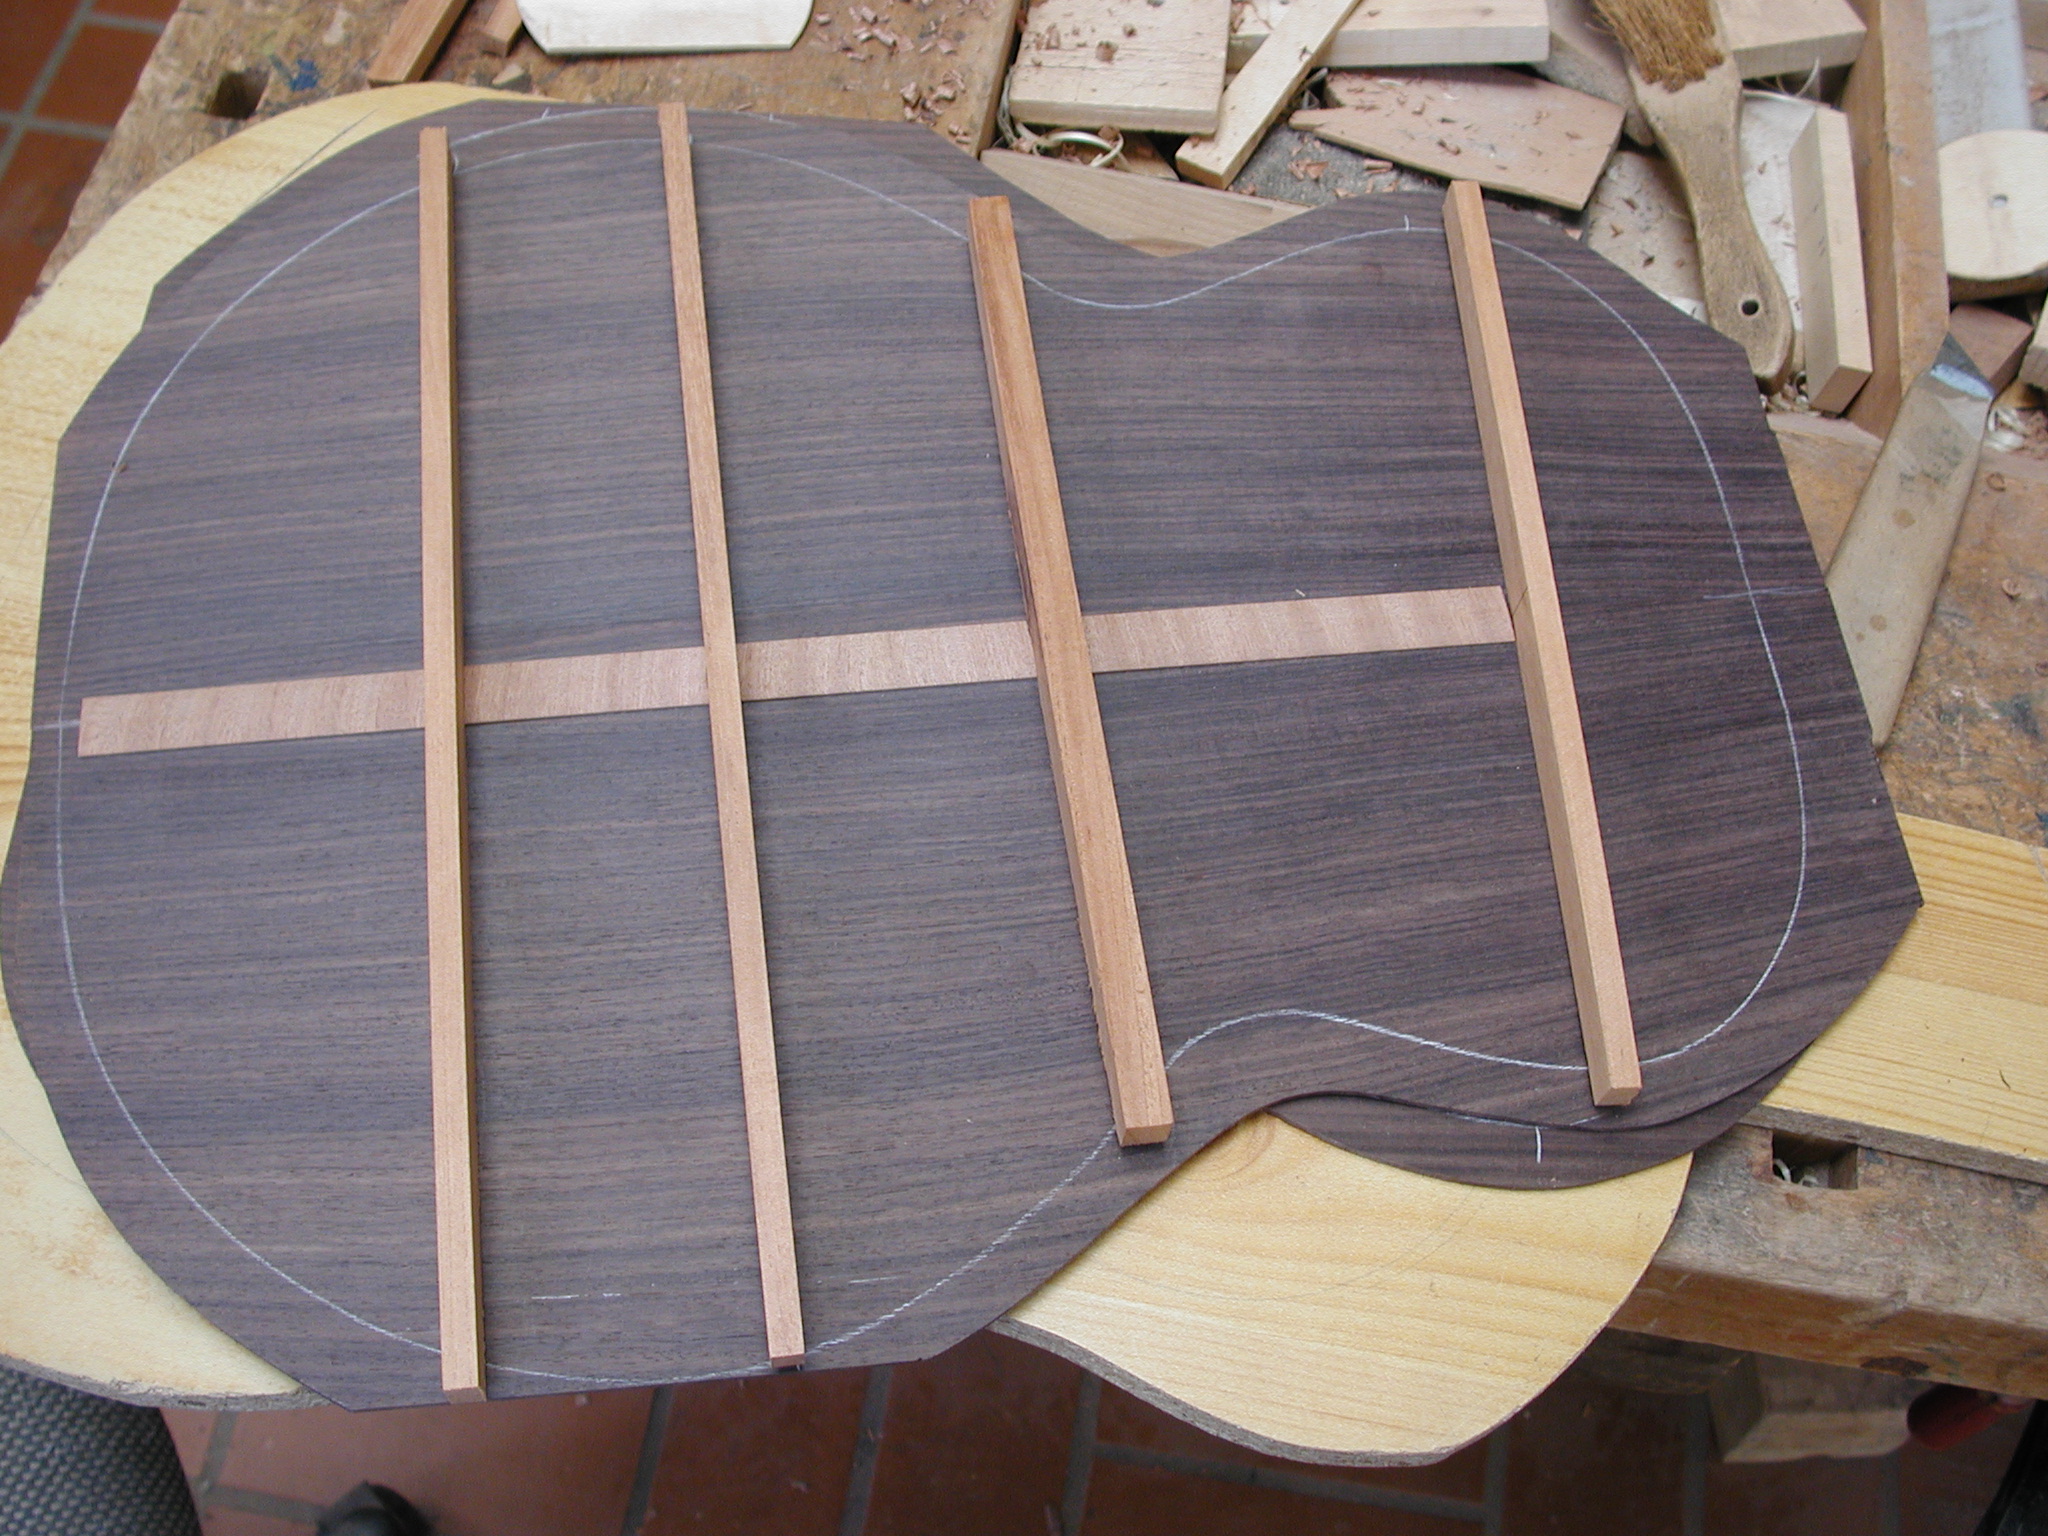
Back: The back braces fit into the reinforcement brace.
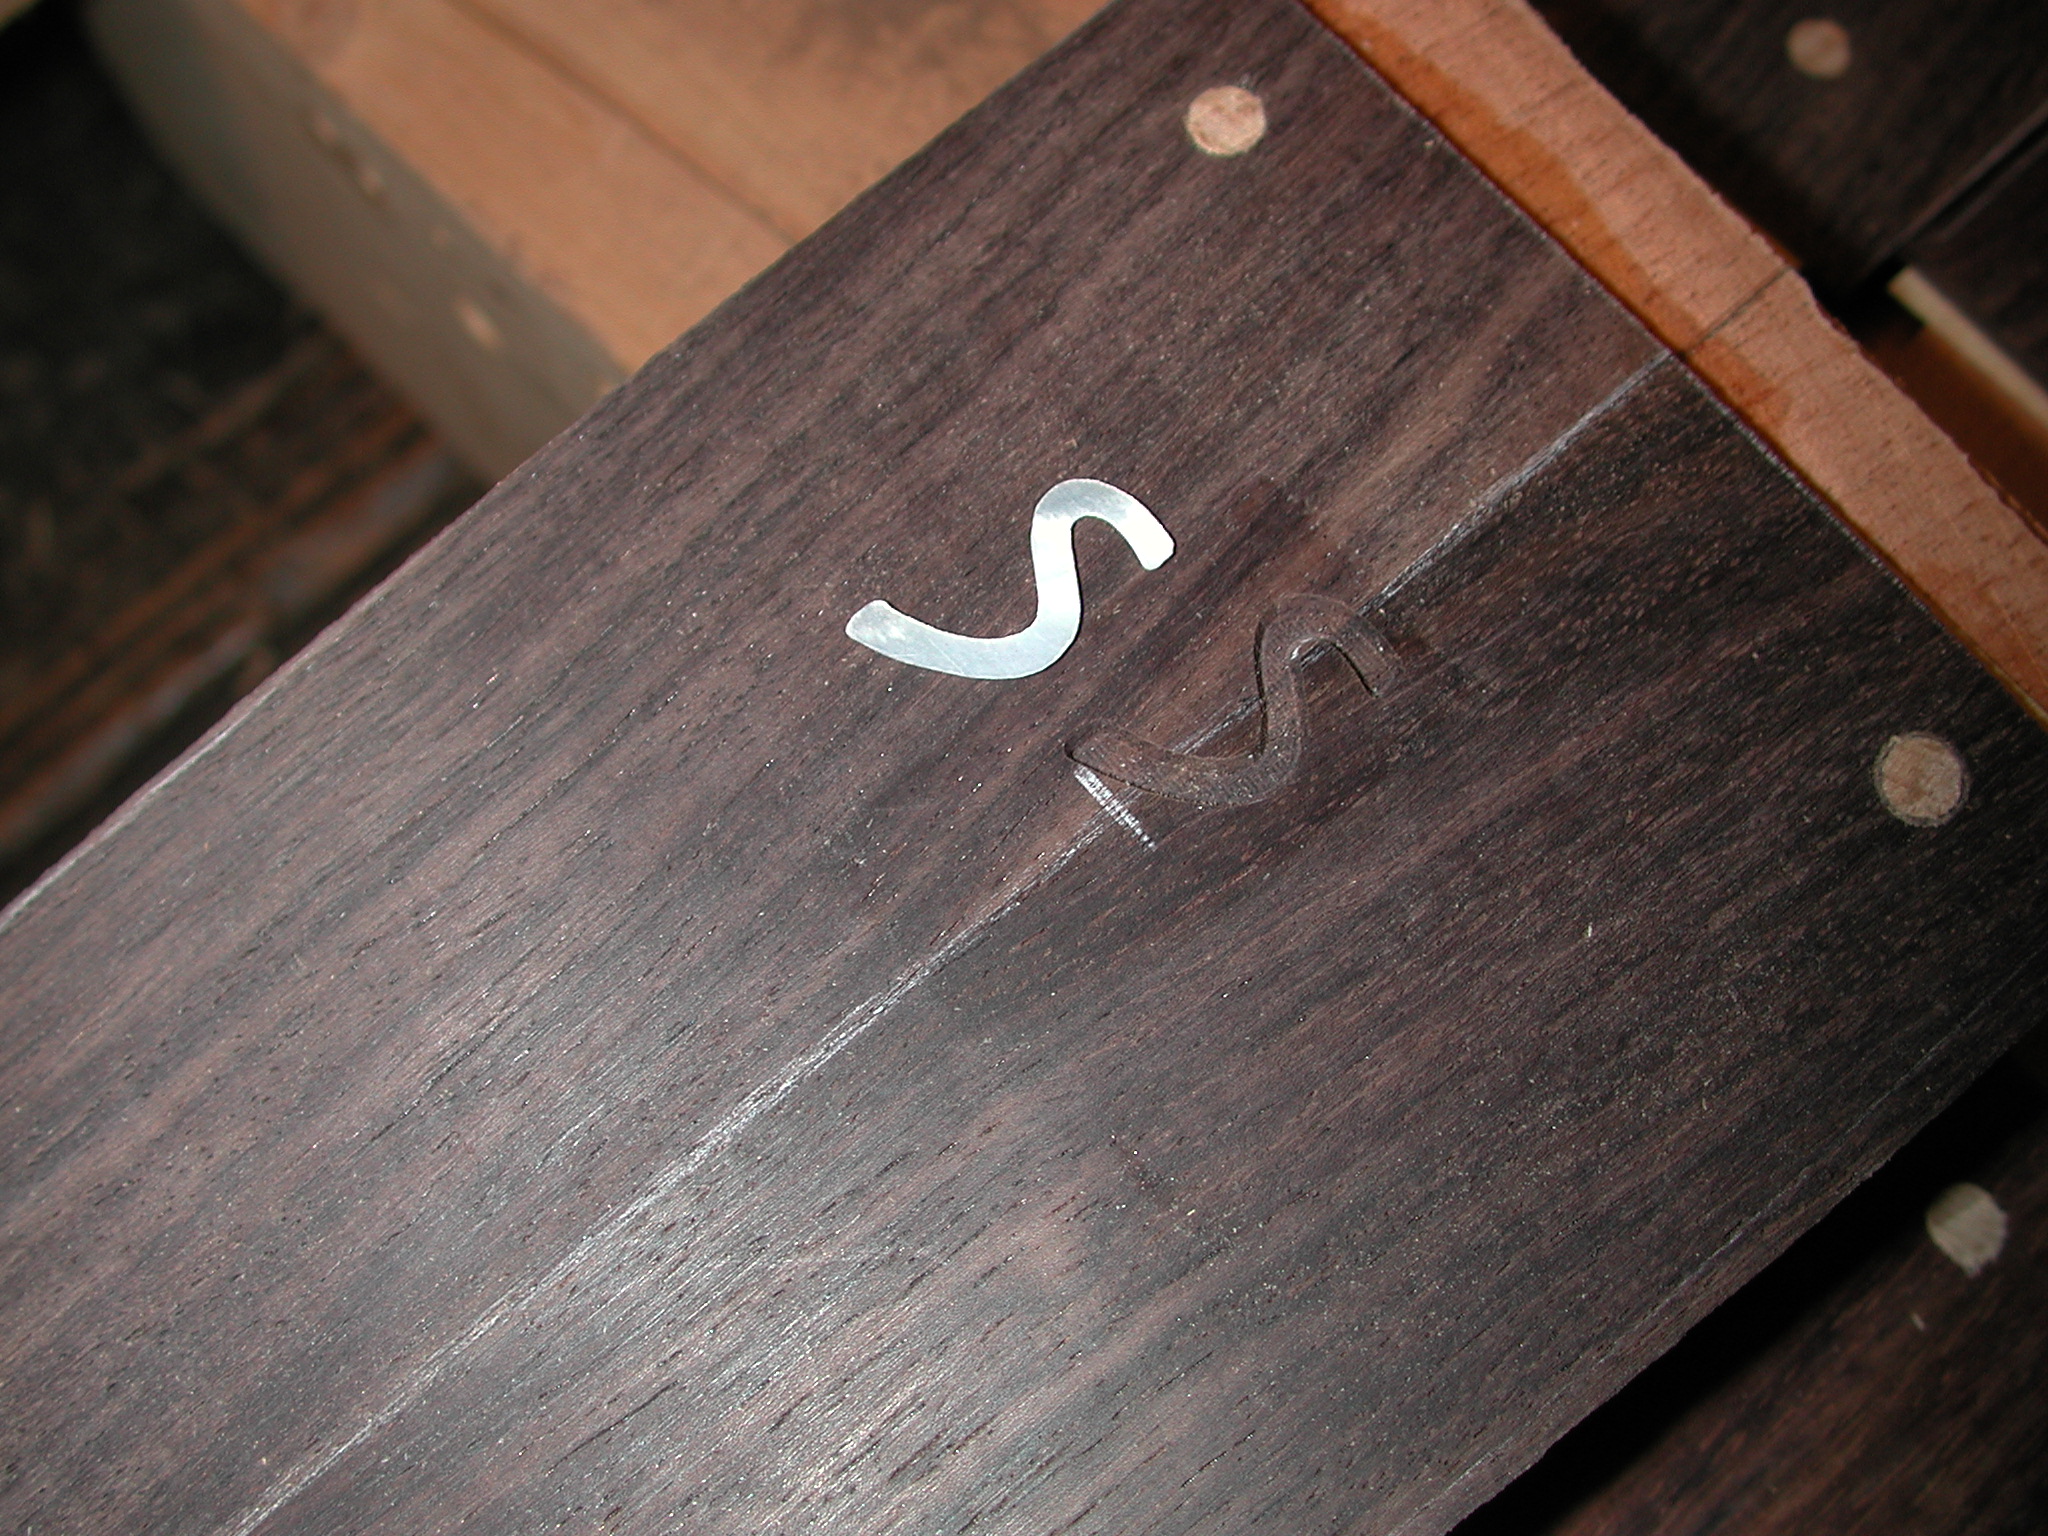
Headstock: The groove for the Mother-of-pearl Inlay Logo is milled,...
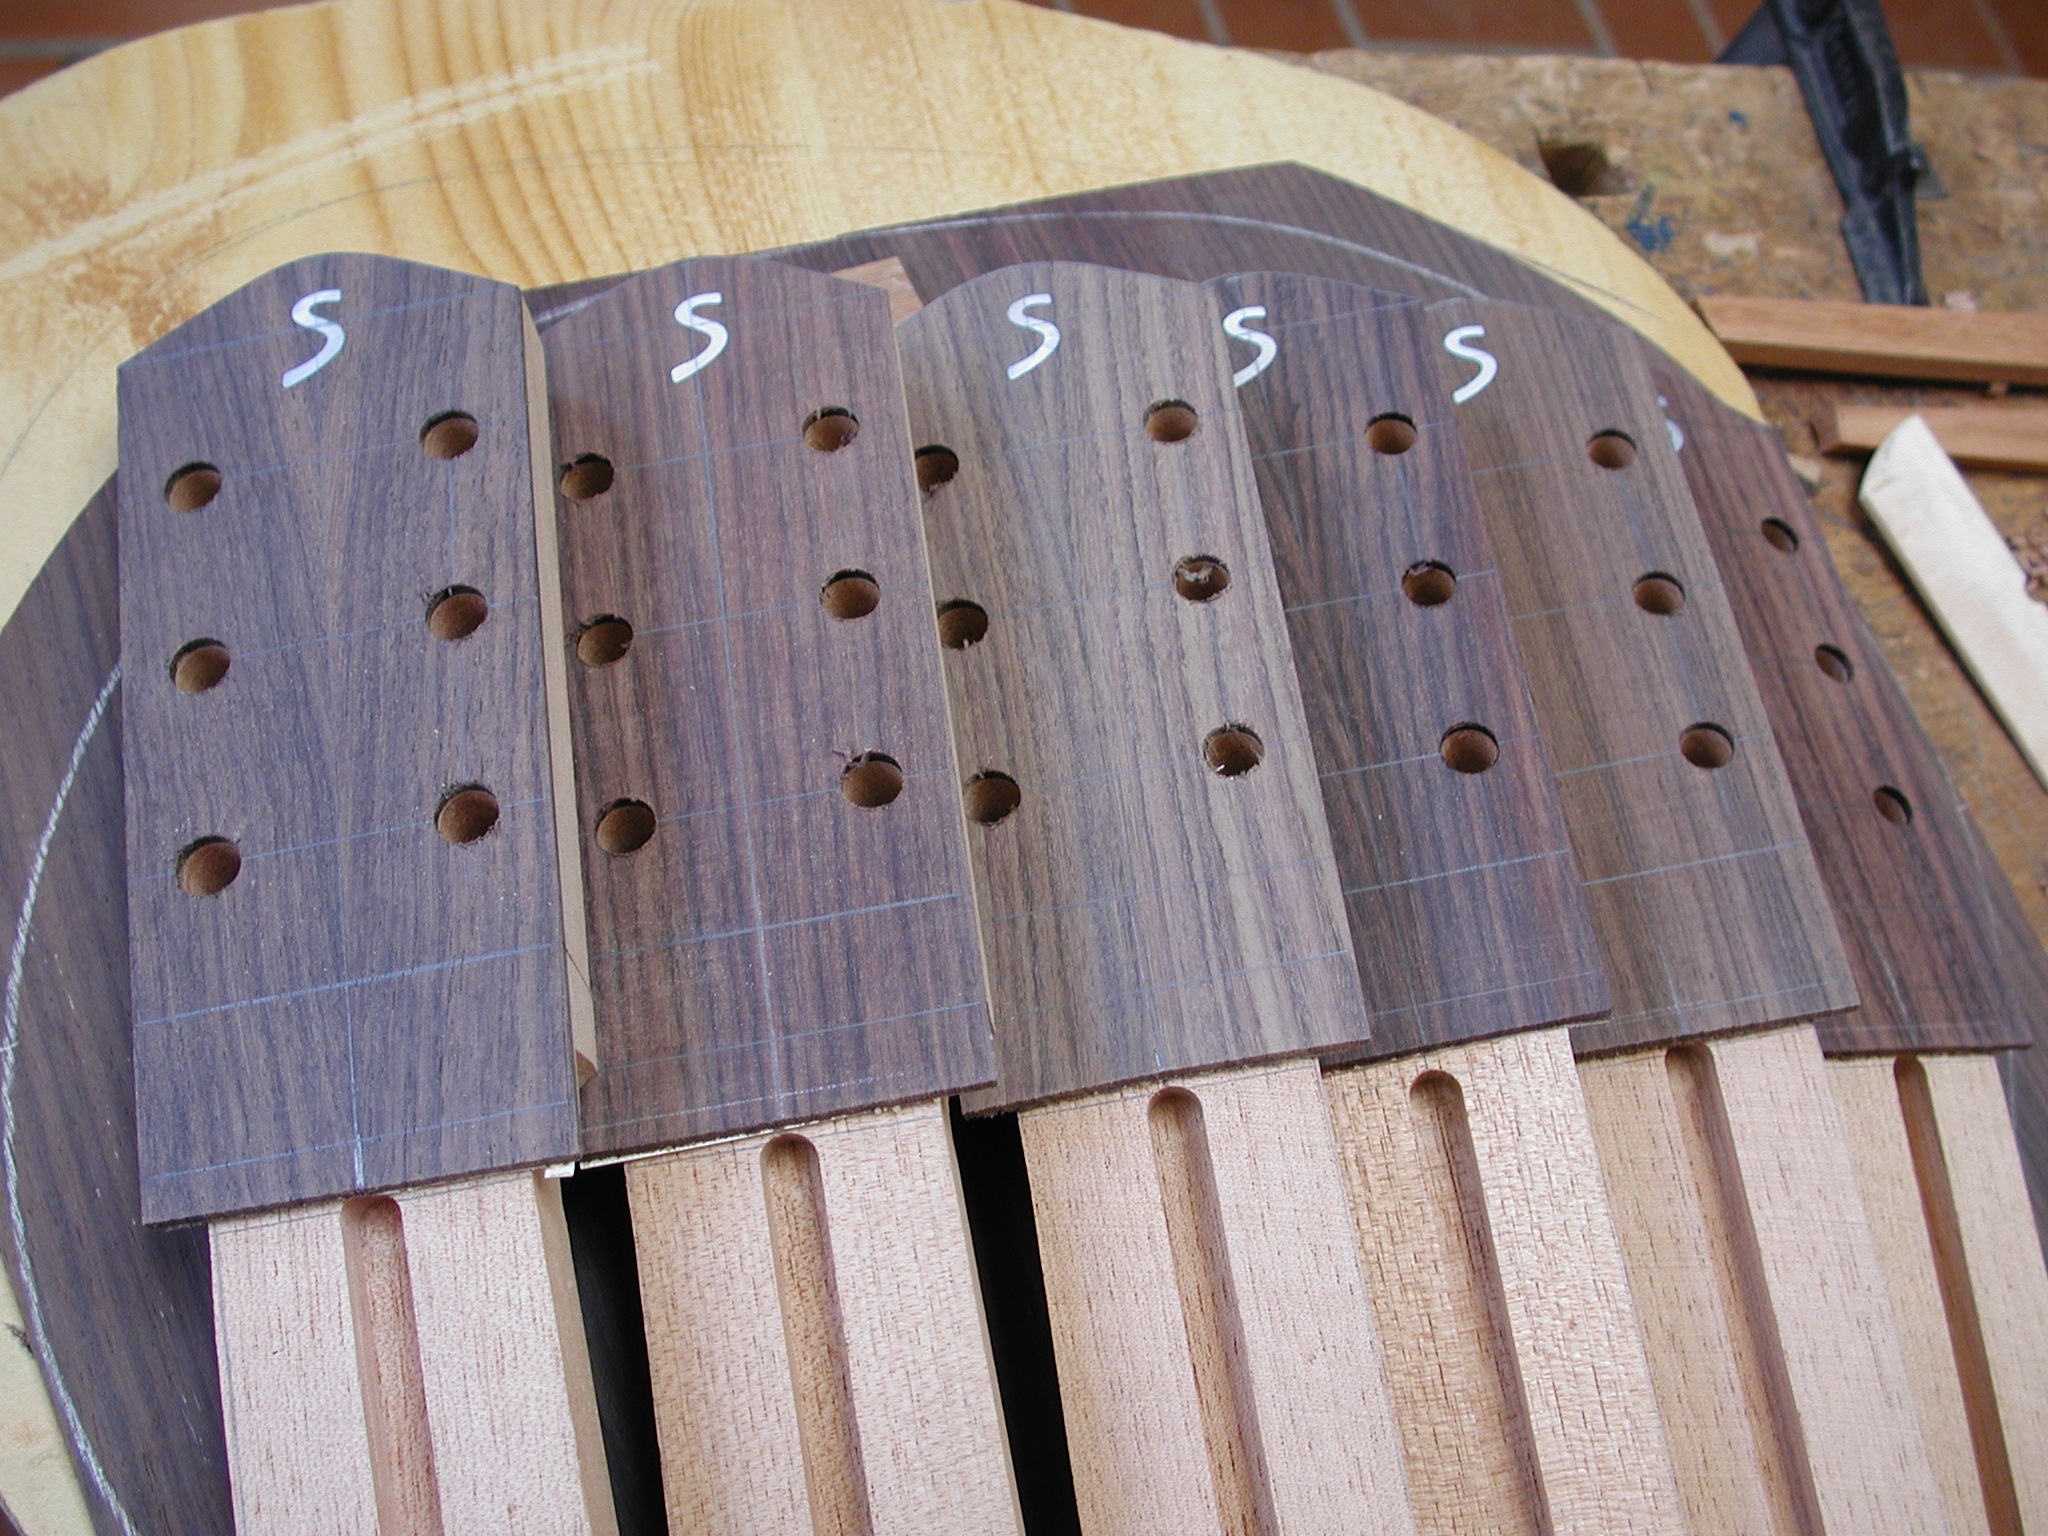
Headstock: glued in...and fits.
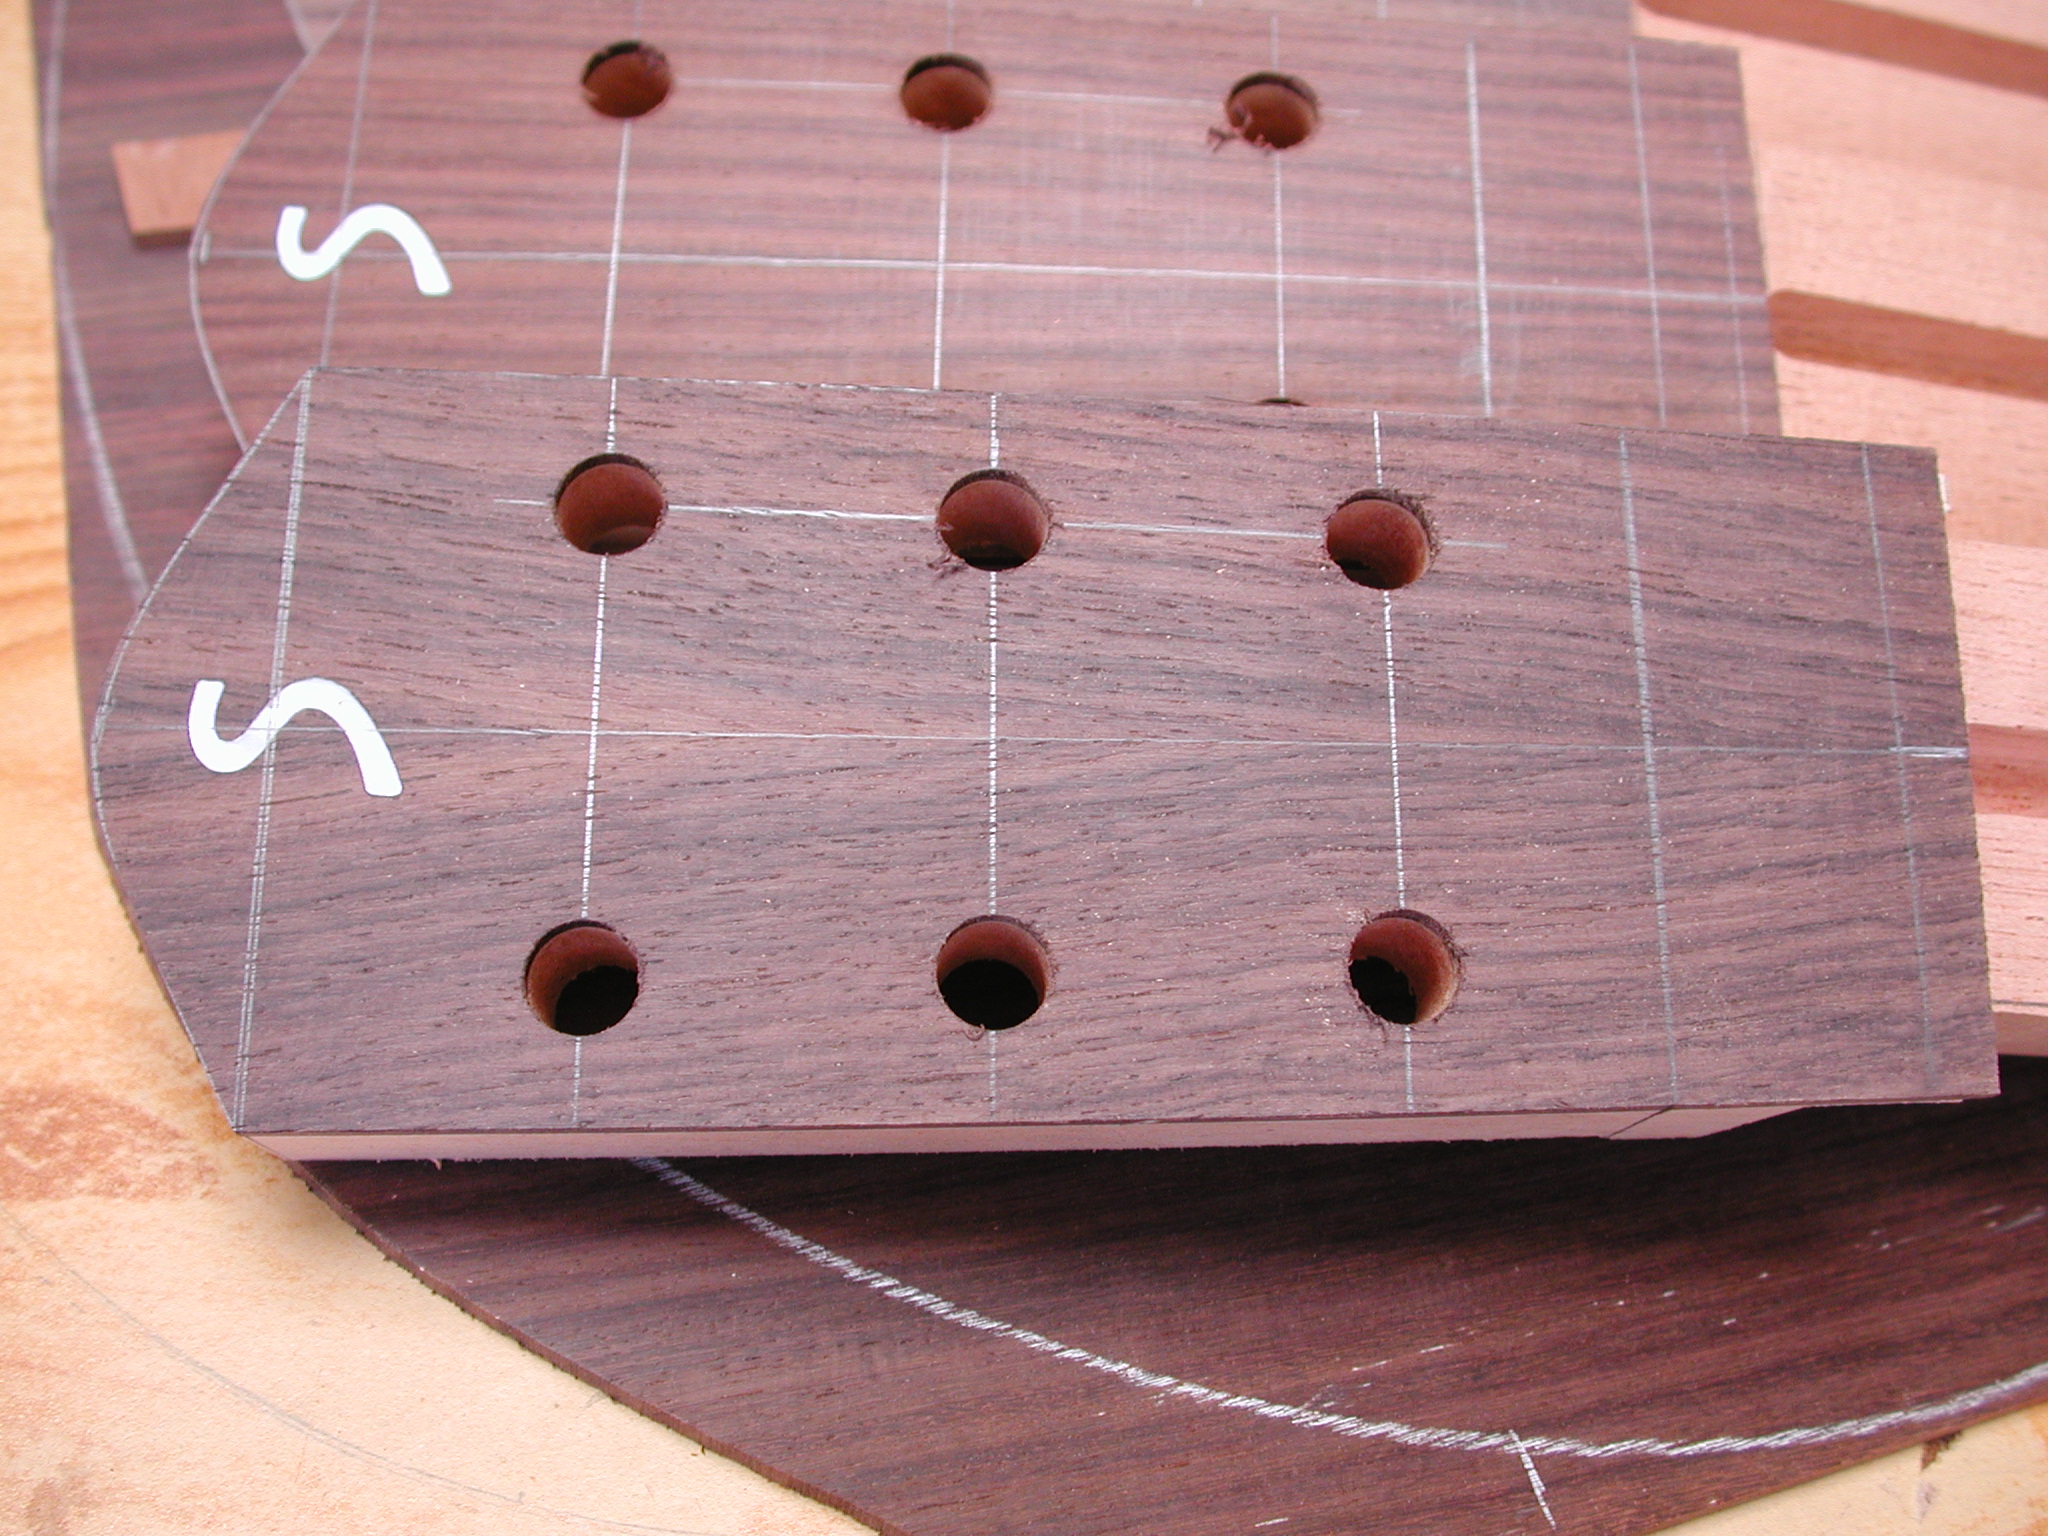
Headstock: ...taking a closer look.

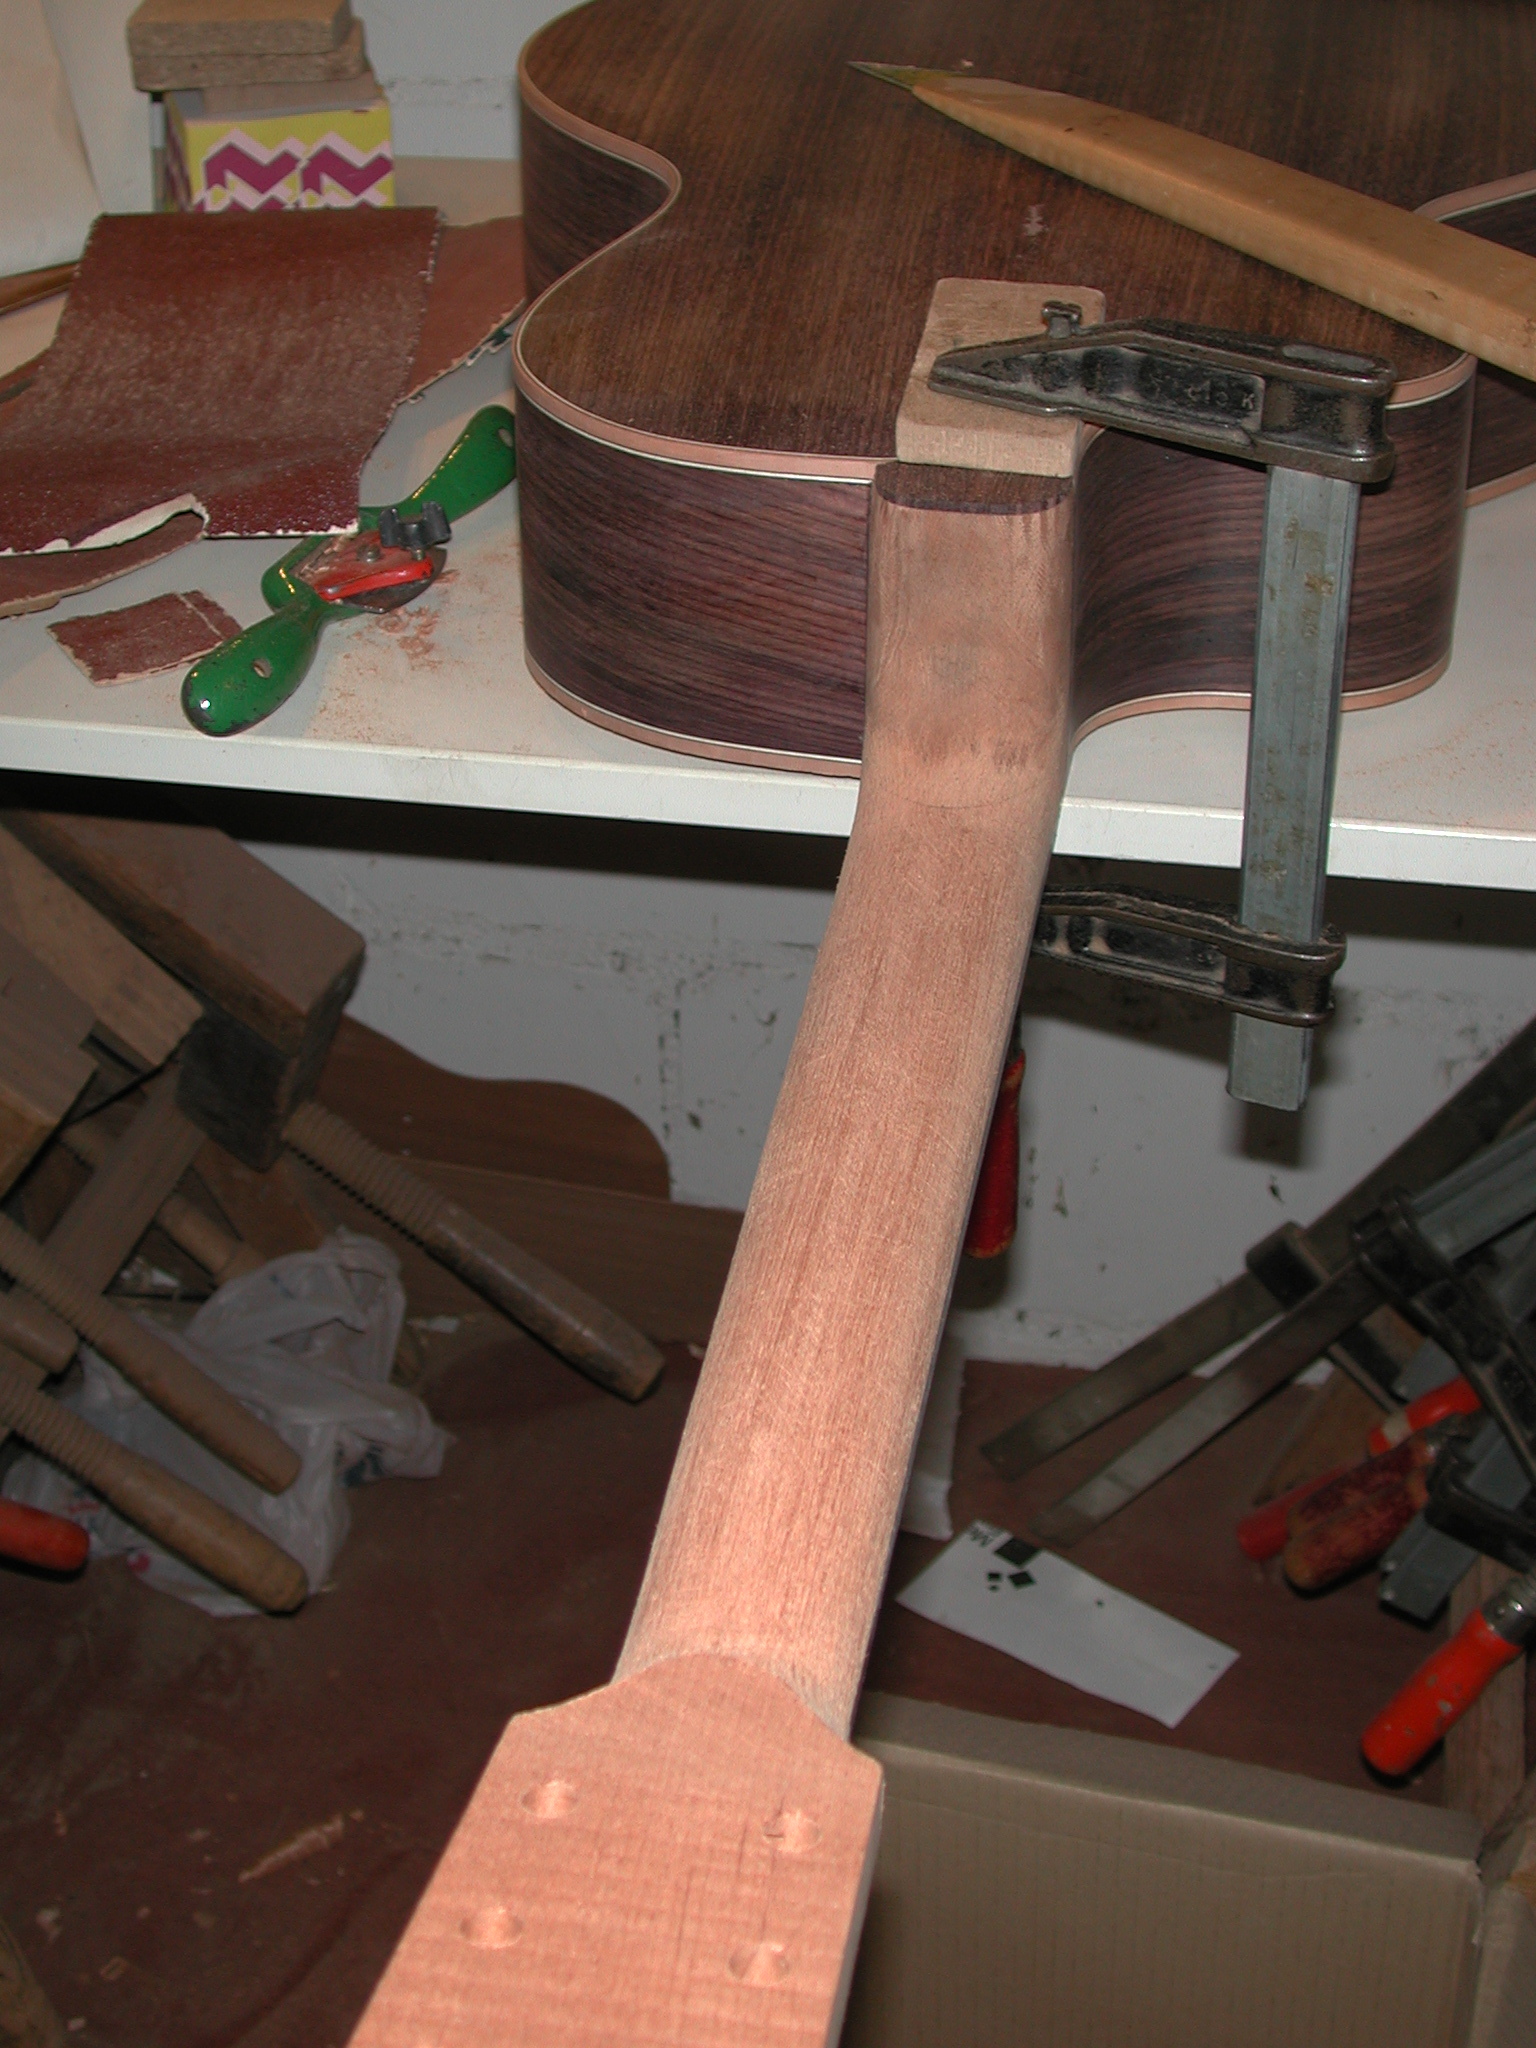
Neck: Glueing the heel.
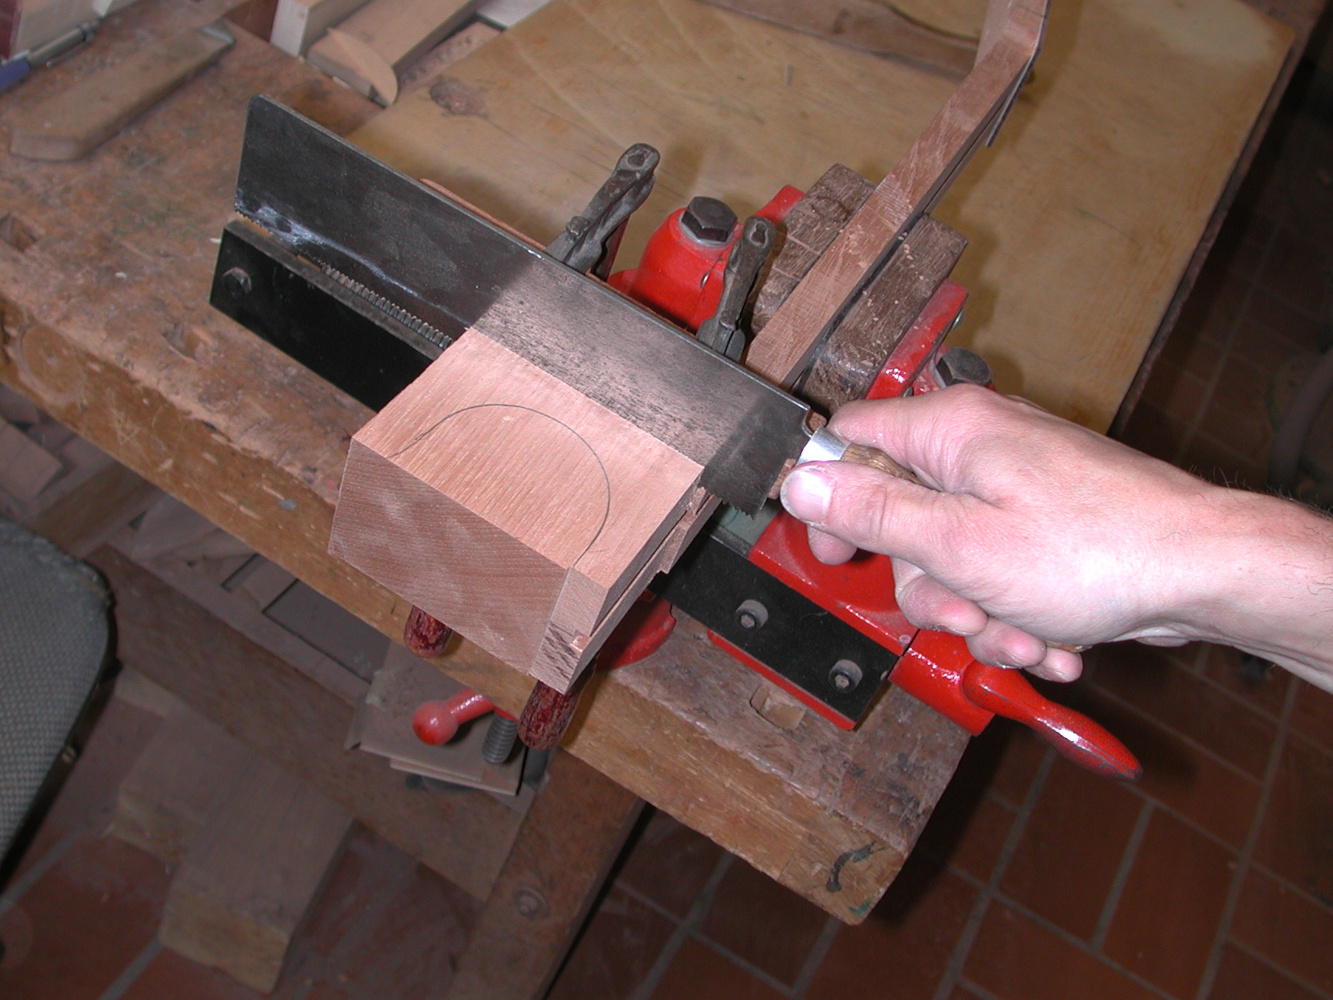
Neck: Sawing the sideslot.
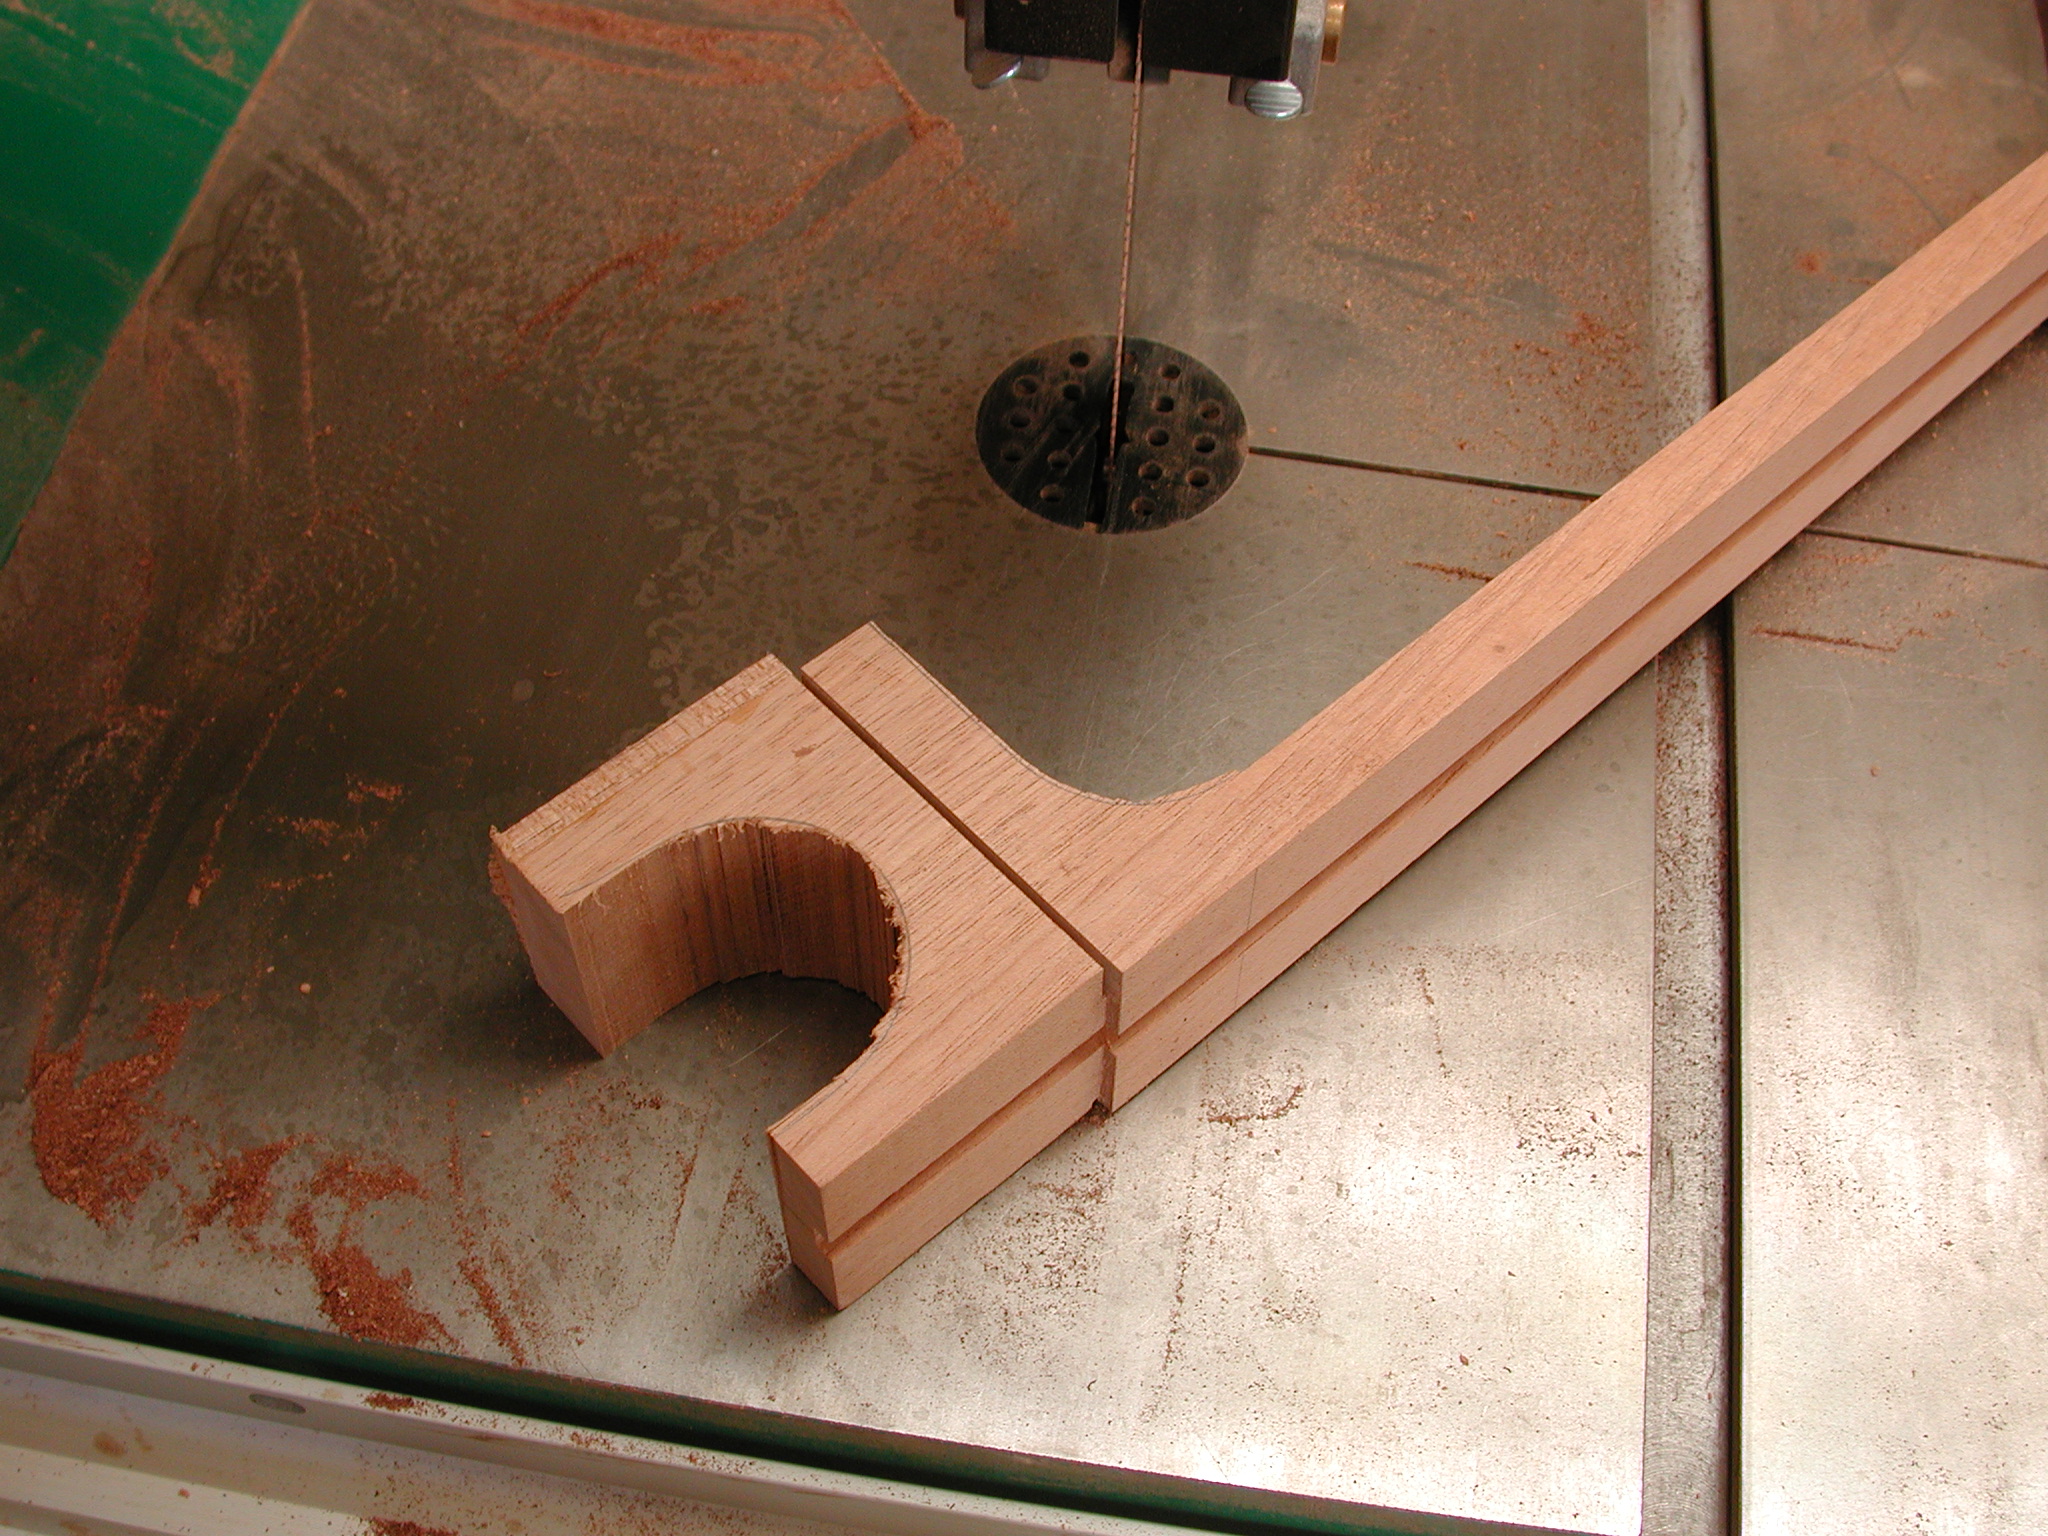
Neck: The heel is sawed in a rough shape.

Back: The back braces are carved.
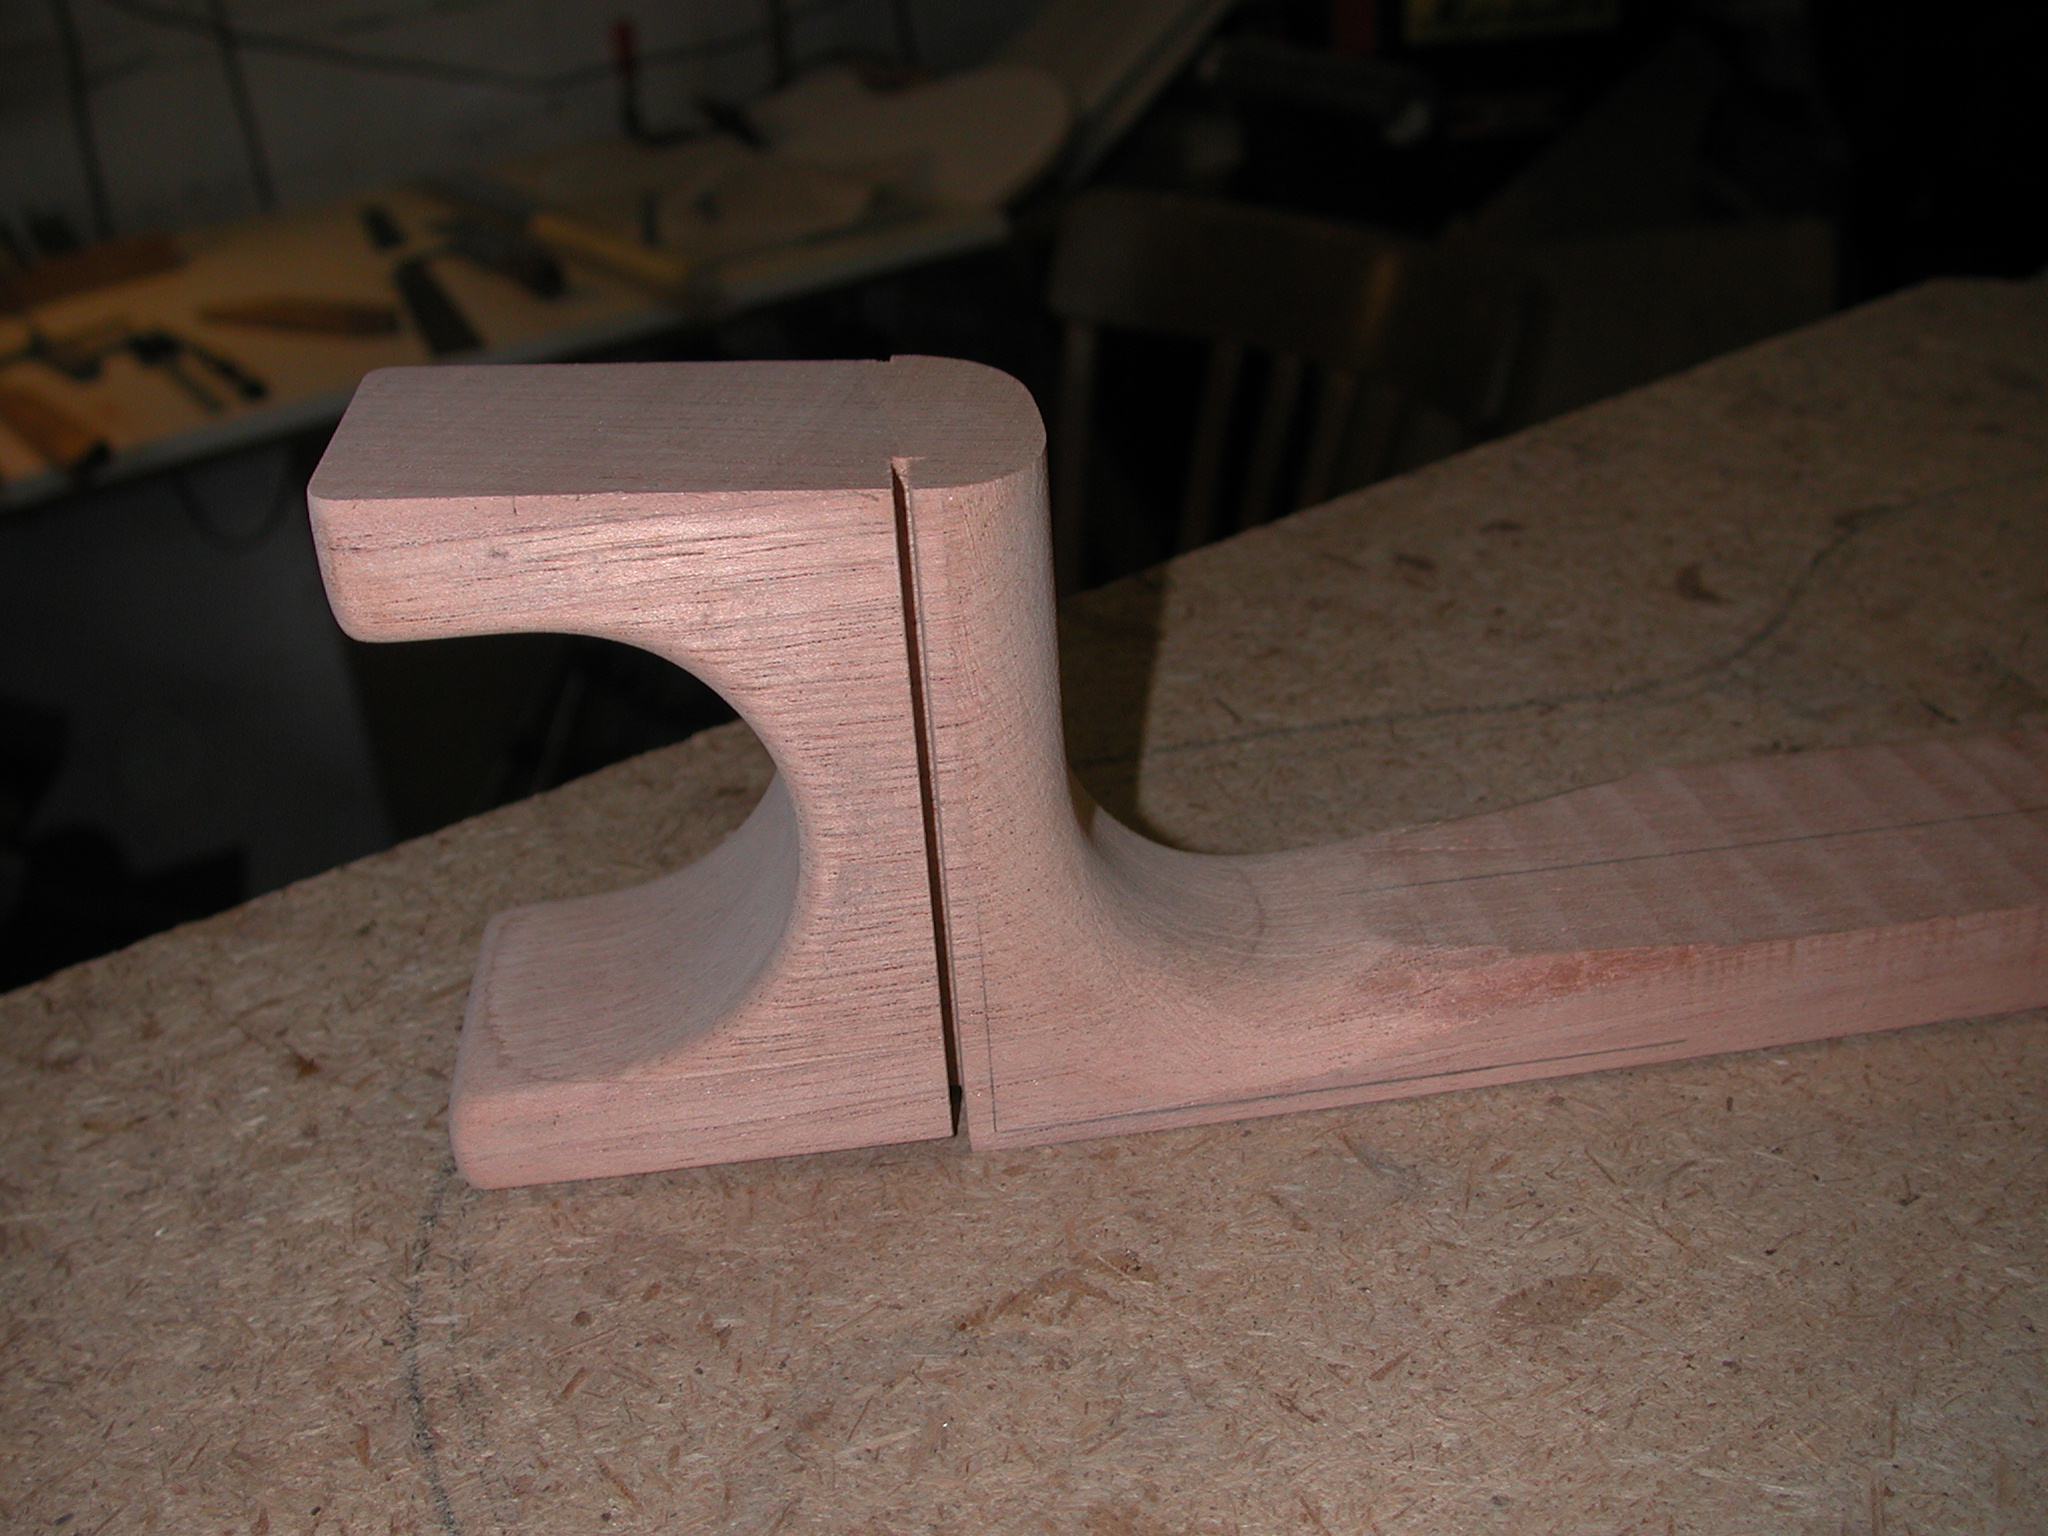
Neck: The heel is shaped.
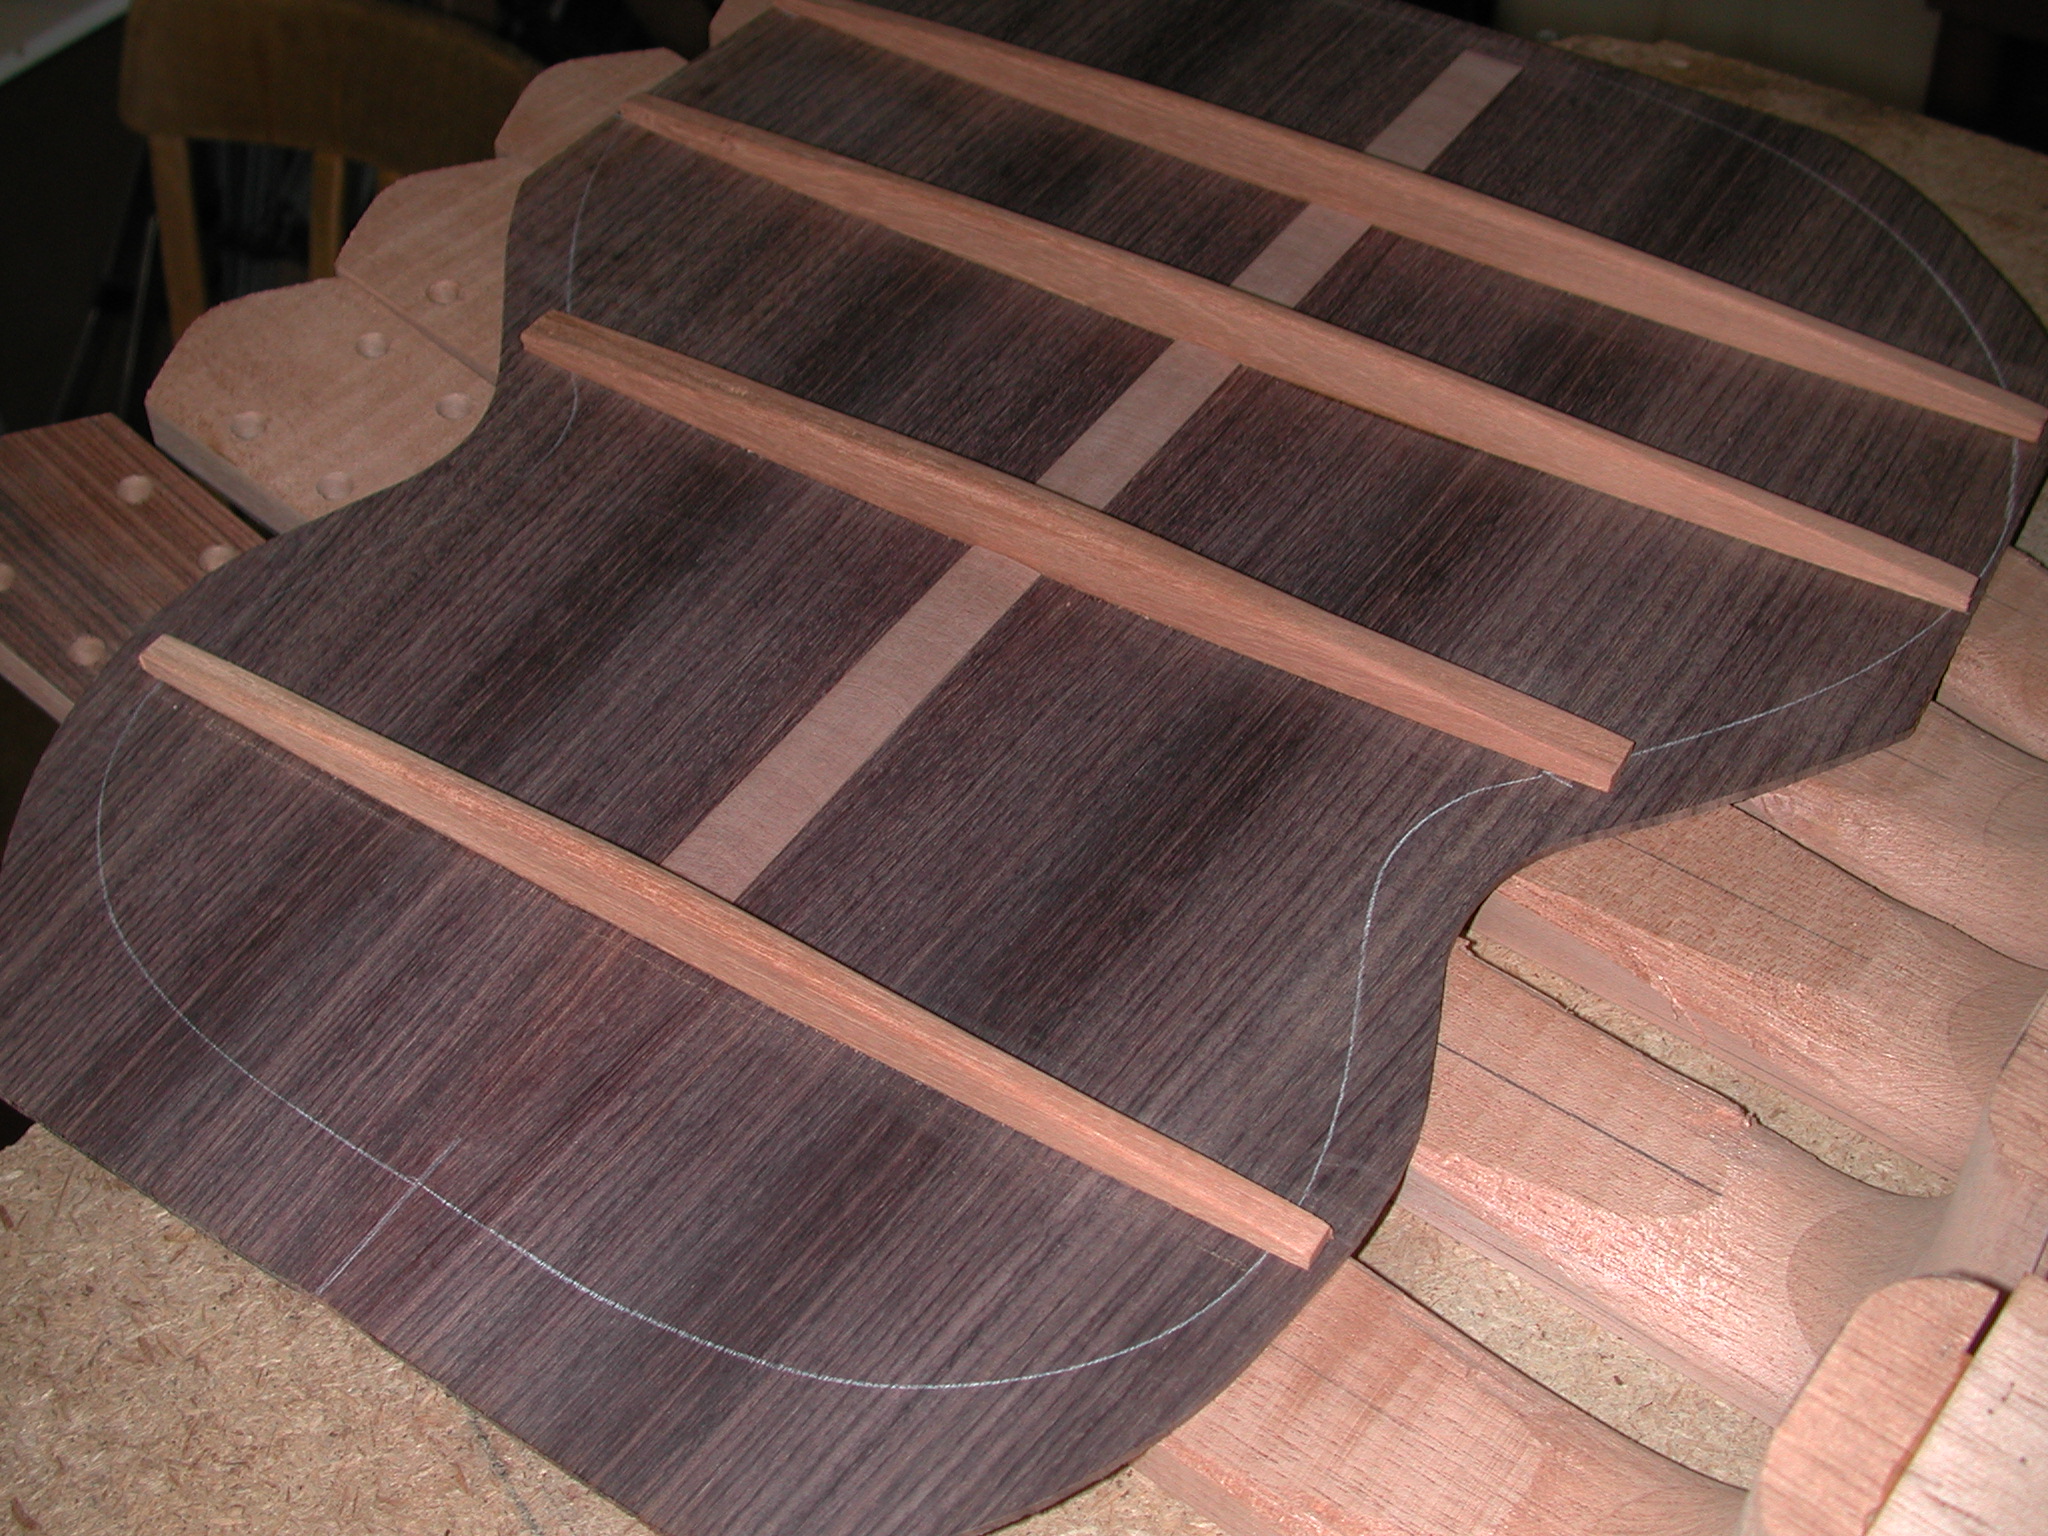
Back: The bracing on the back is finished.
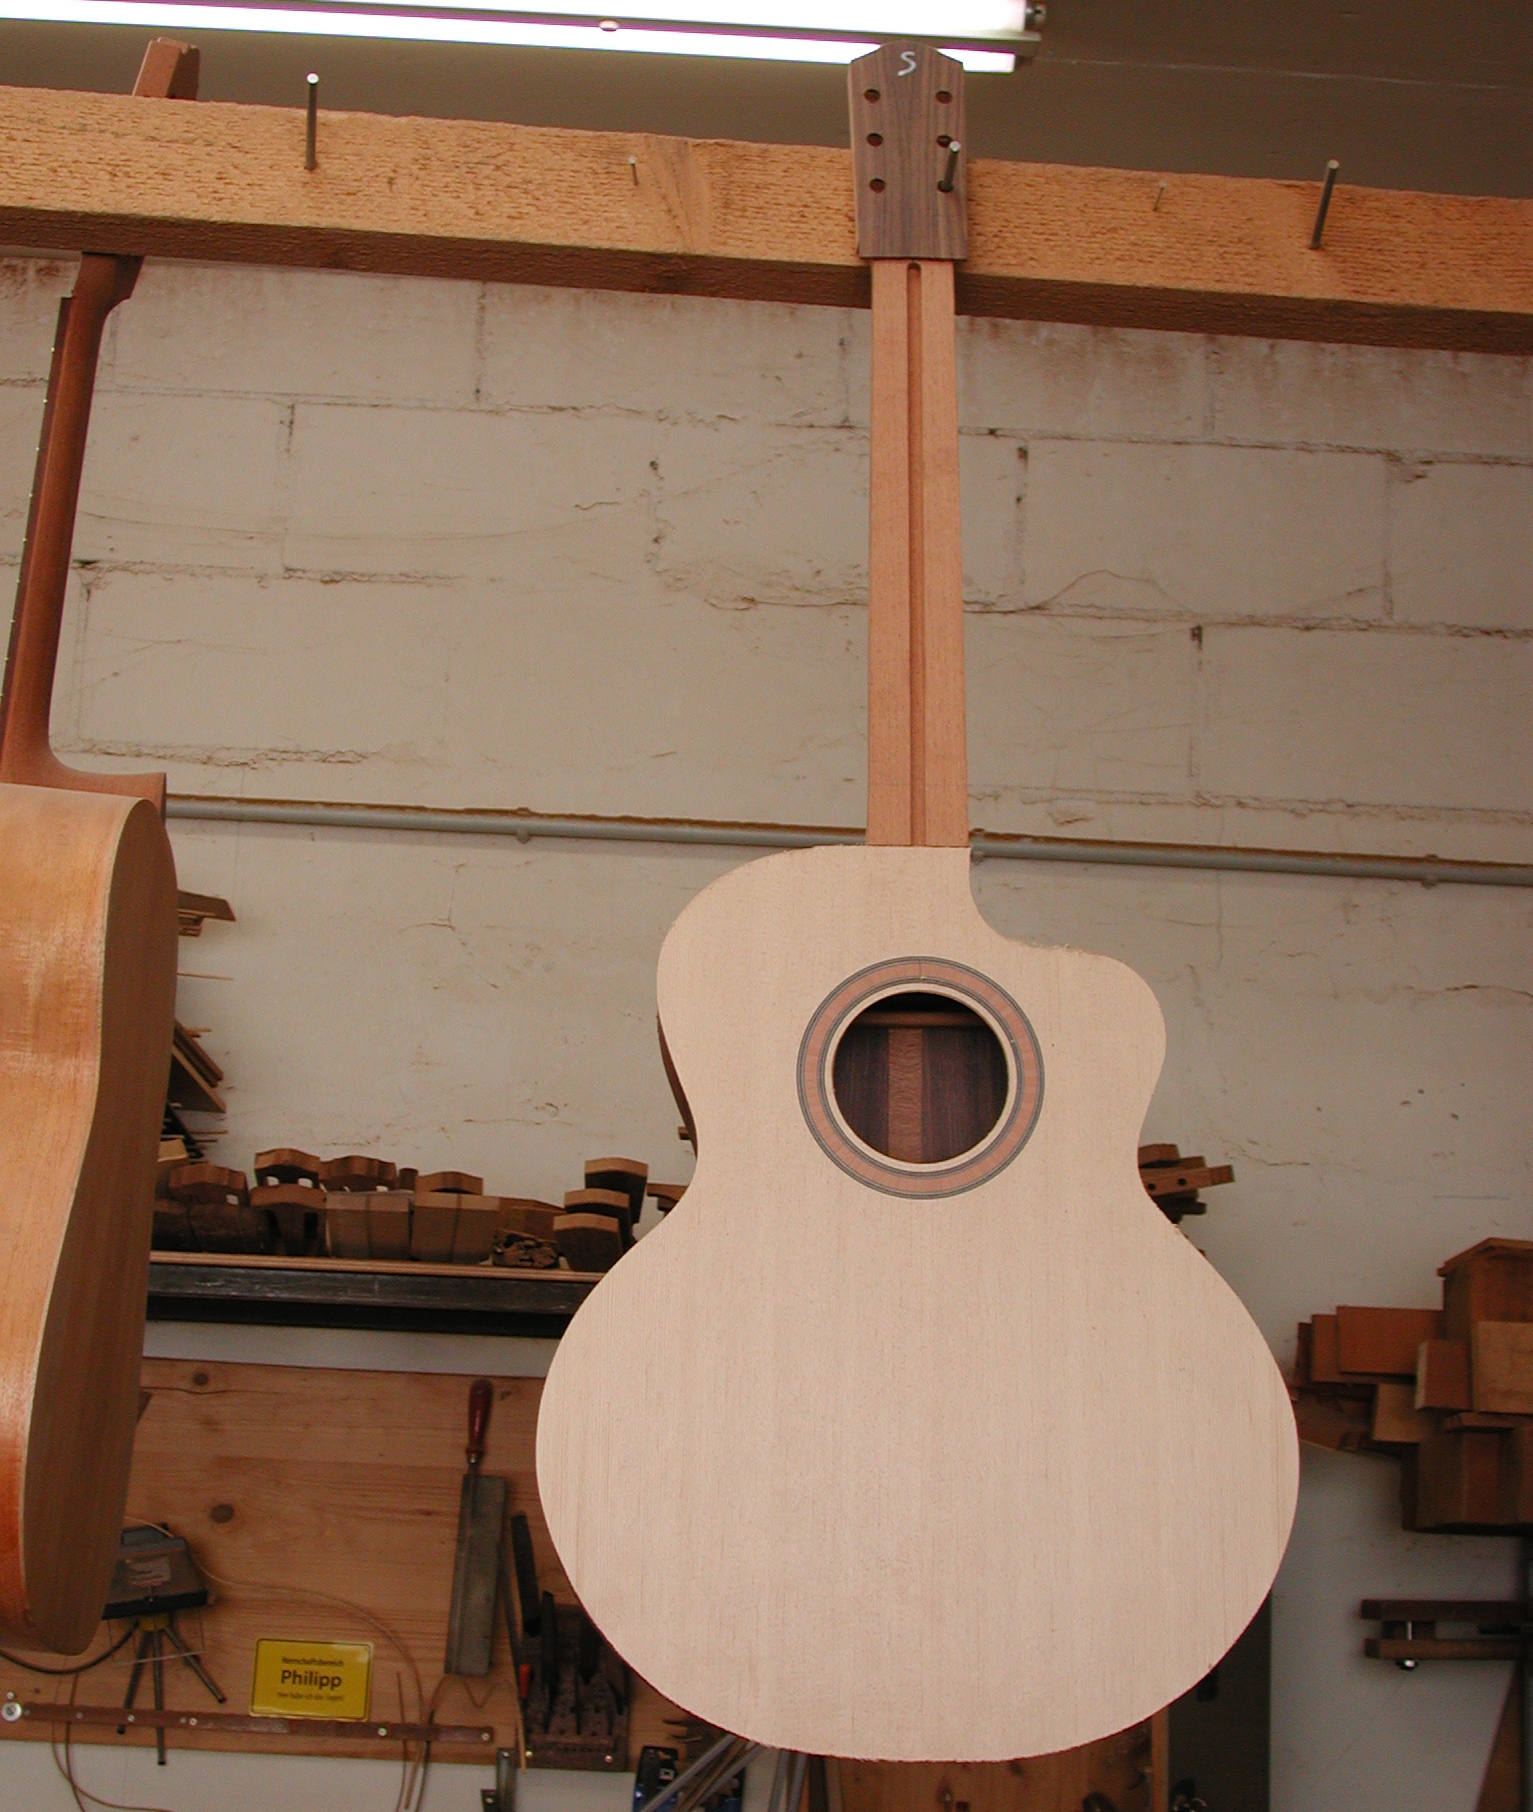
Top: The neck is glued to the top. Meanwhile, a finish has been applied to the part of the heel which sits inside the guitar.

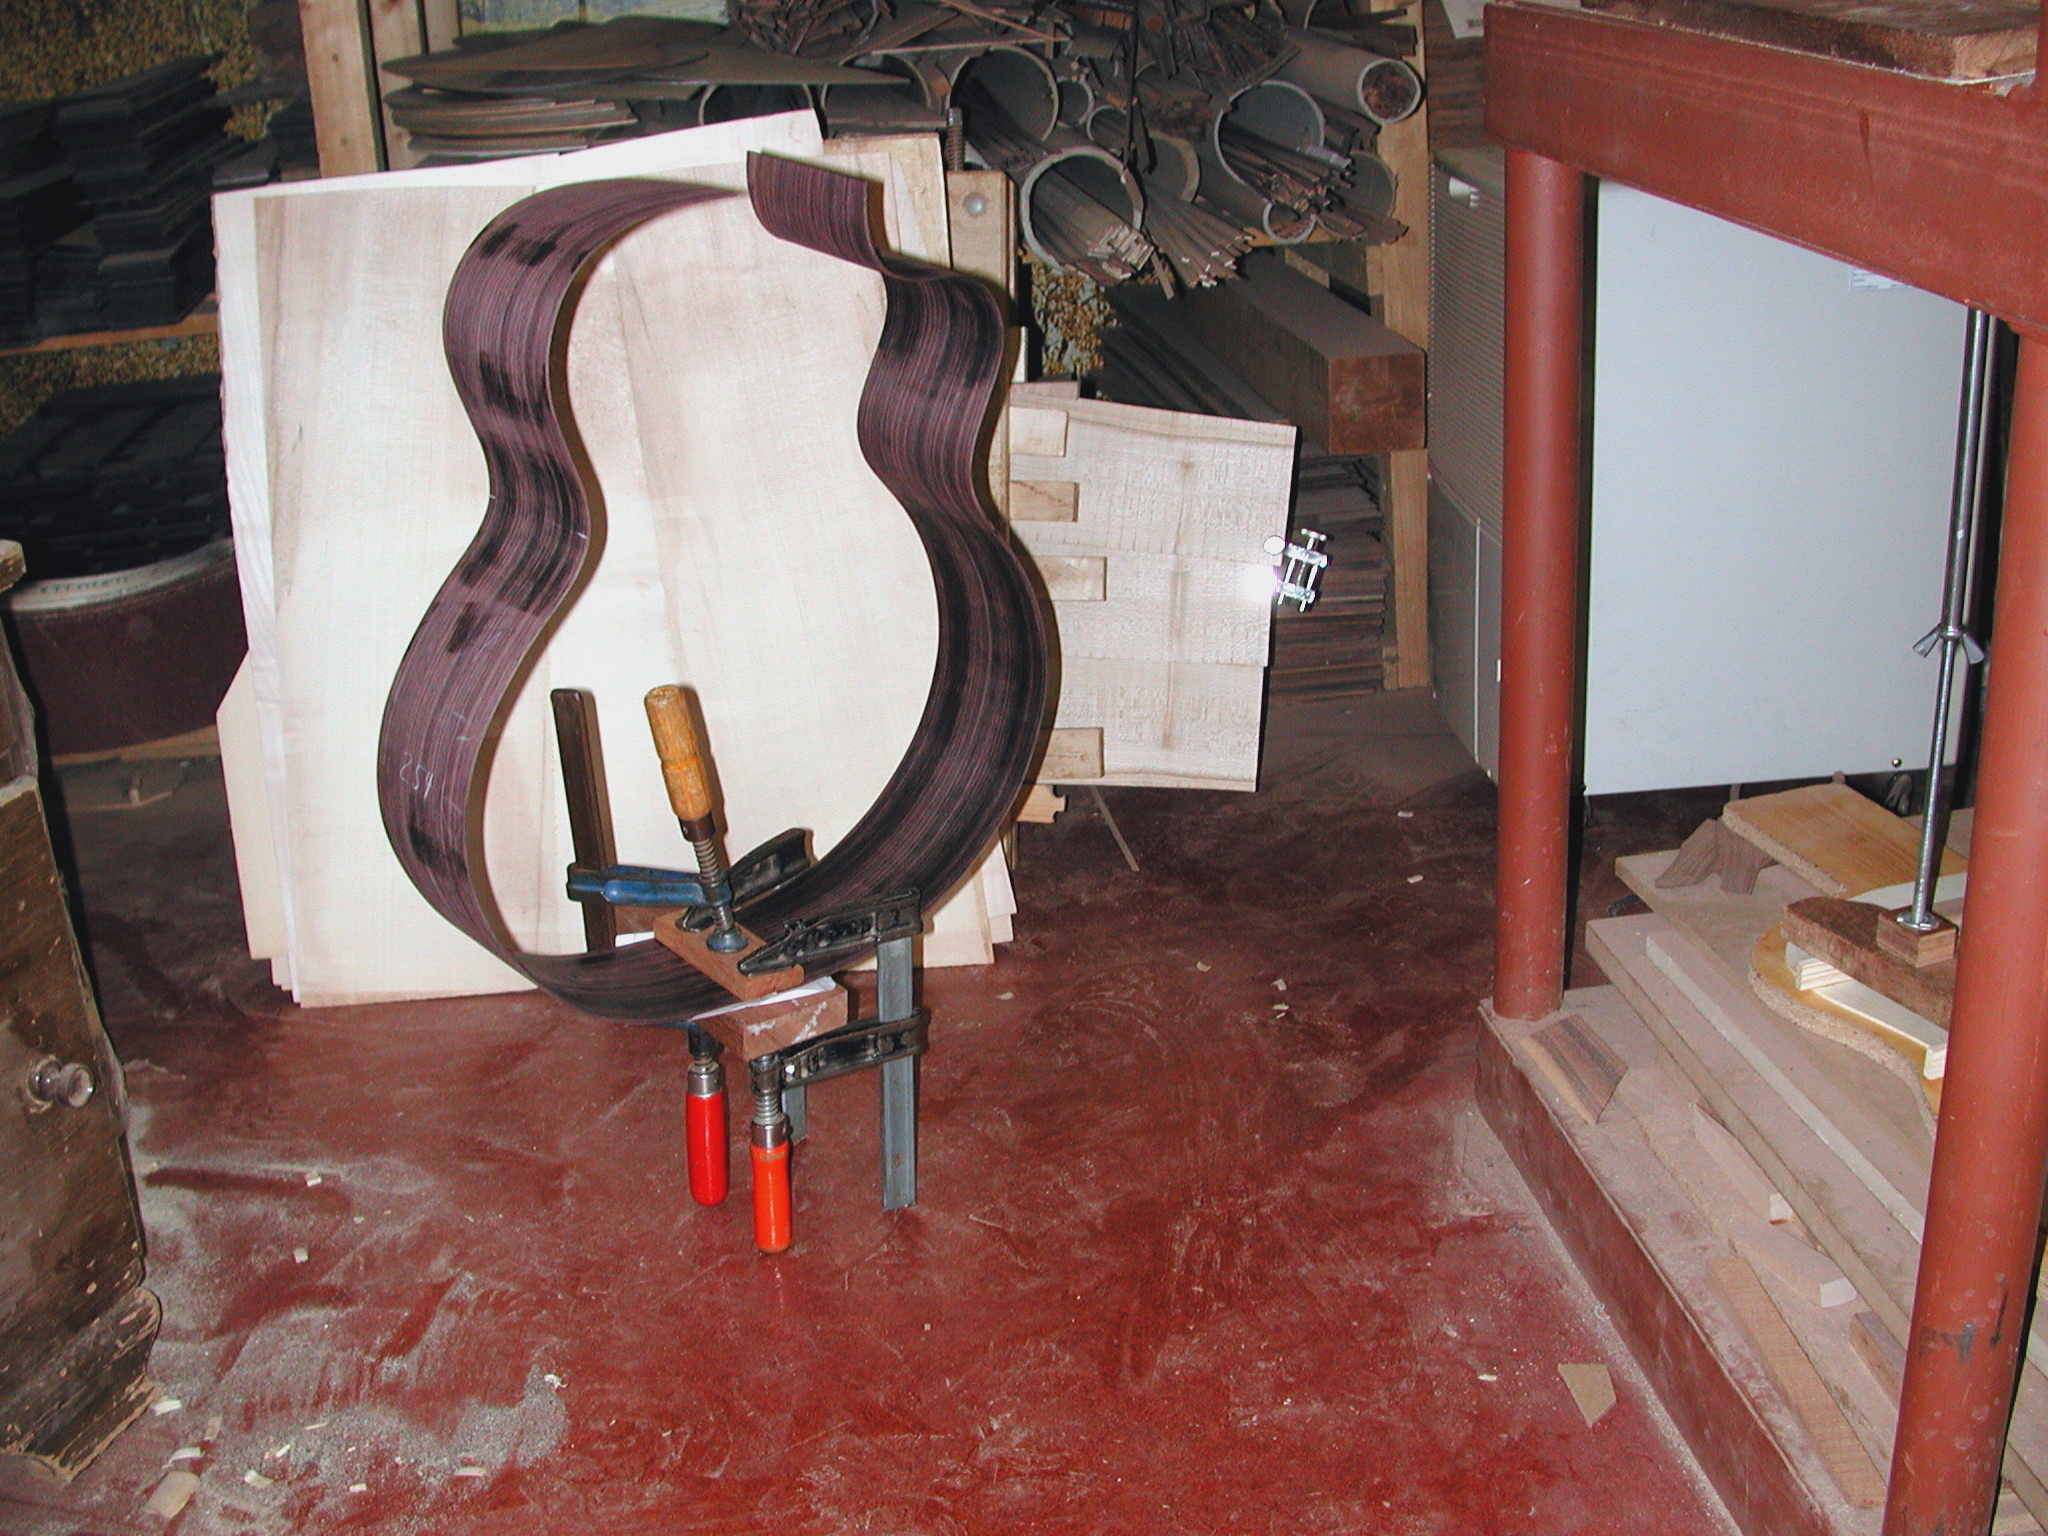
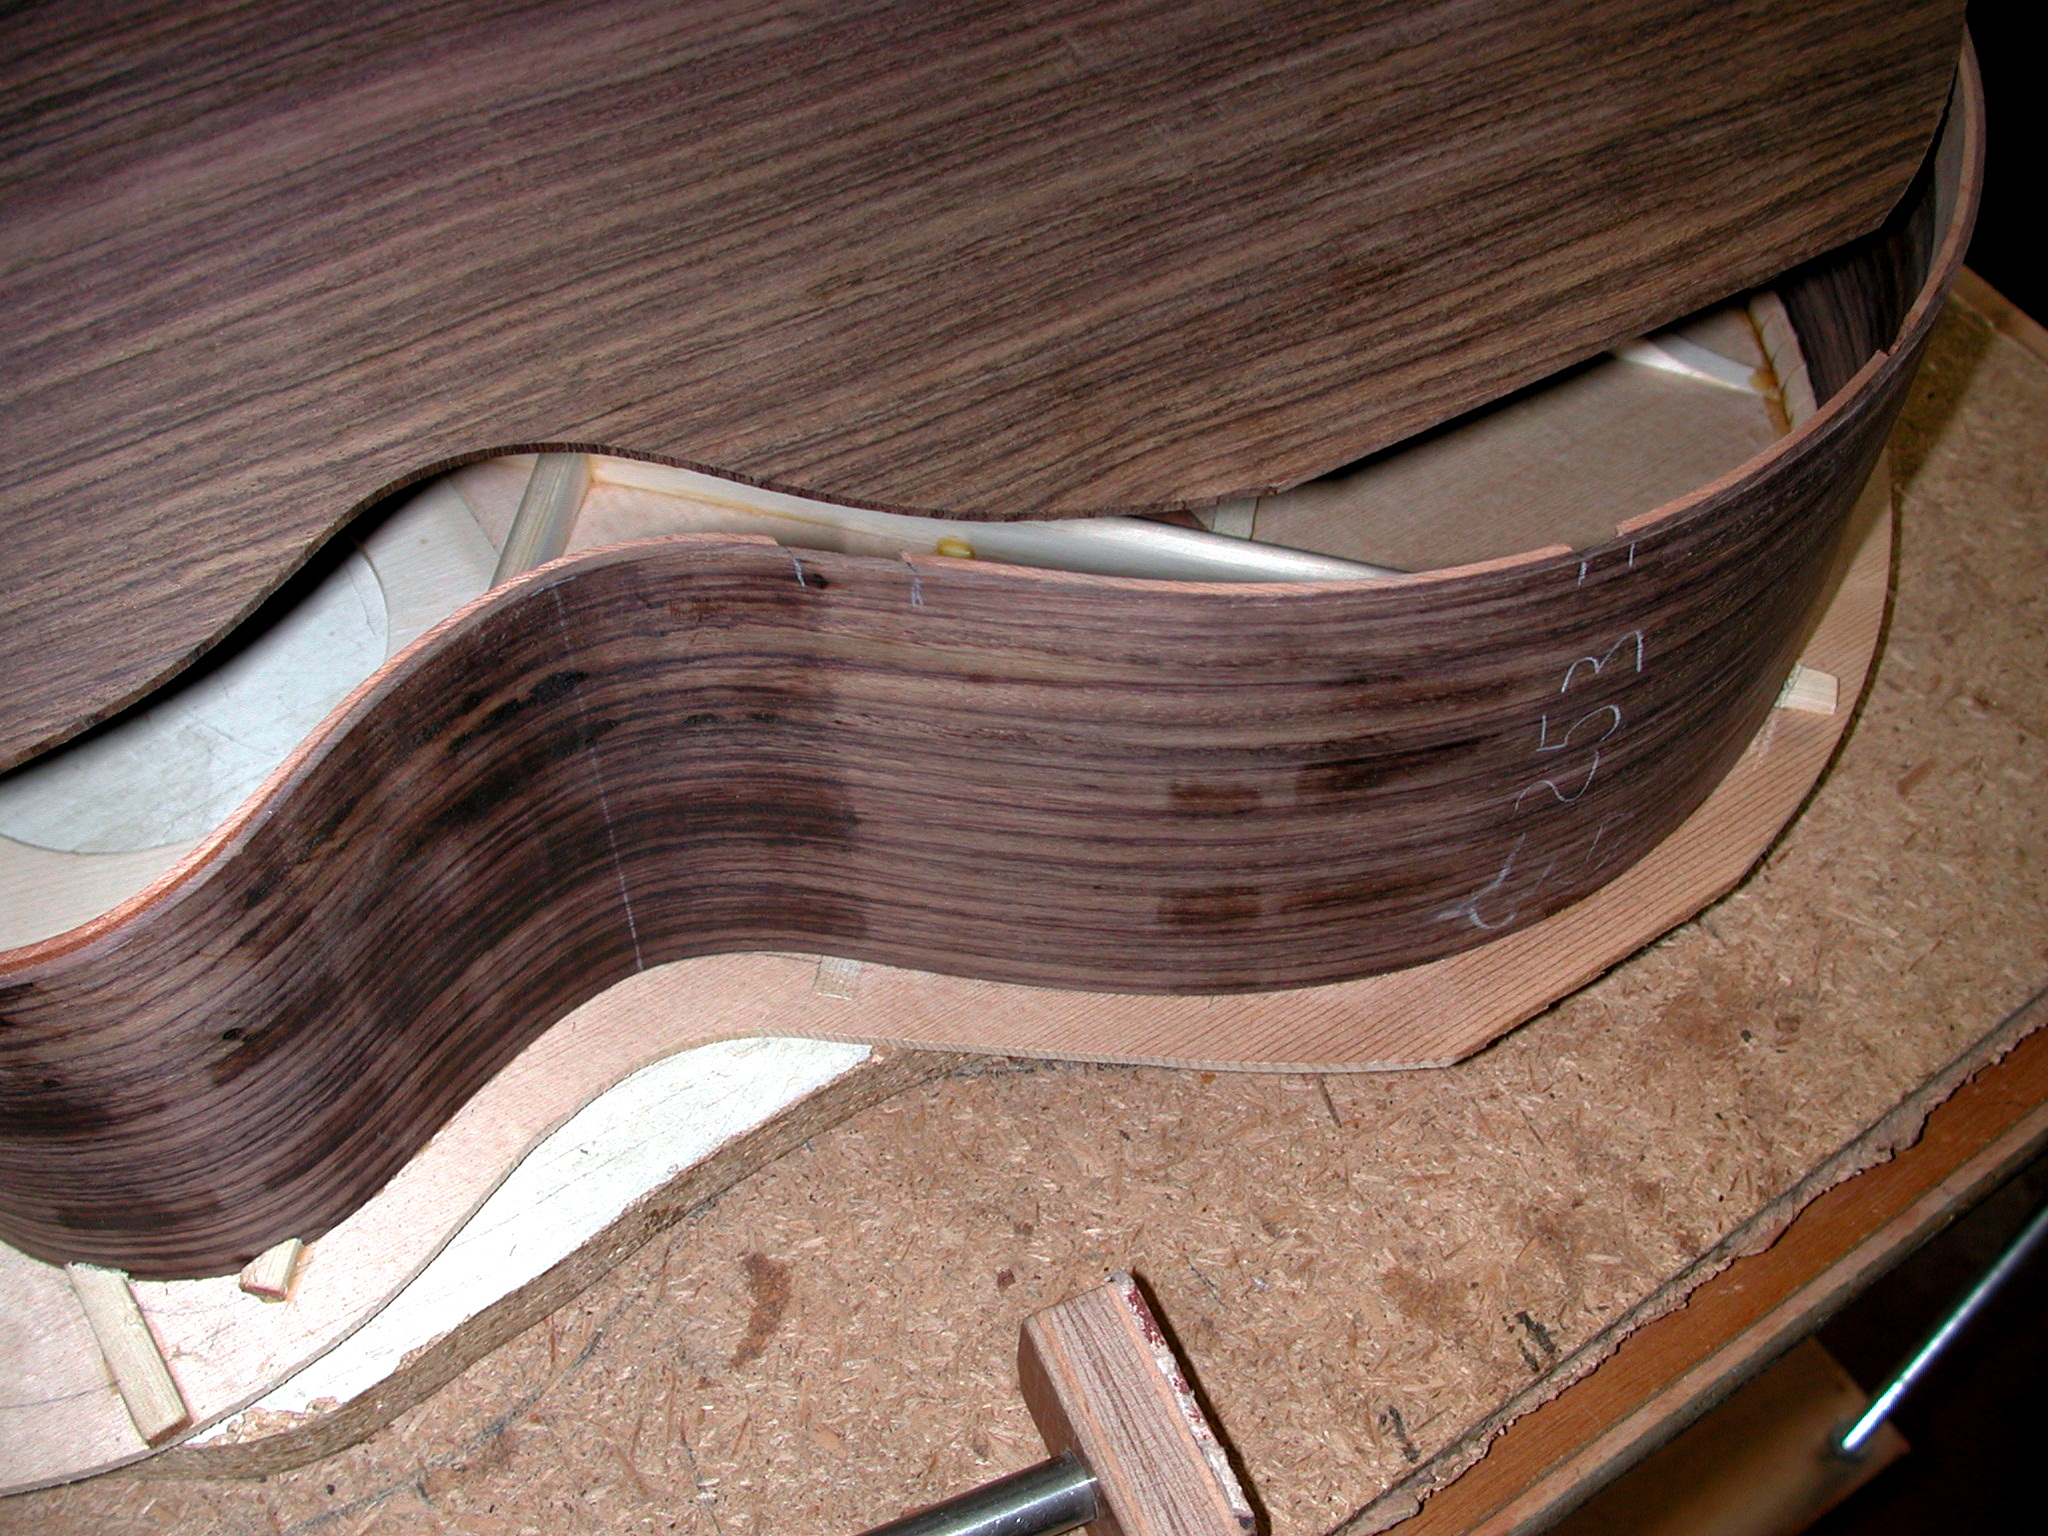
Sides: The sides are bended.
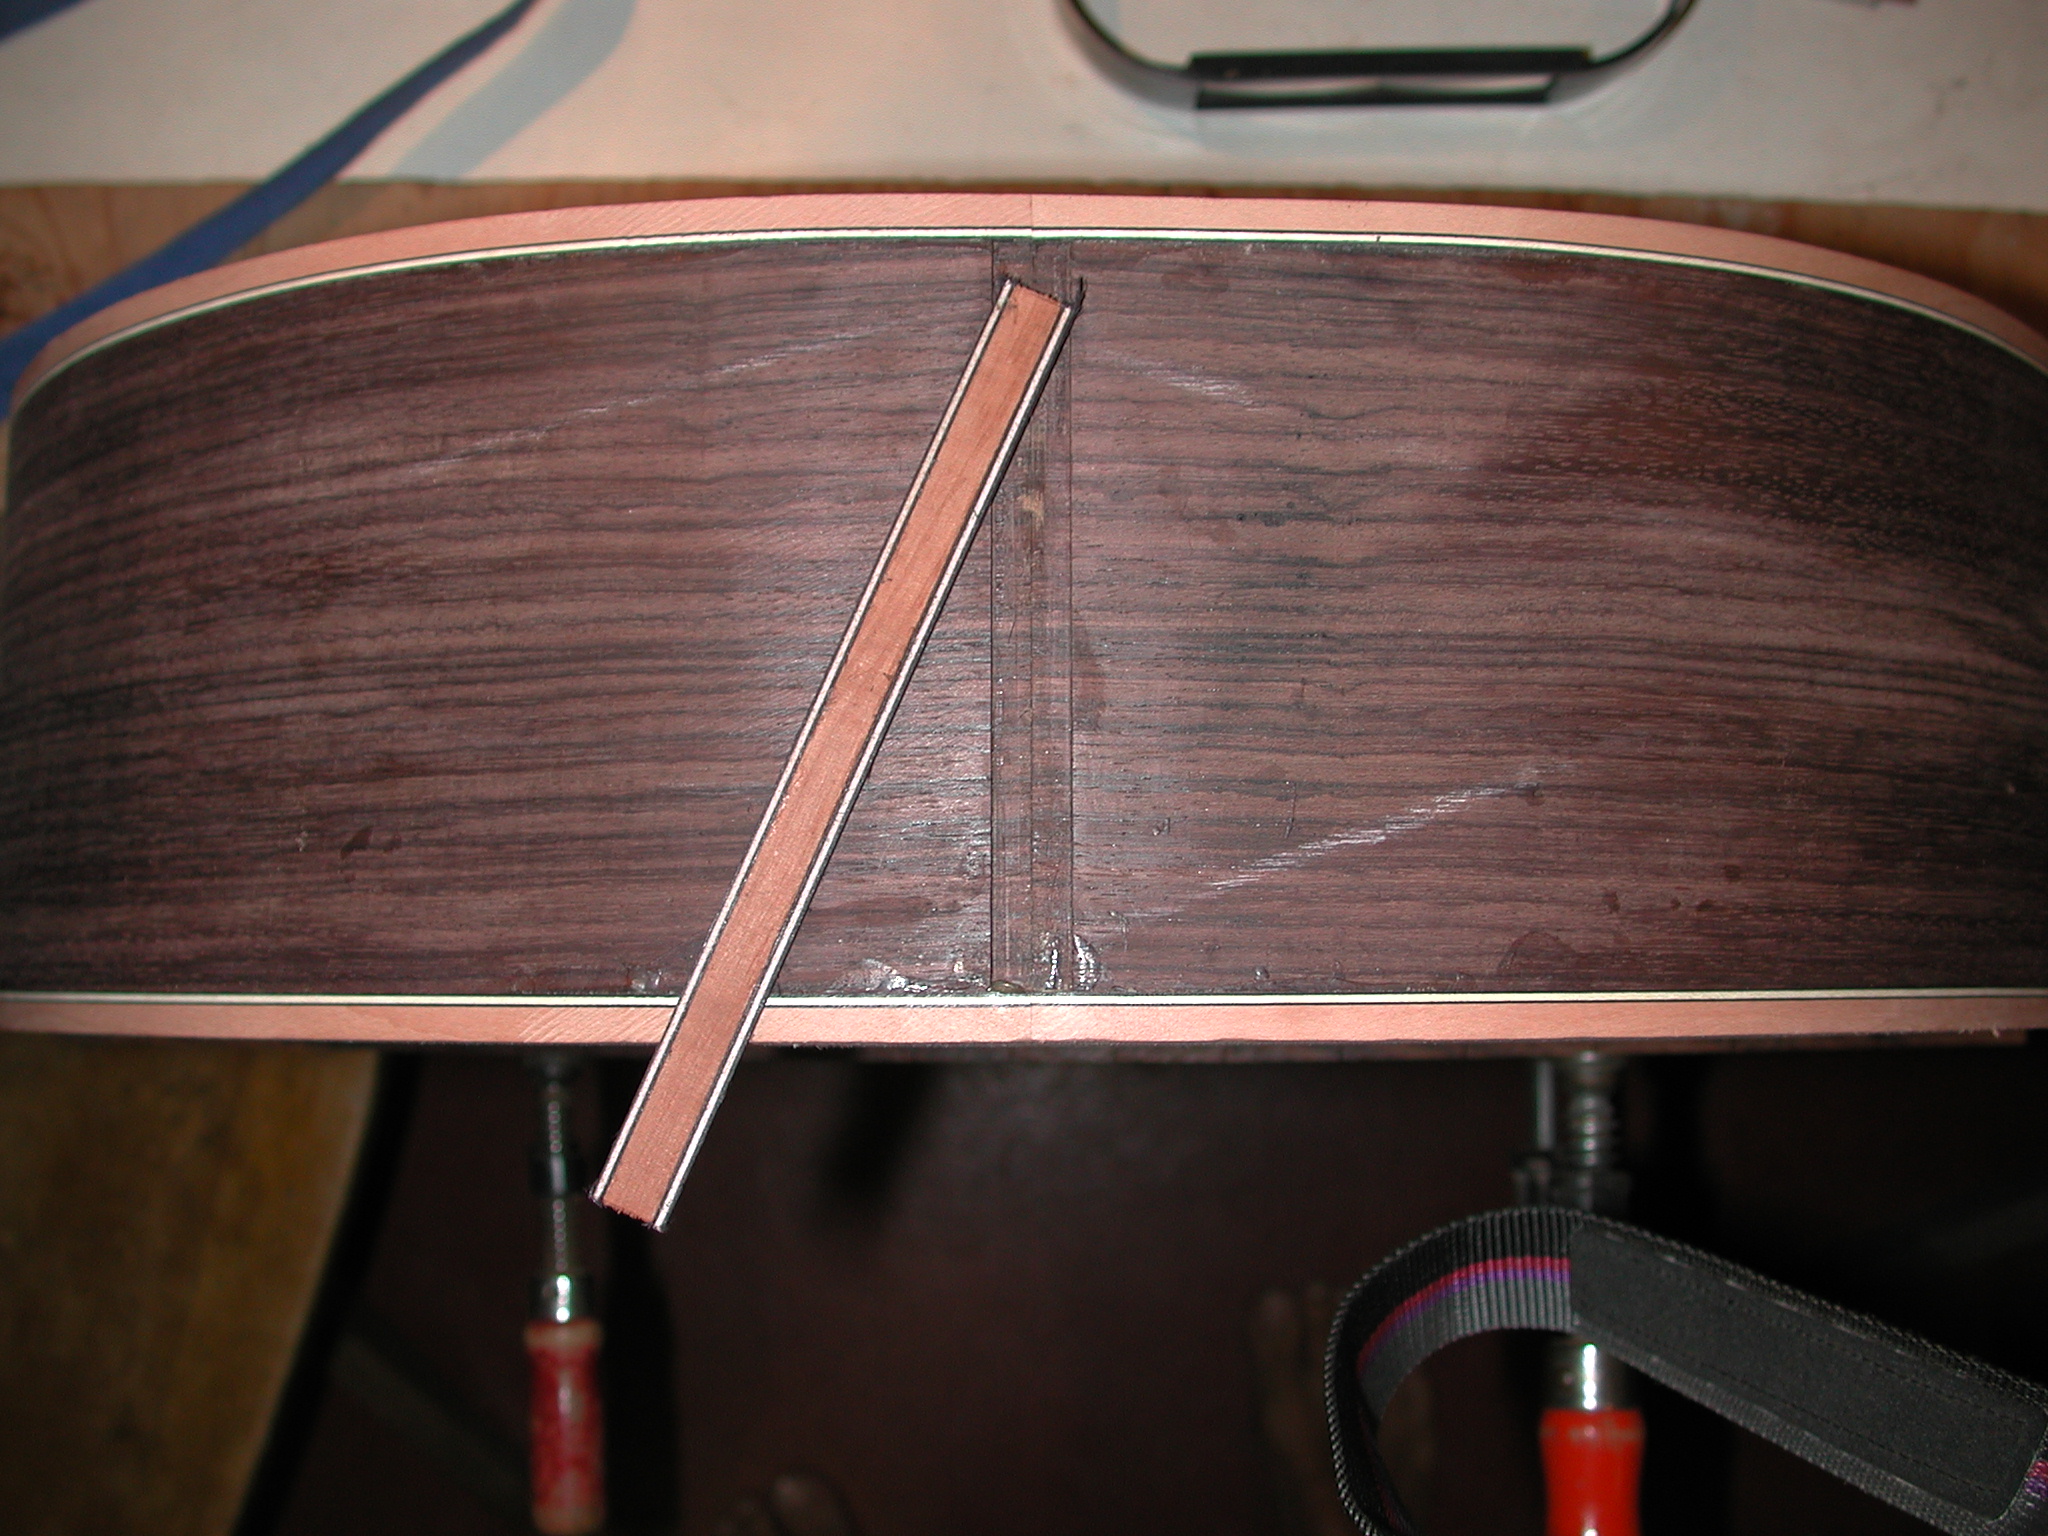
Sides: The sides are connected with the tailblock...
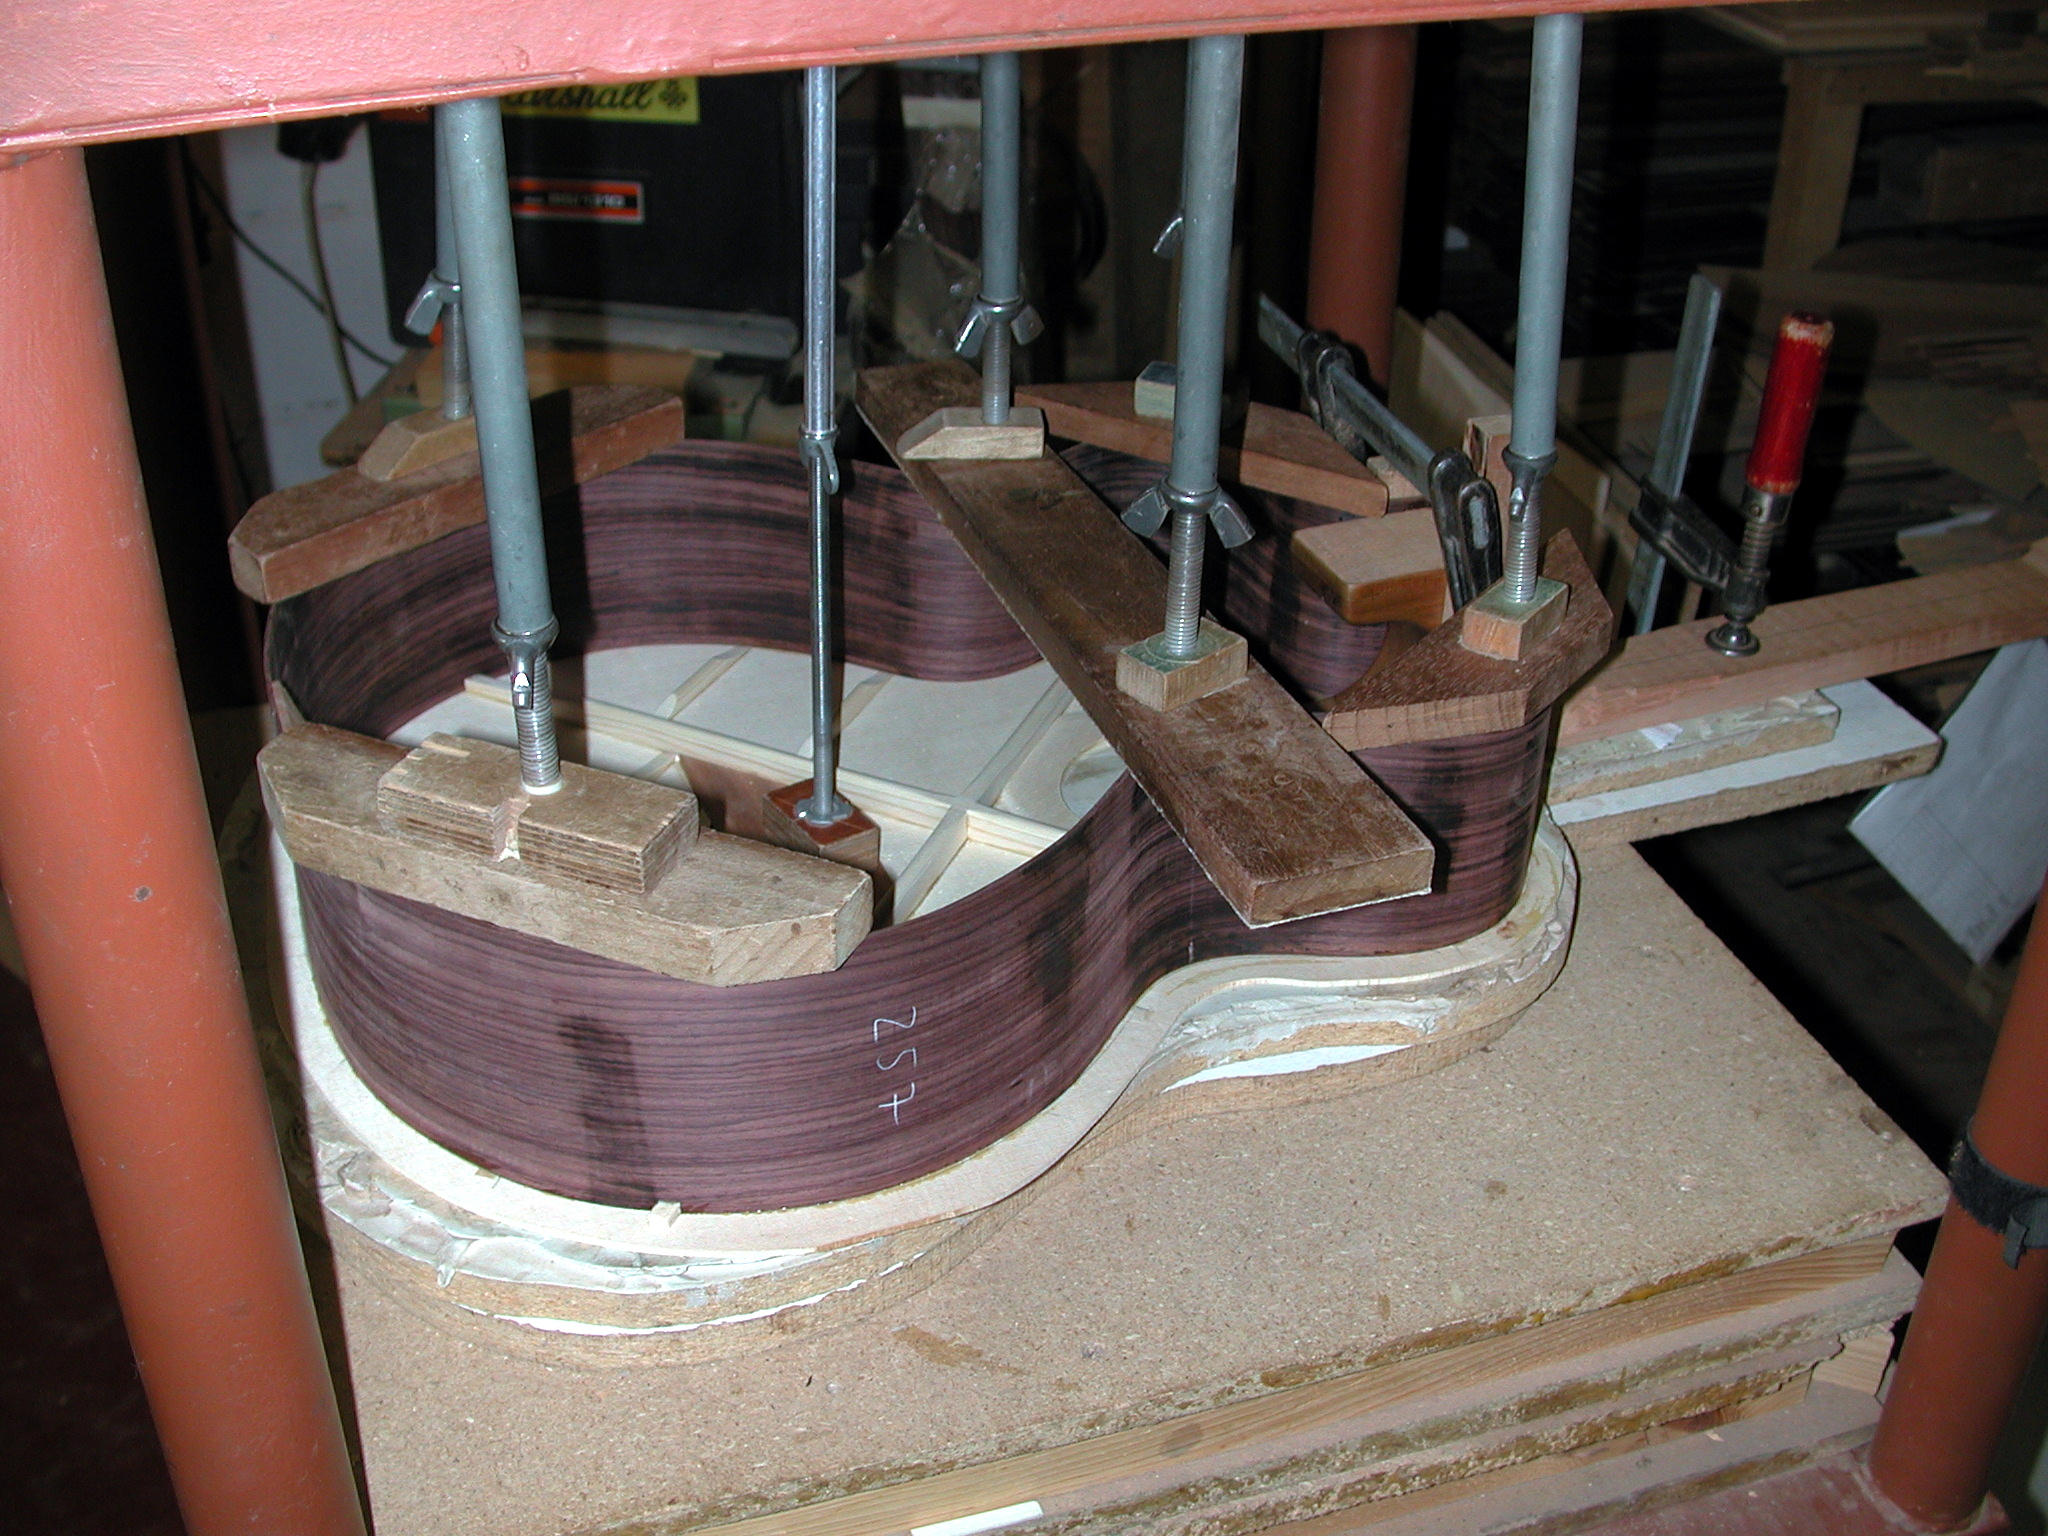
Sides: ... and glued to the top.
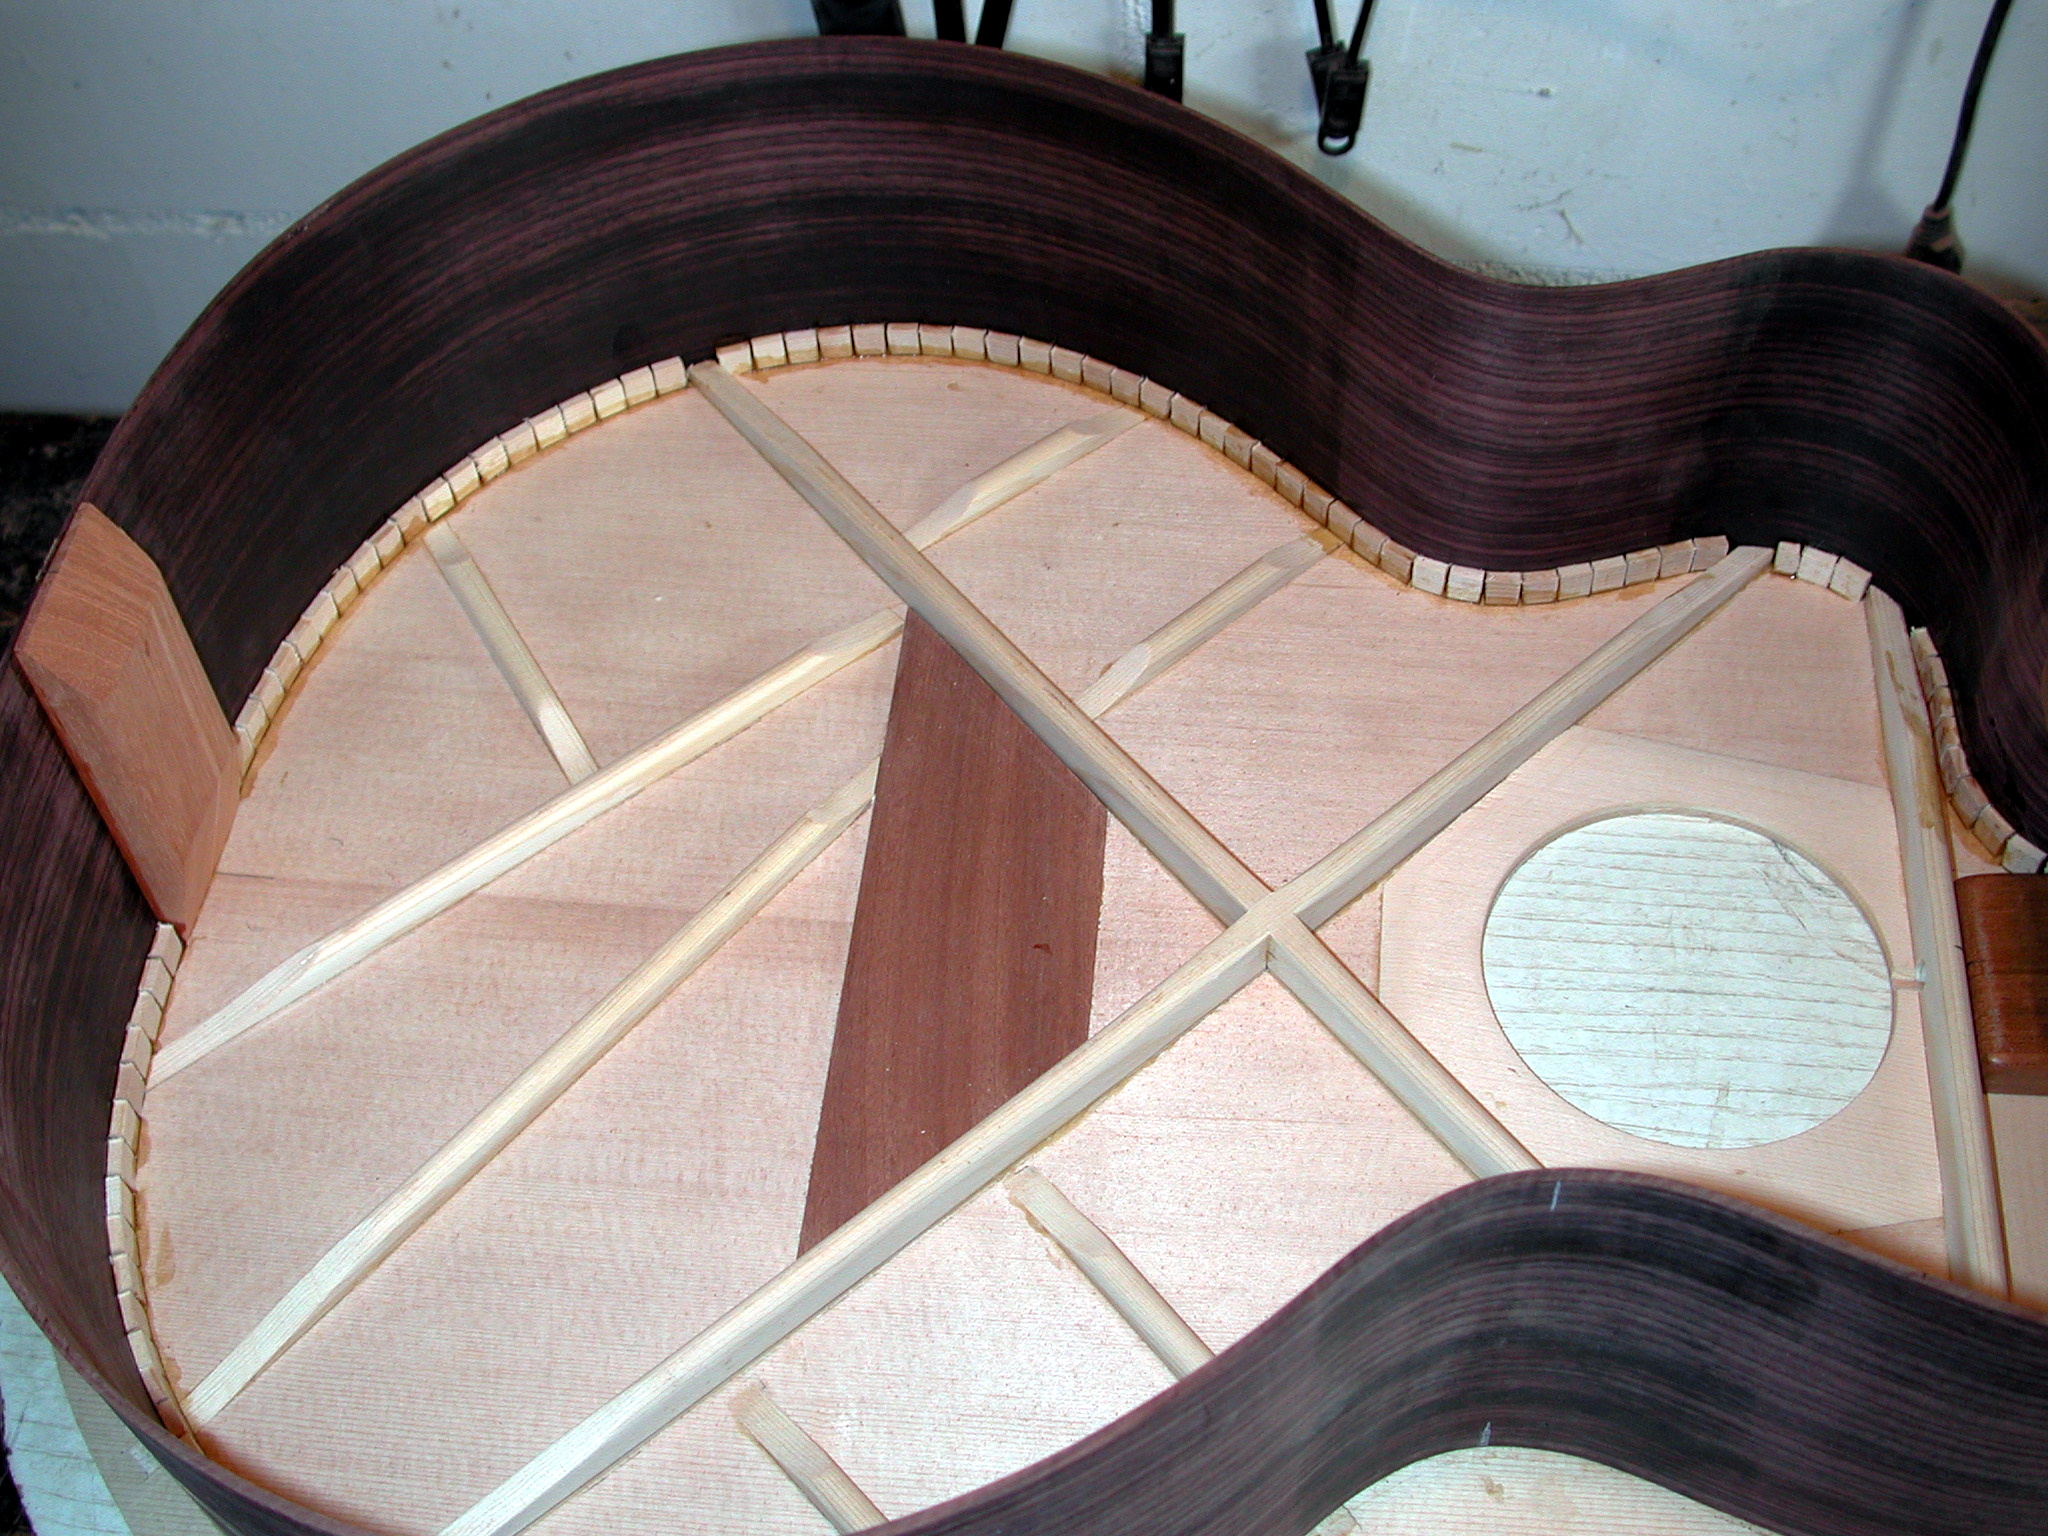
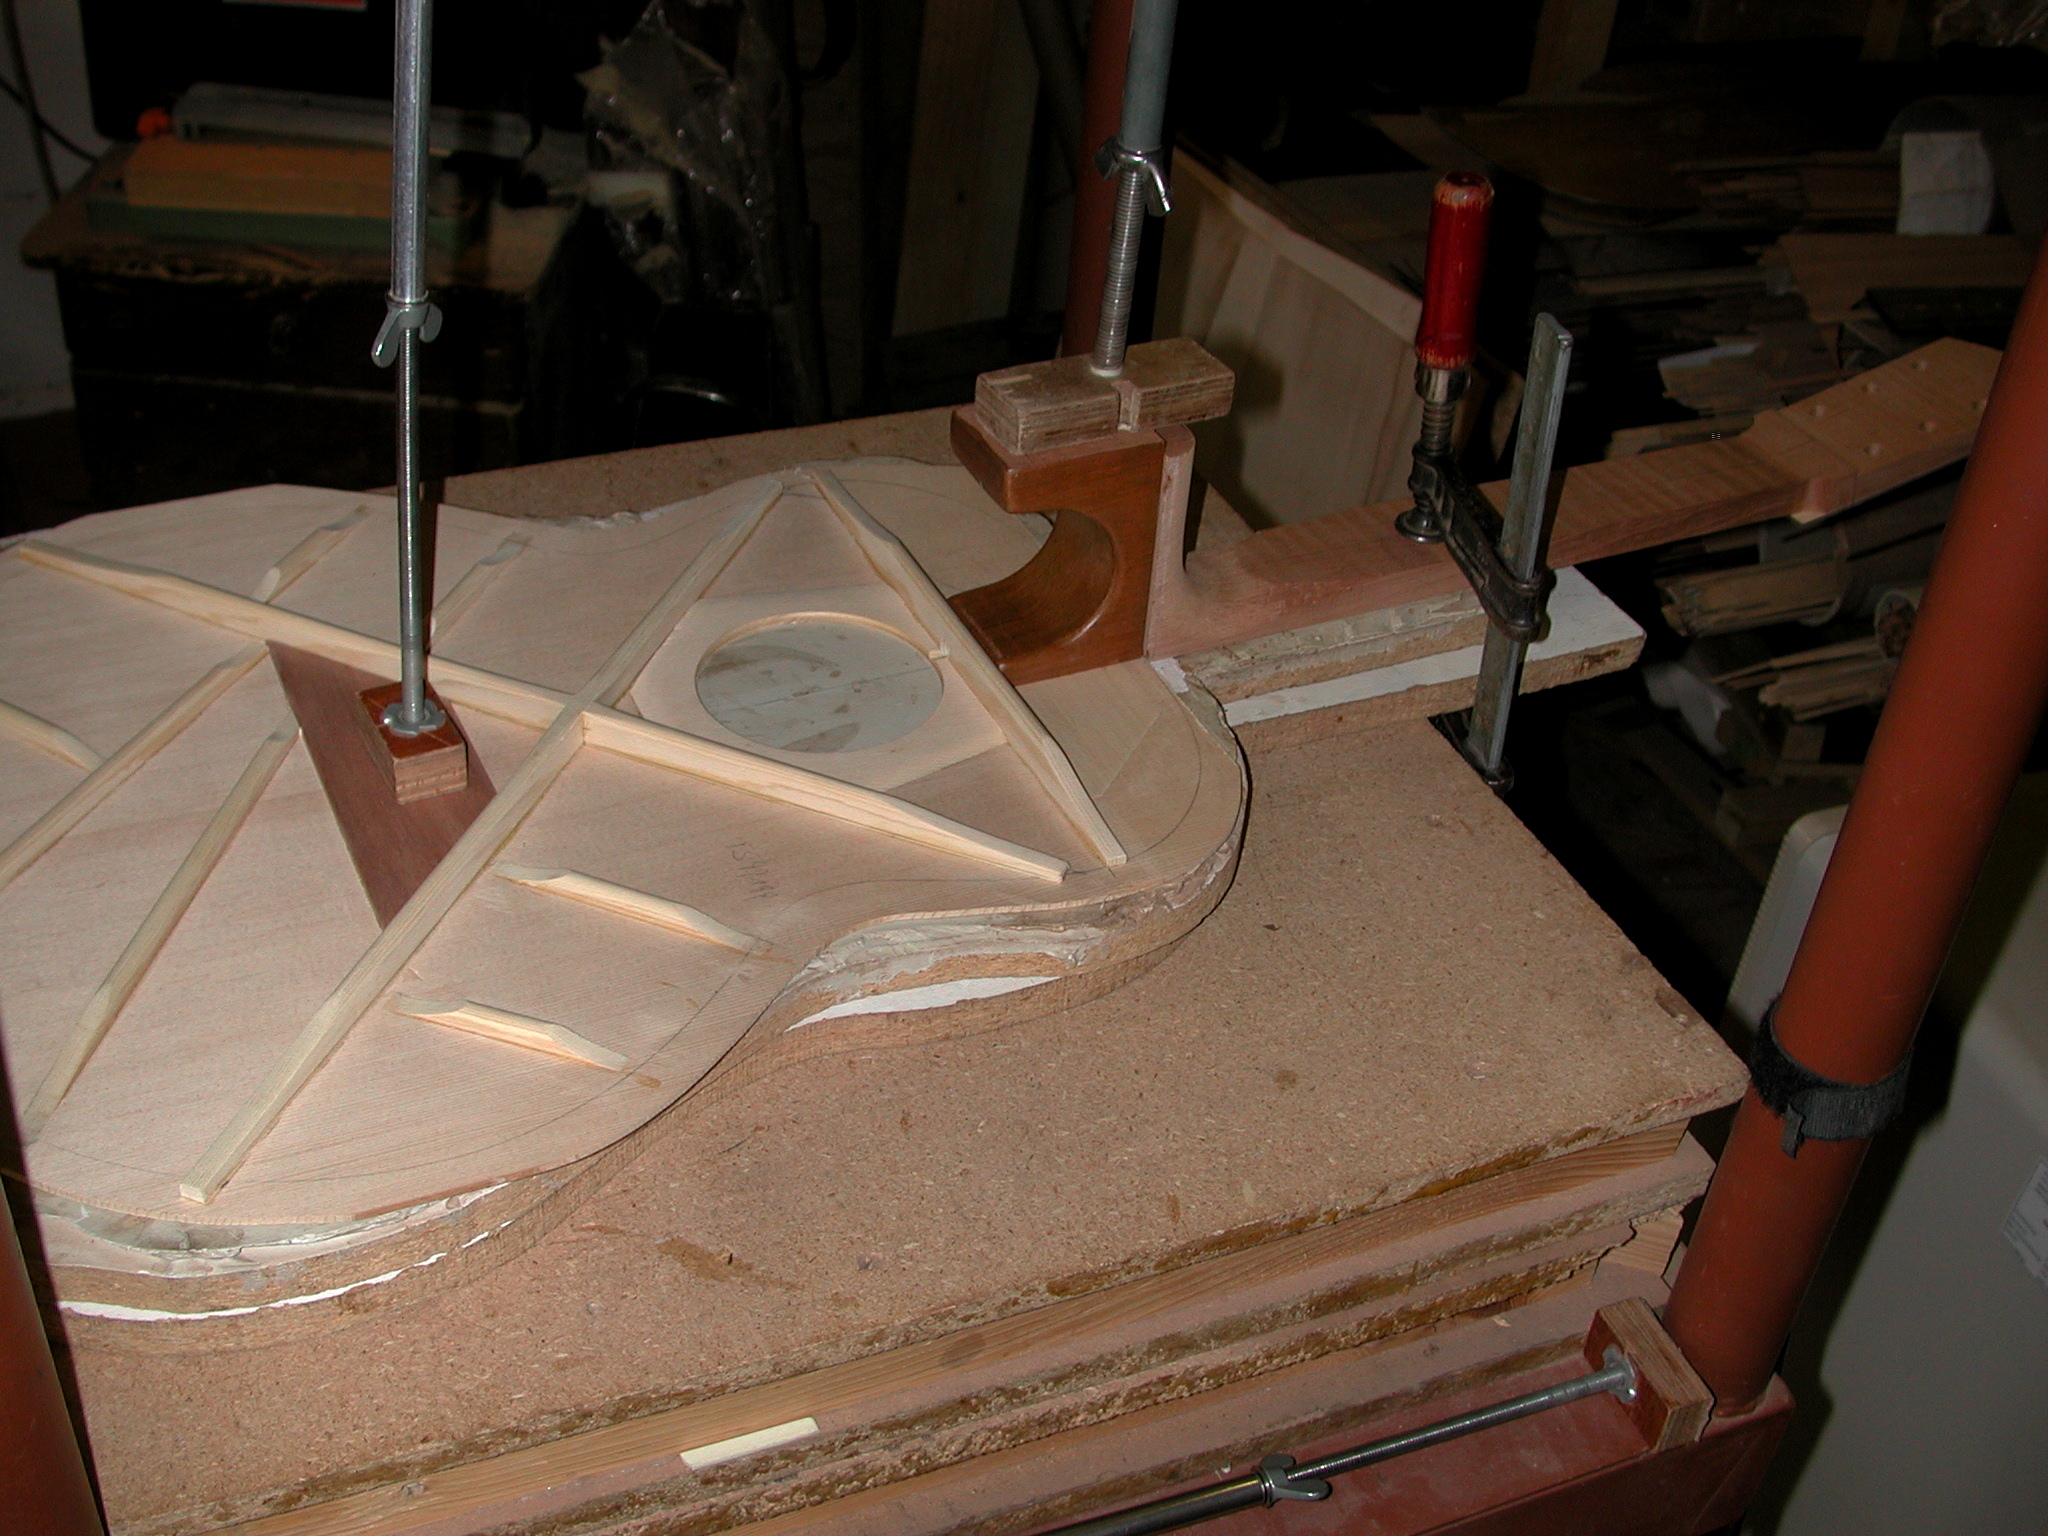
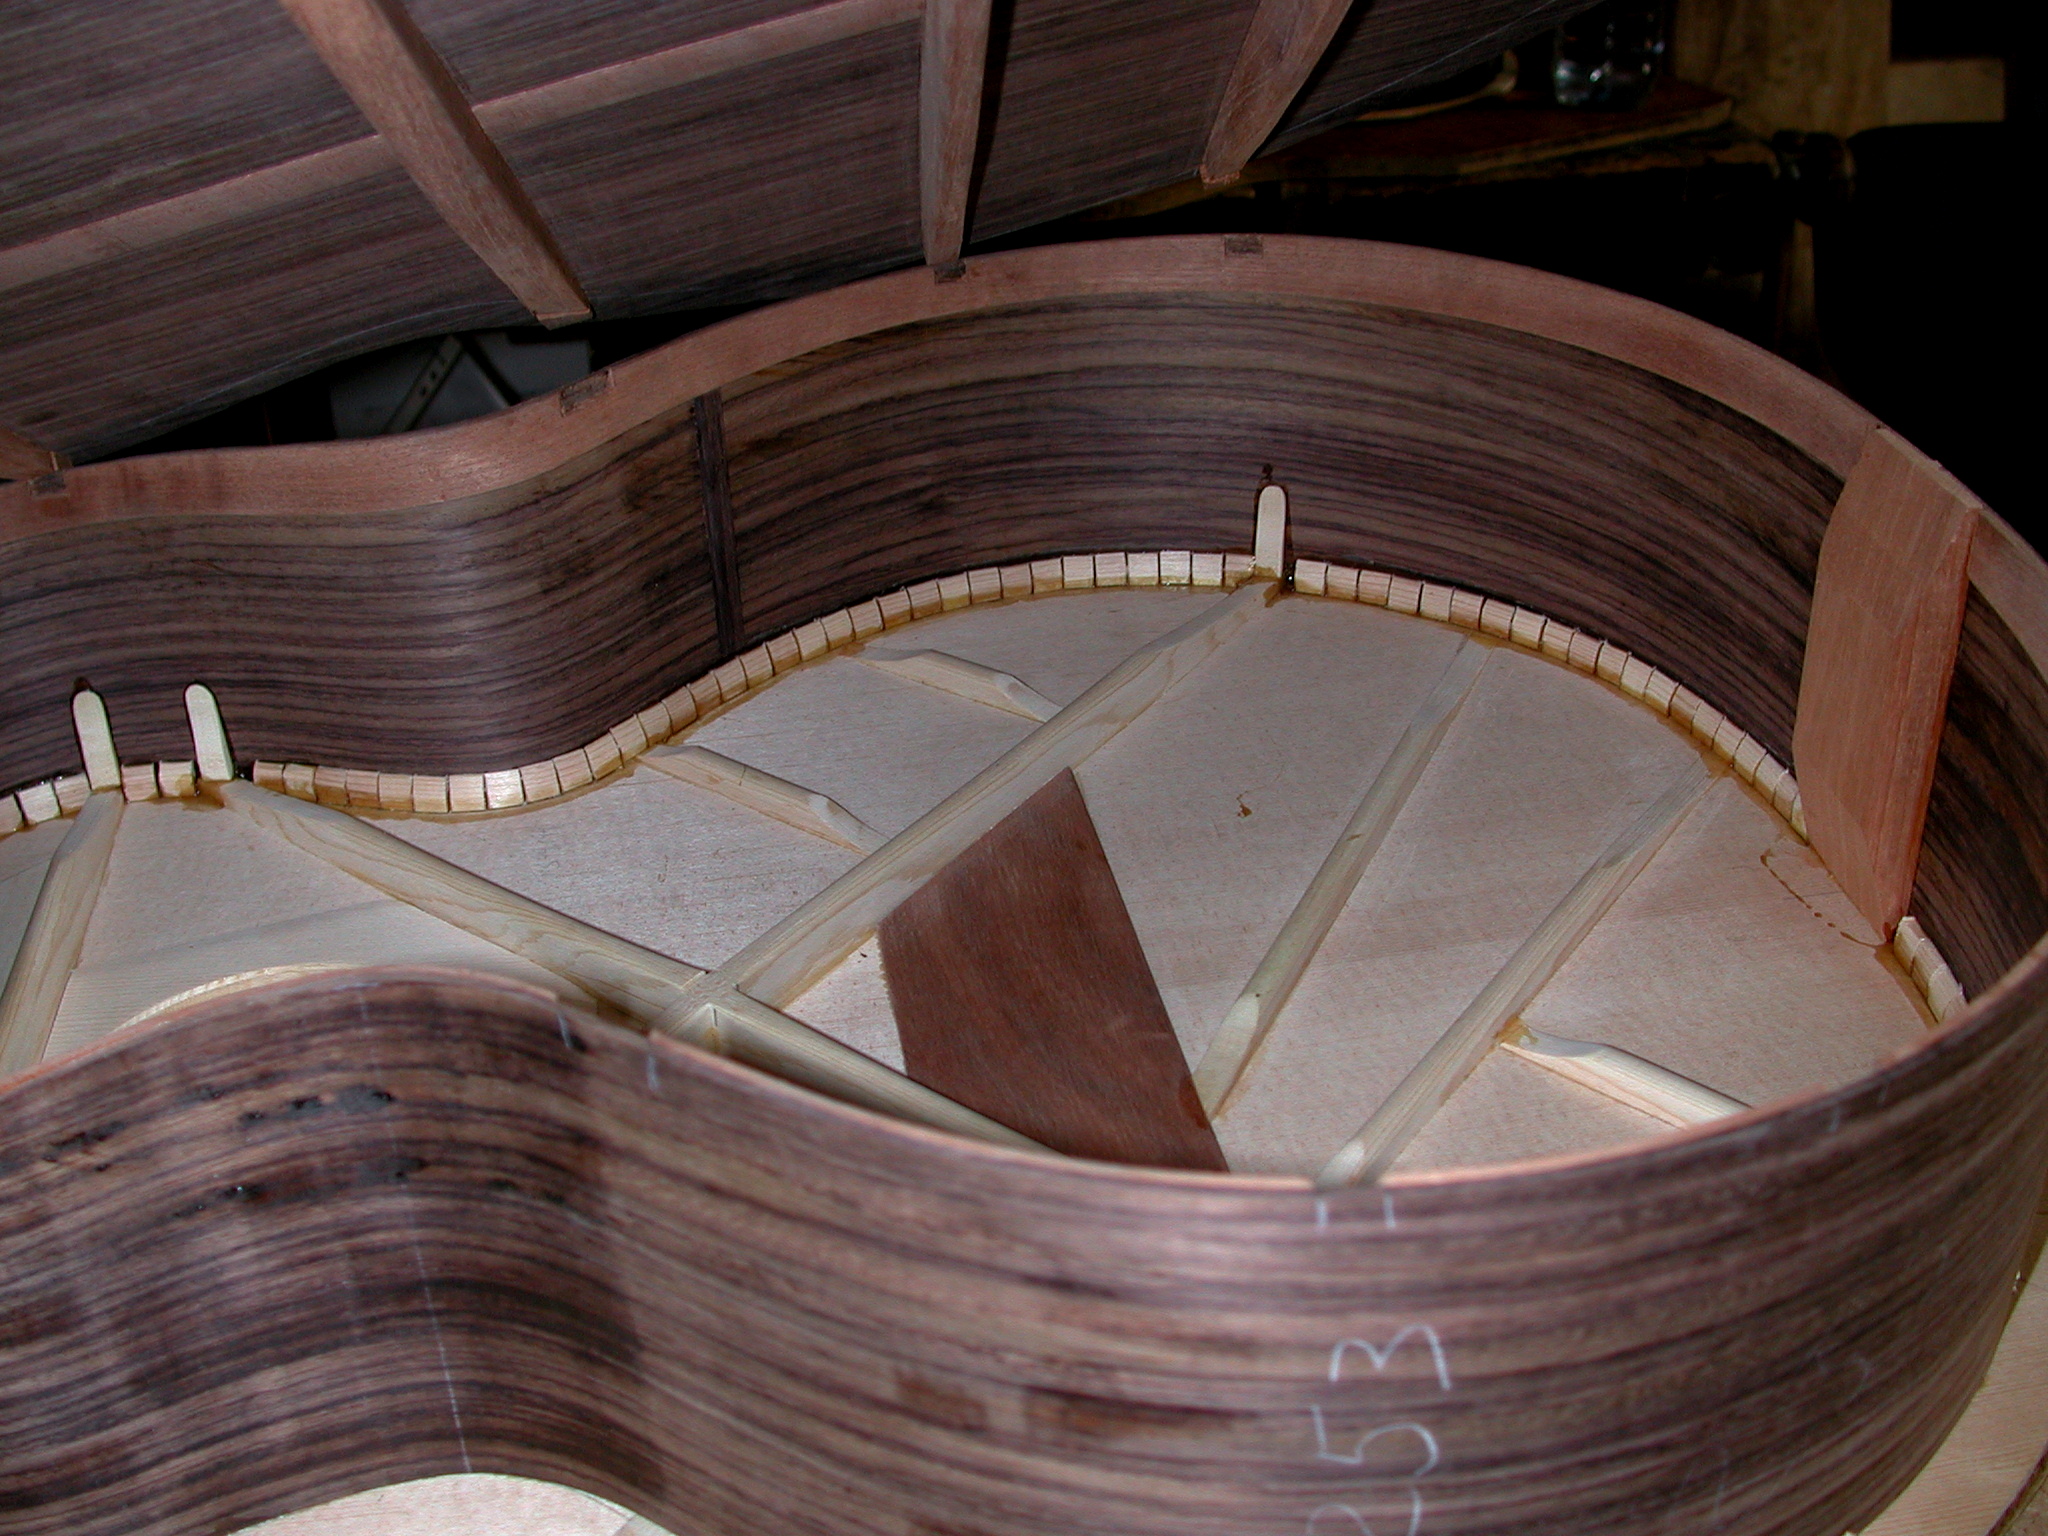
Top: As an inside lining we use single blocks.
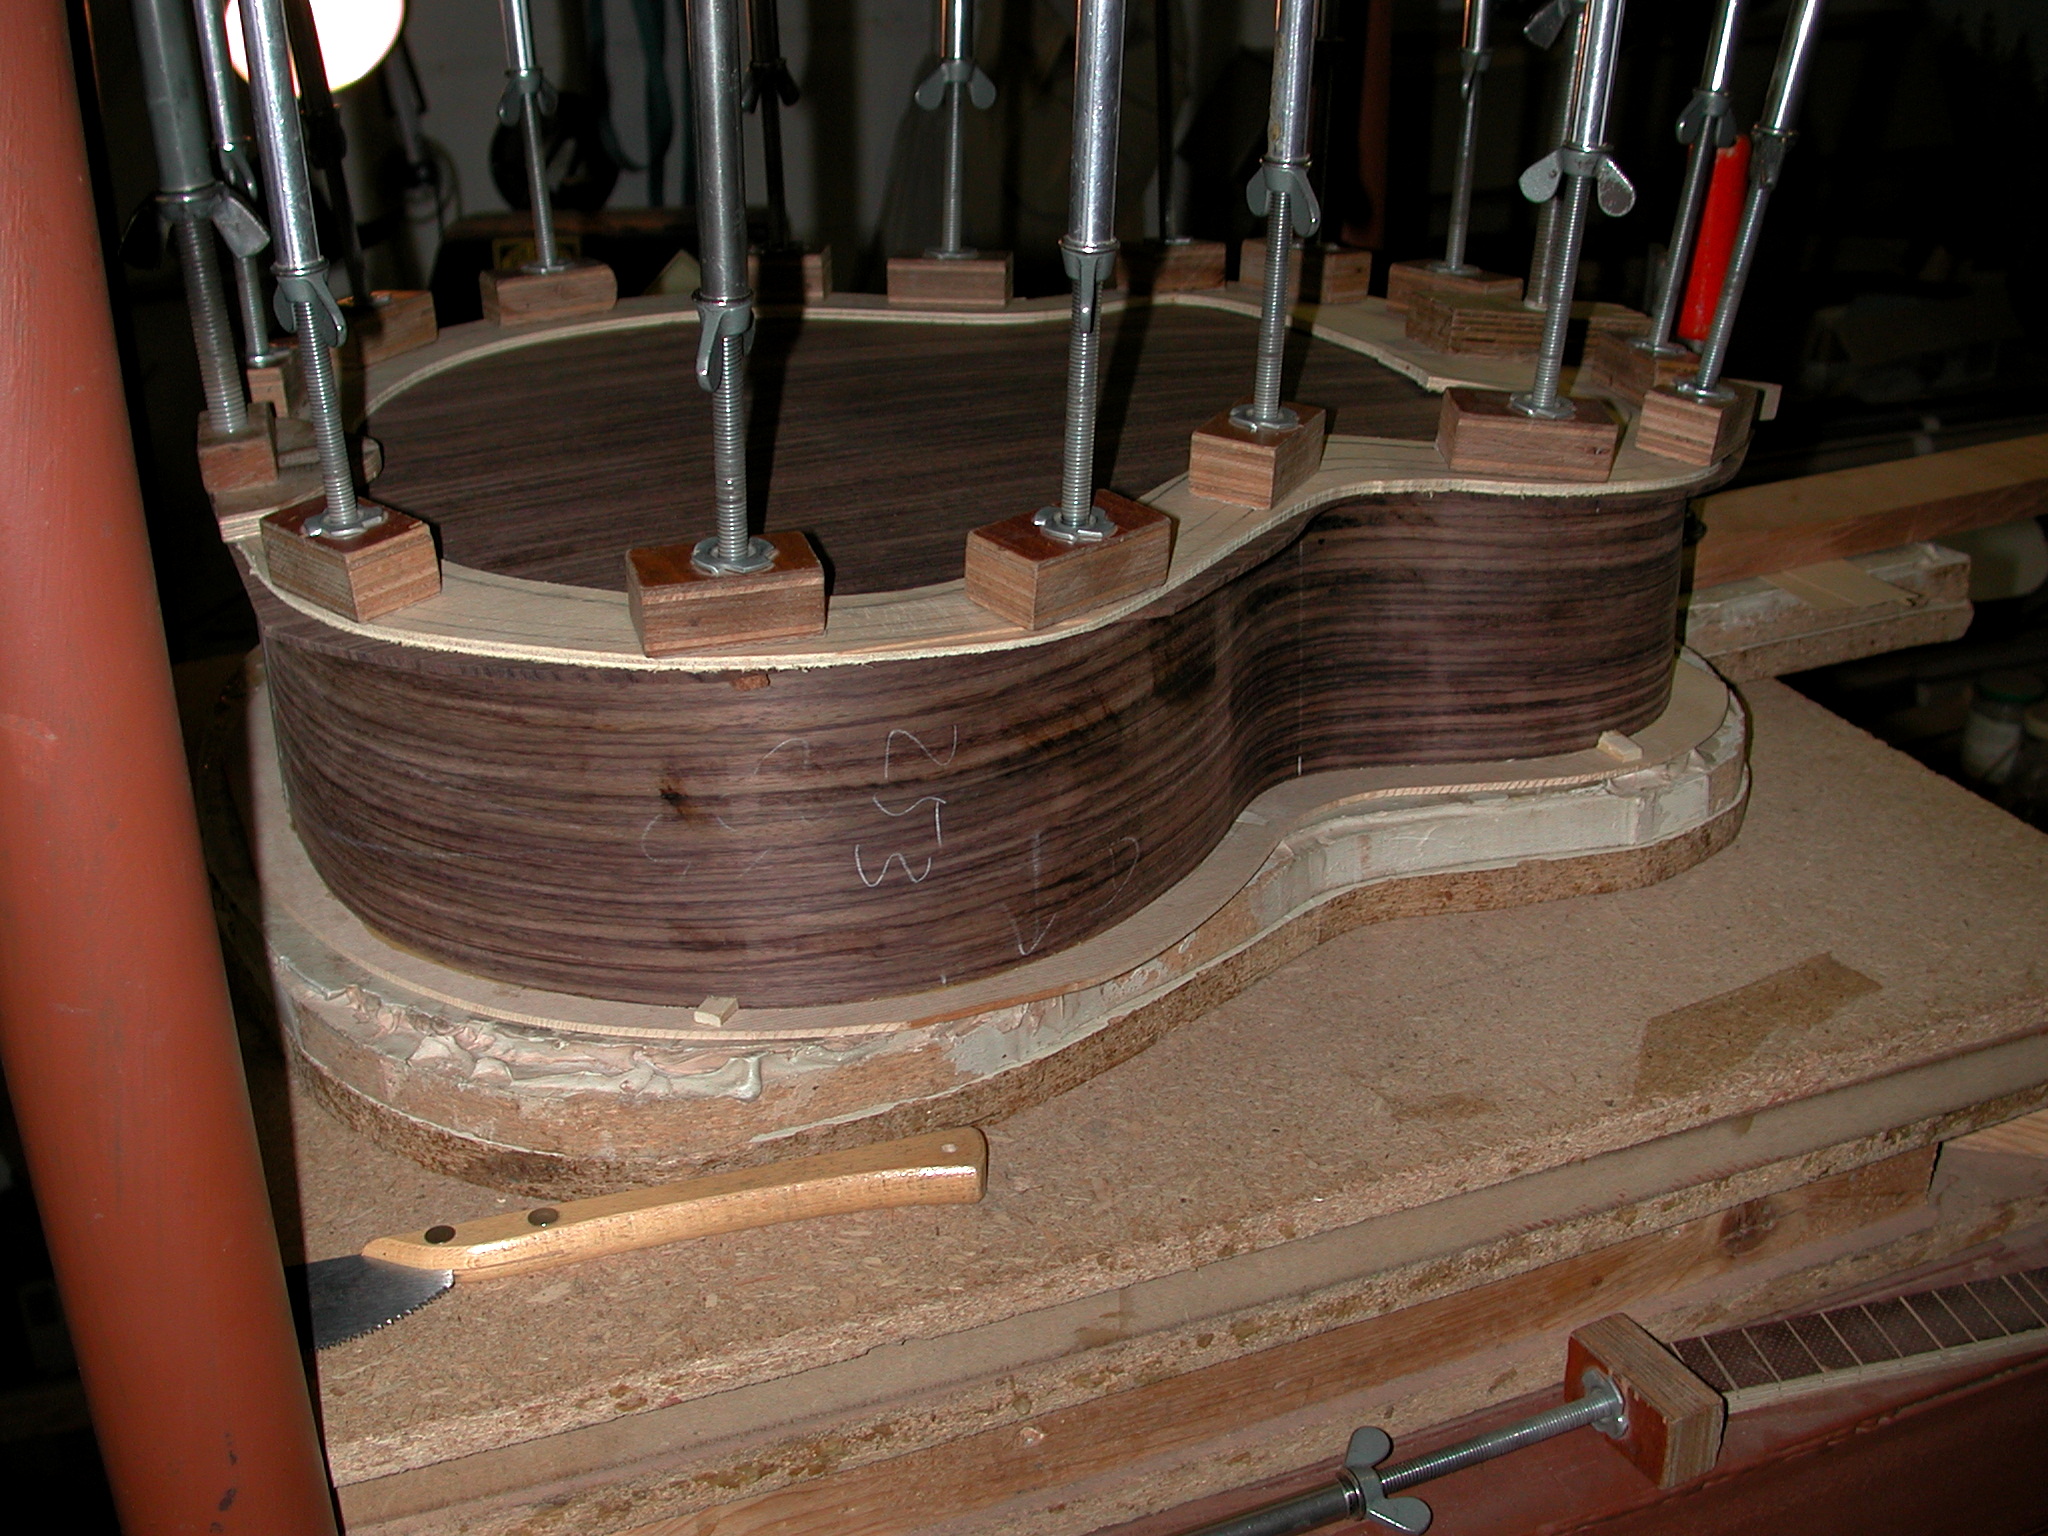
Sides: The linings are glued.

Sides: The backbracing is fitted into the linings.
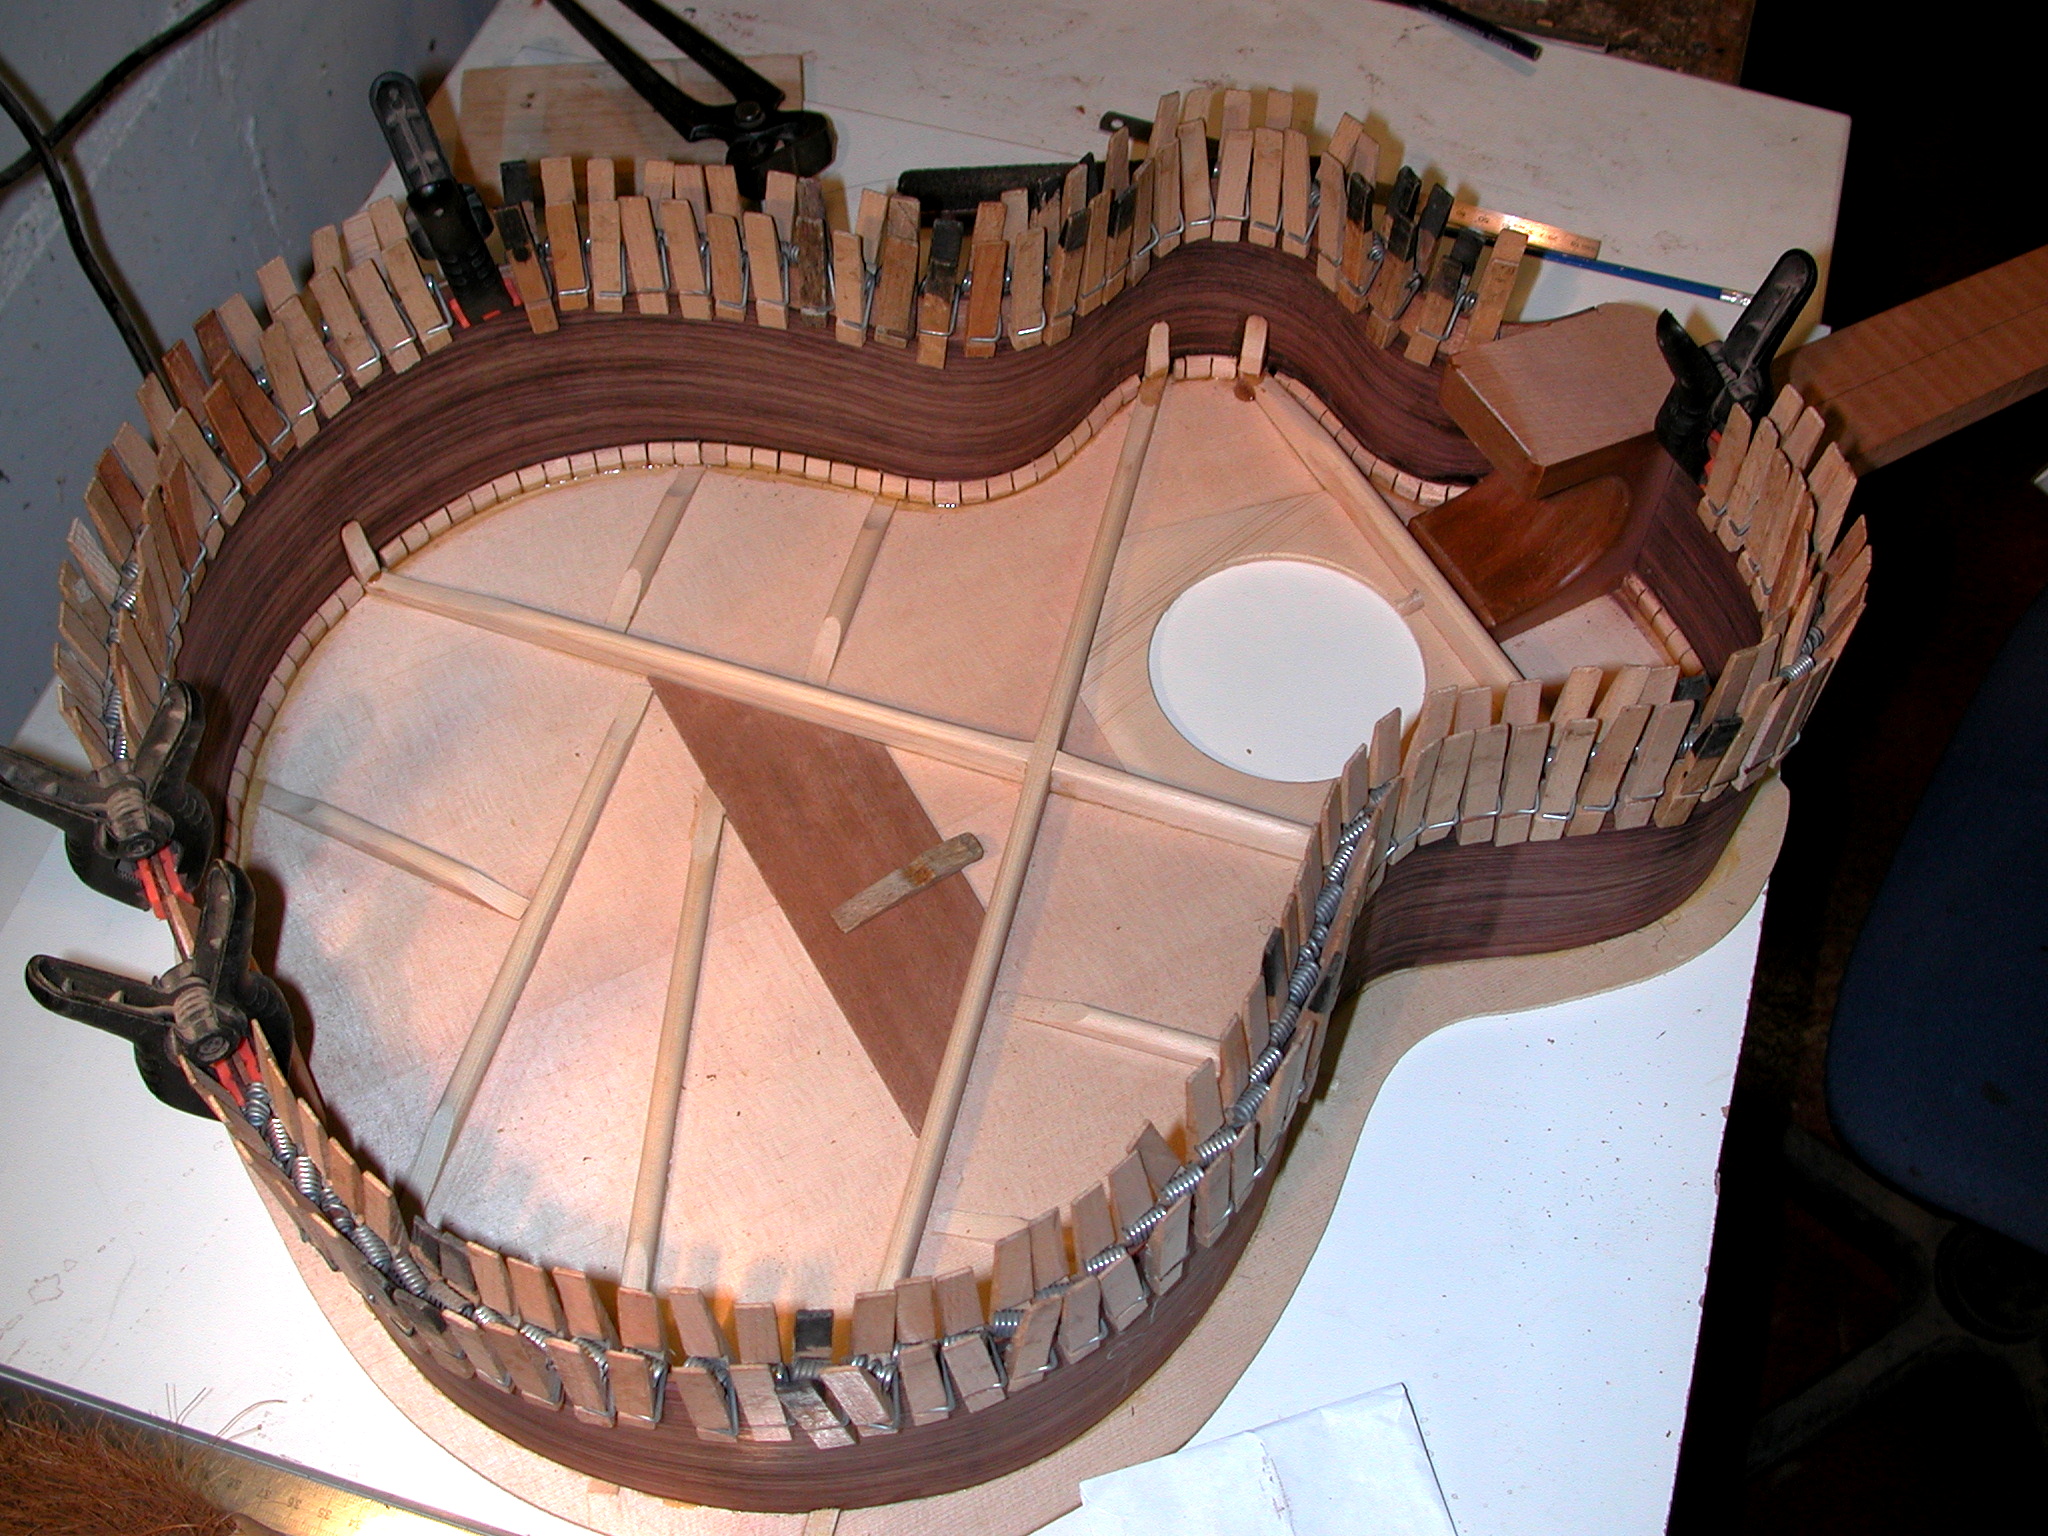
Back: The guitar is ready for glueing the back.
Back: The back is adjusted...
Back: ...and glued.
"Raw" guitar: Now it looks almost like a guitar.
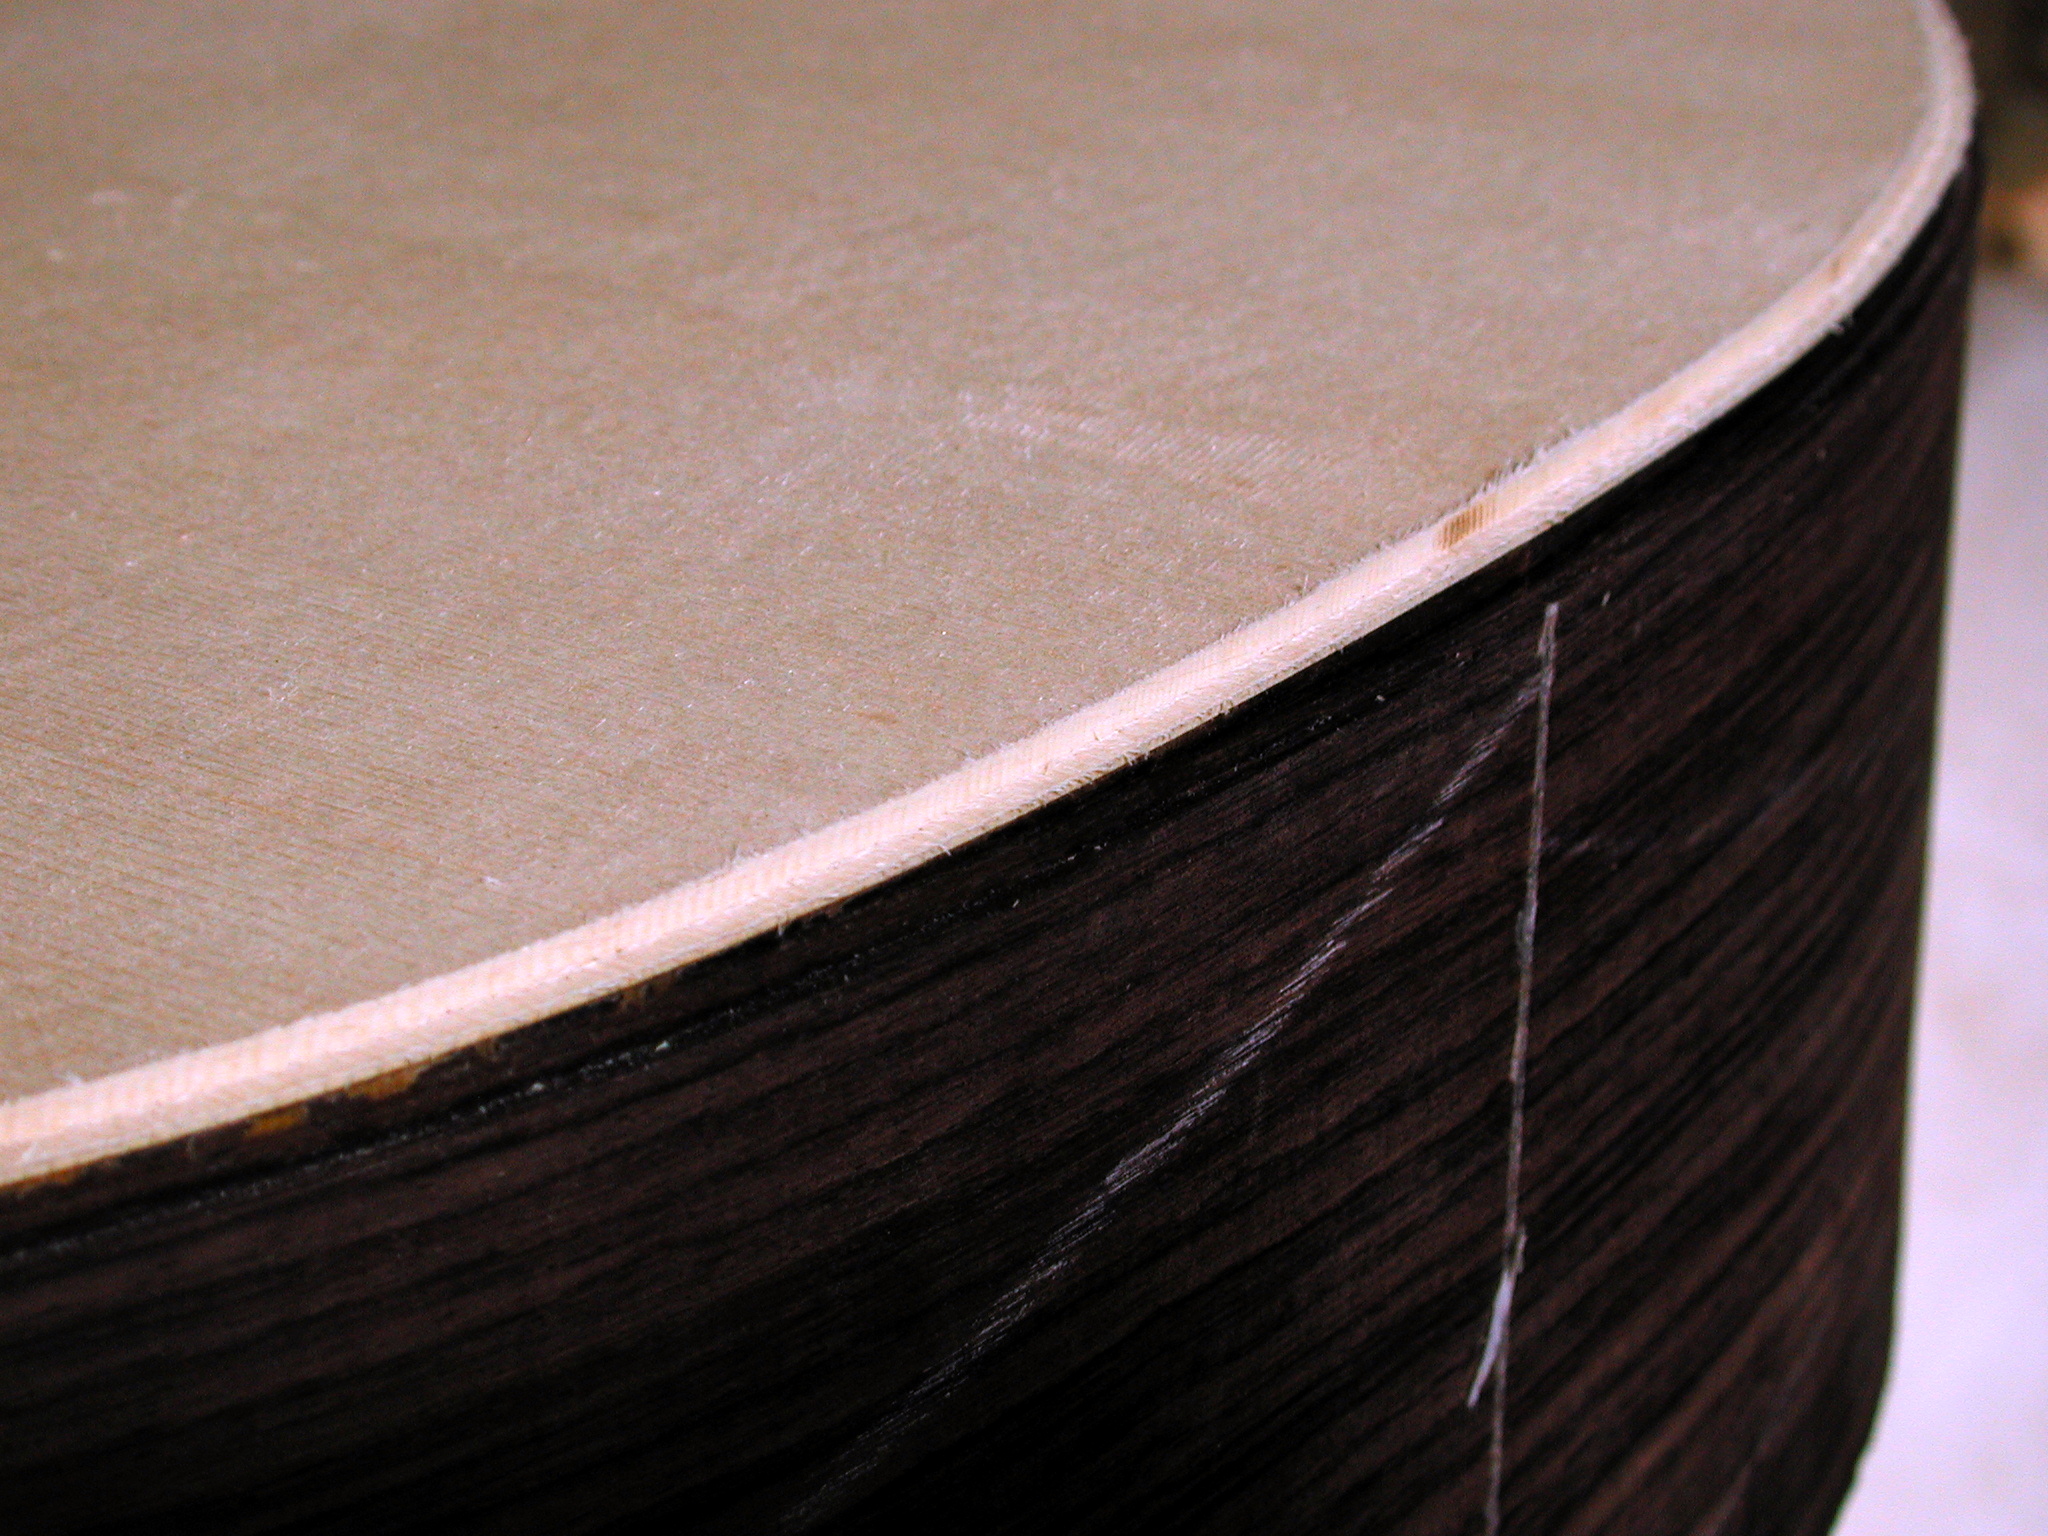
Bindings: The ledge for the binding has been cut.
Bindings: The left top binding is glued. Meanwhile the right side is protected by a cardboard strip.
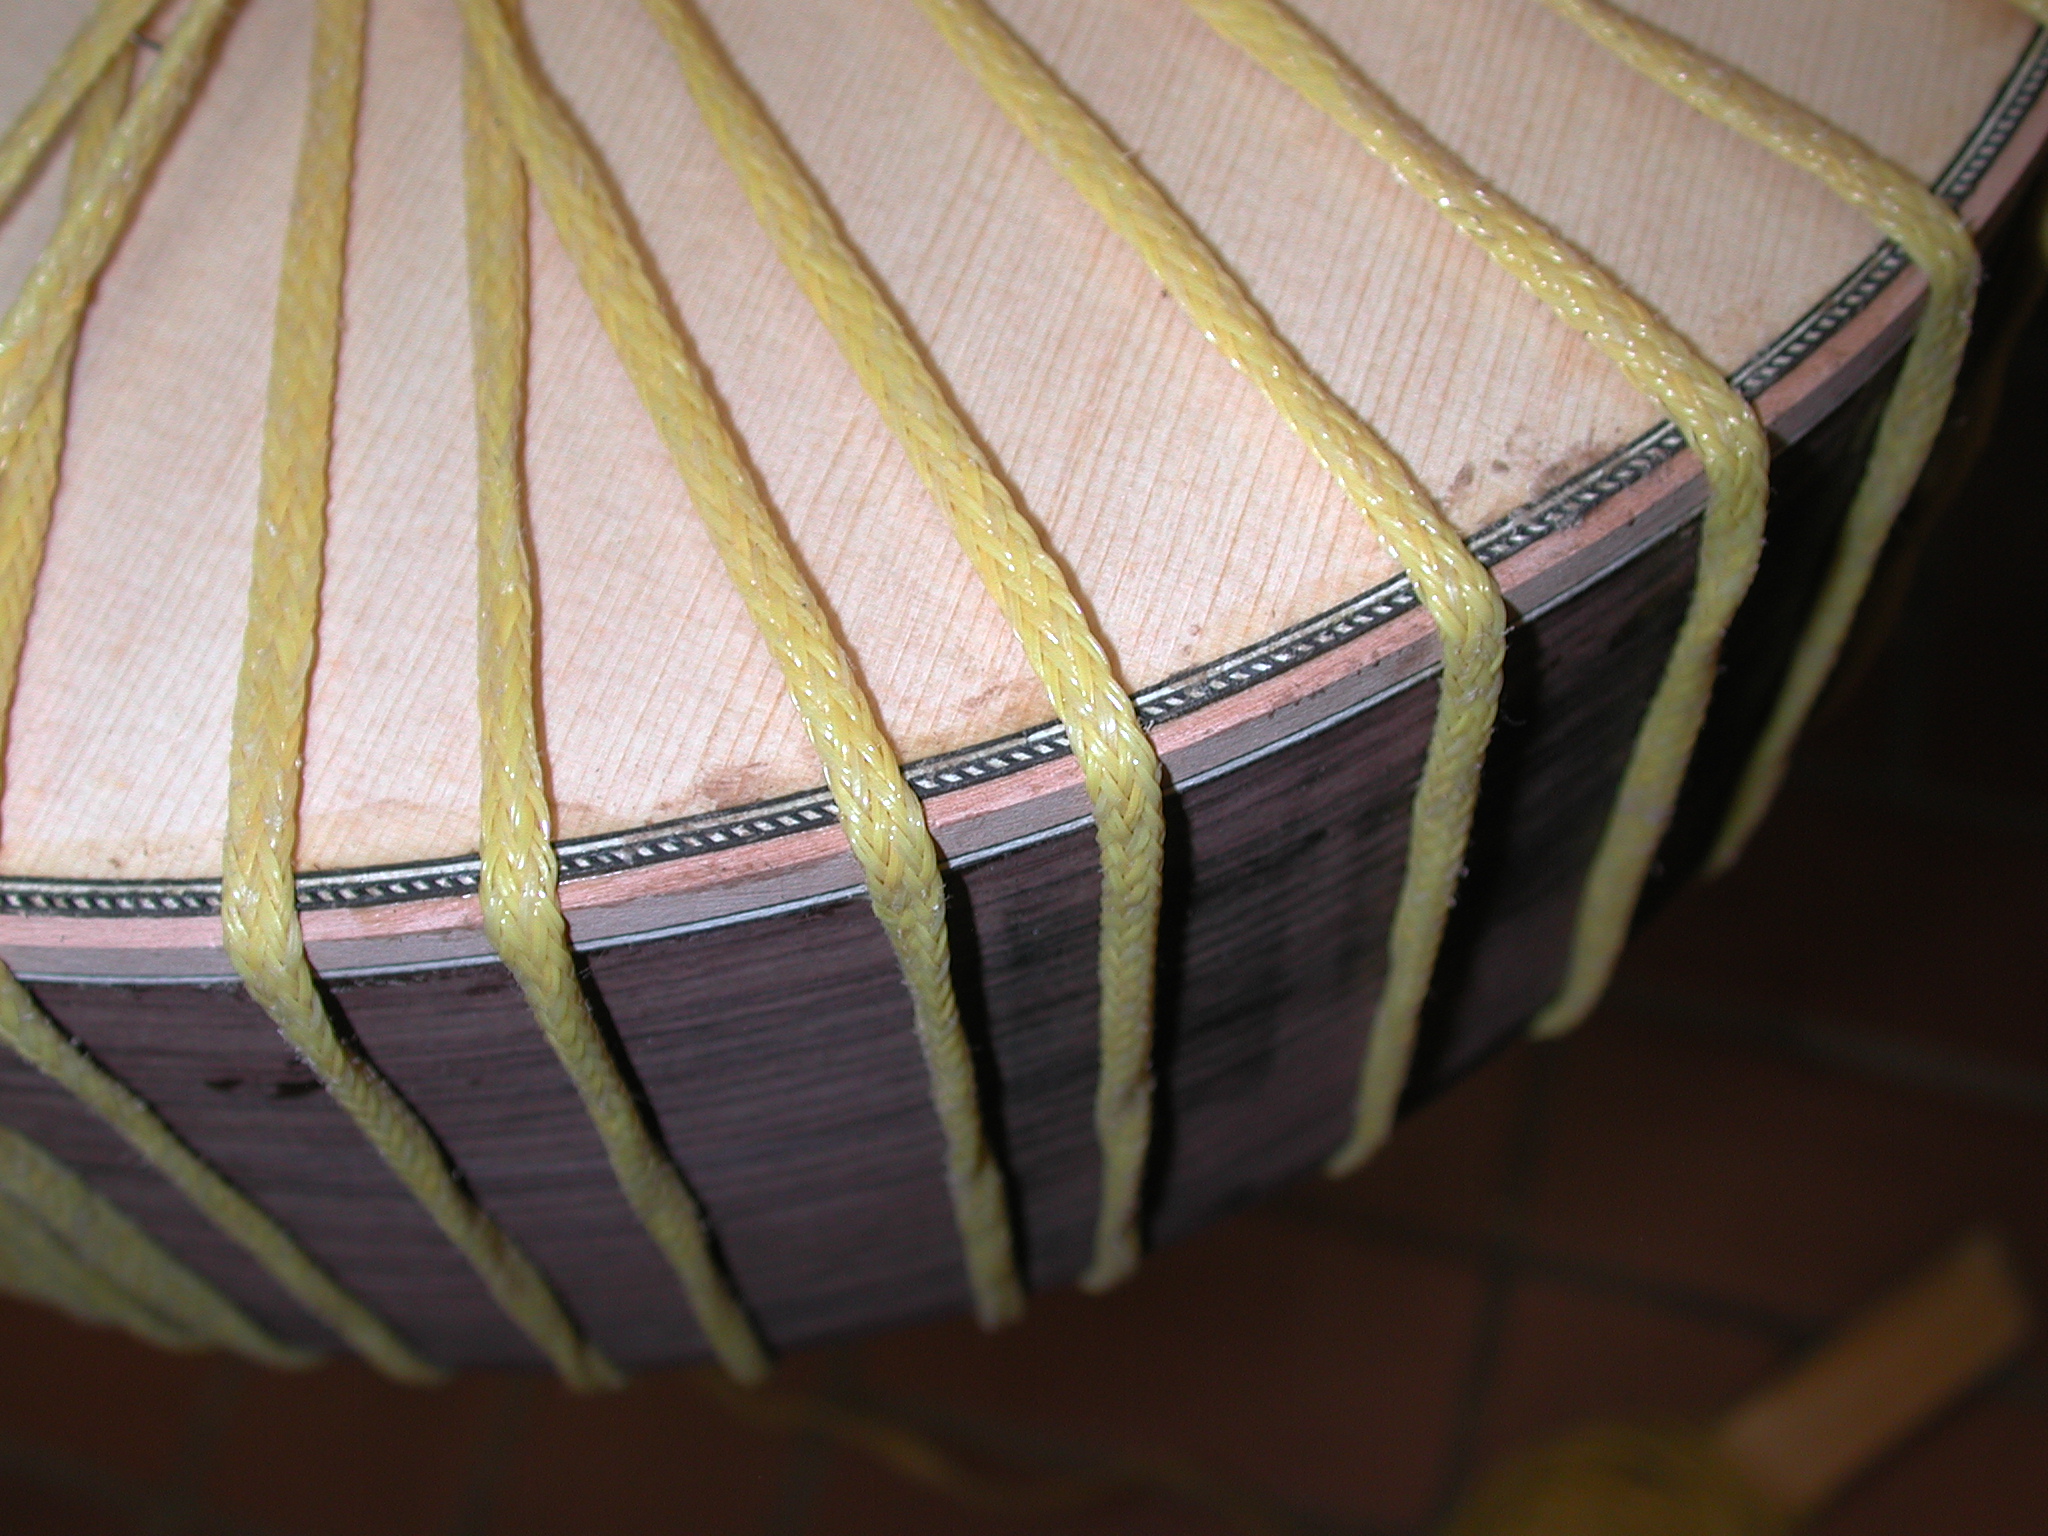
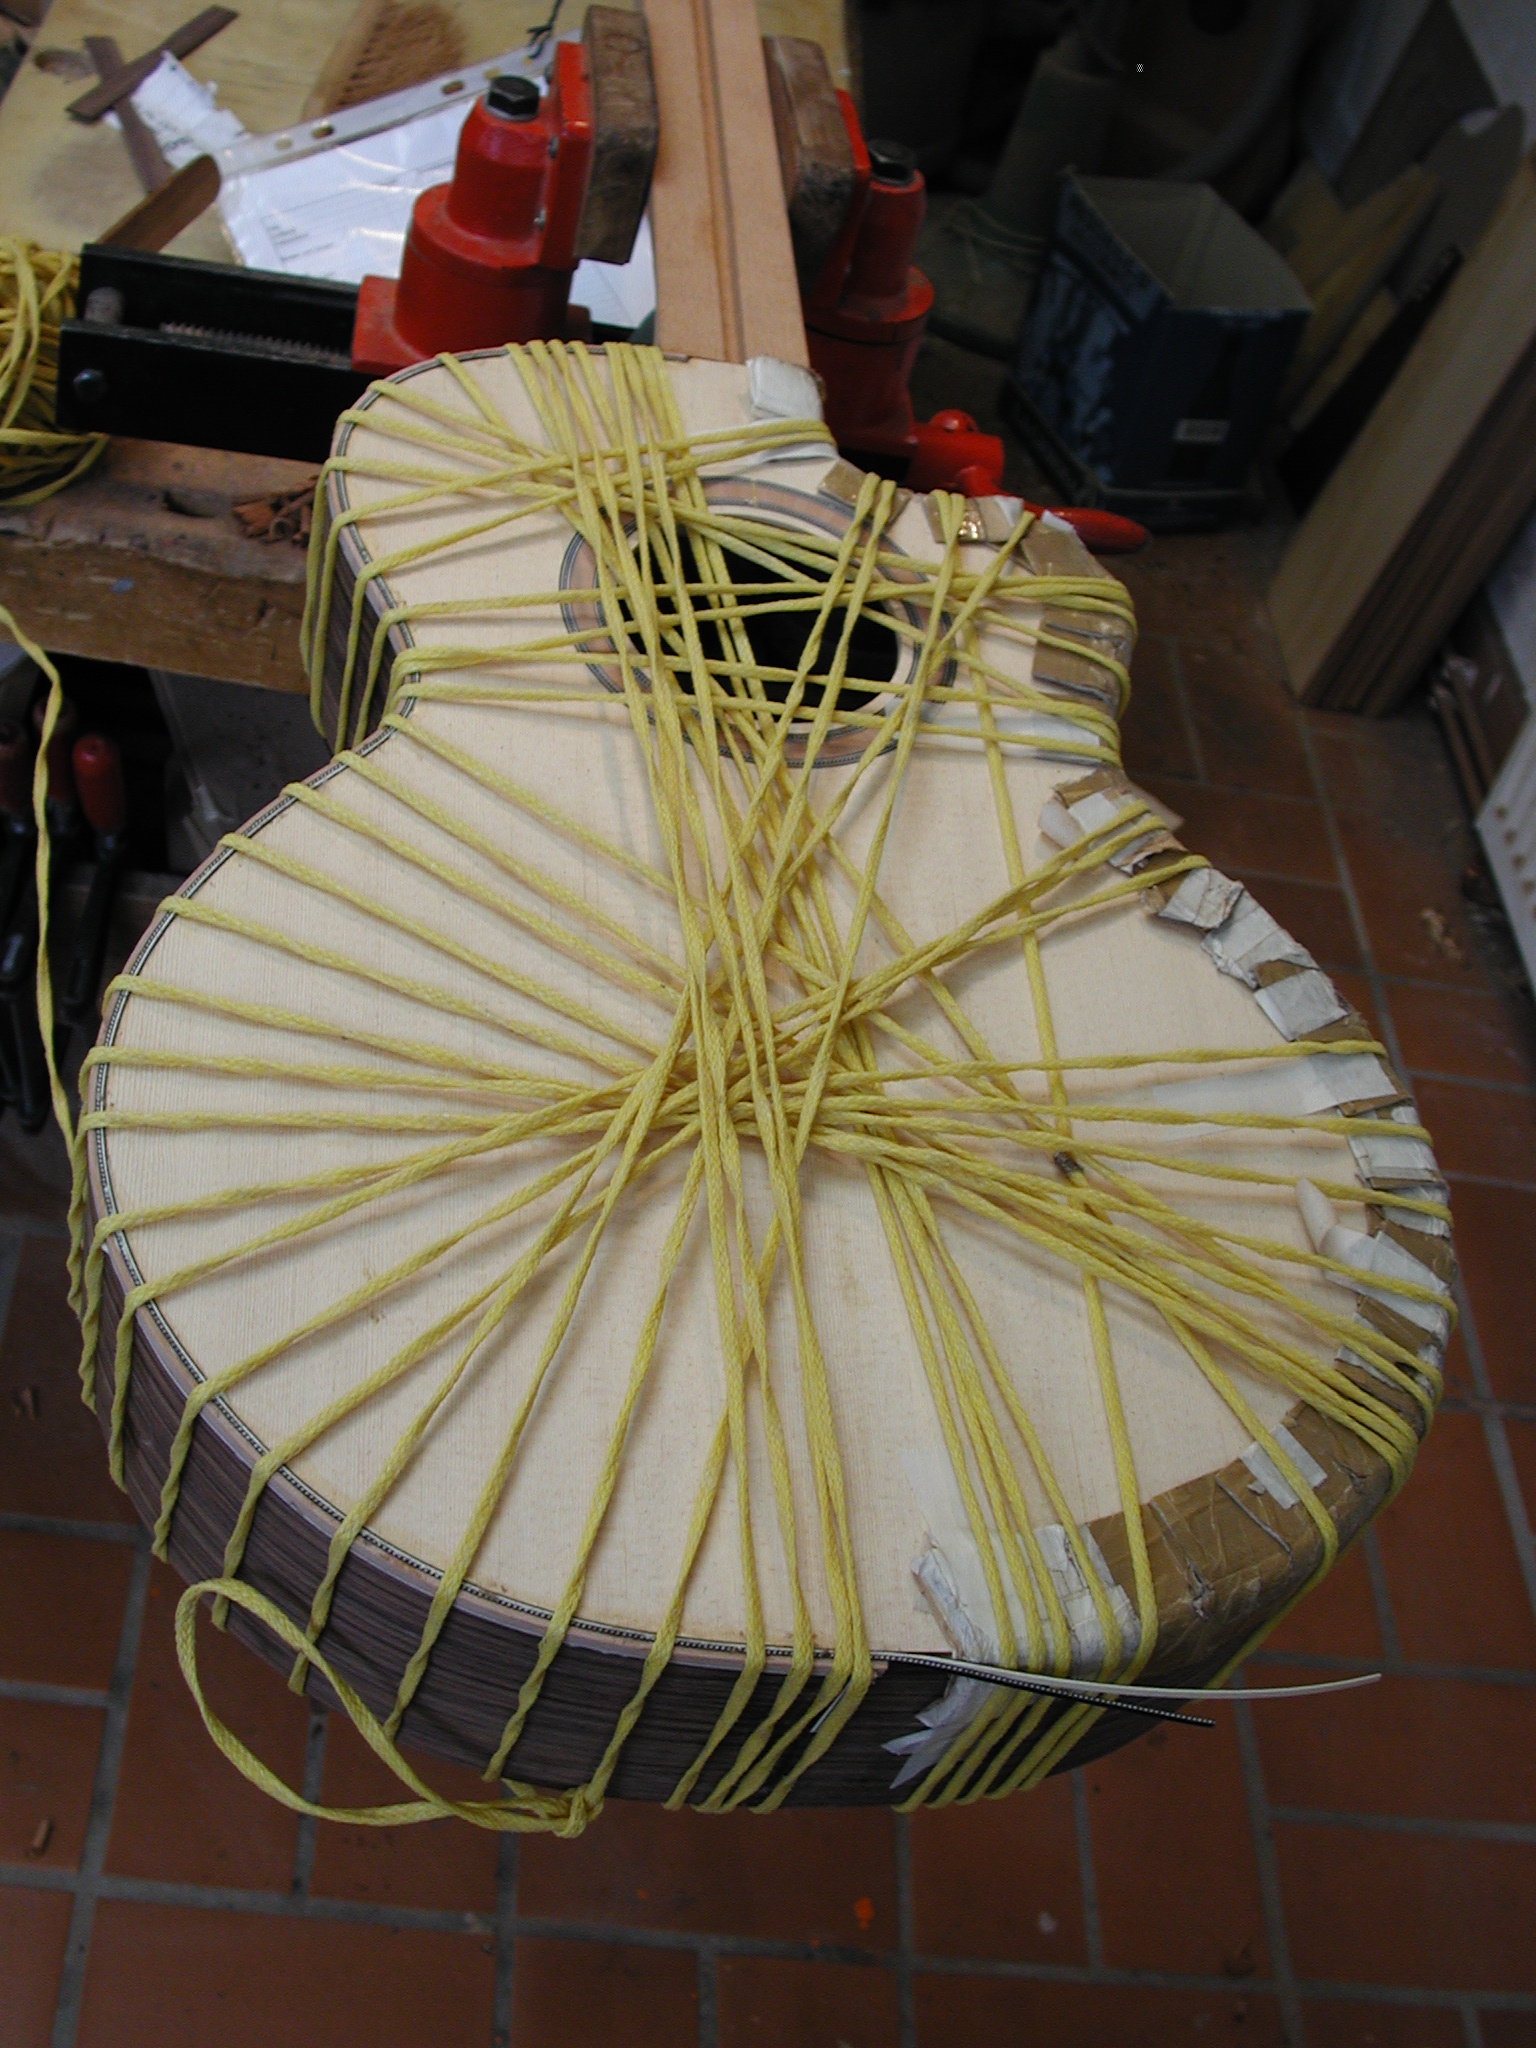
Bindings: After the binding is glued, it is held in place with ropes while it dries.
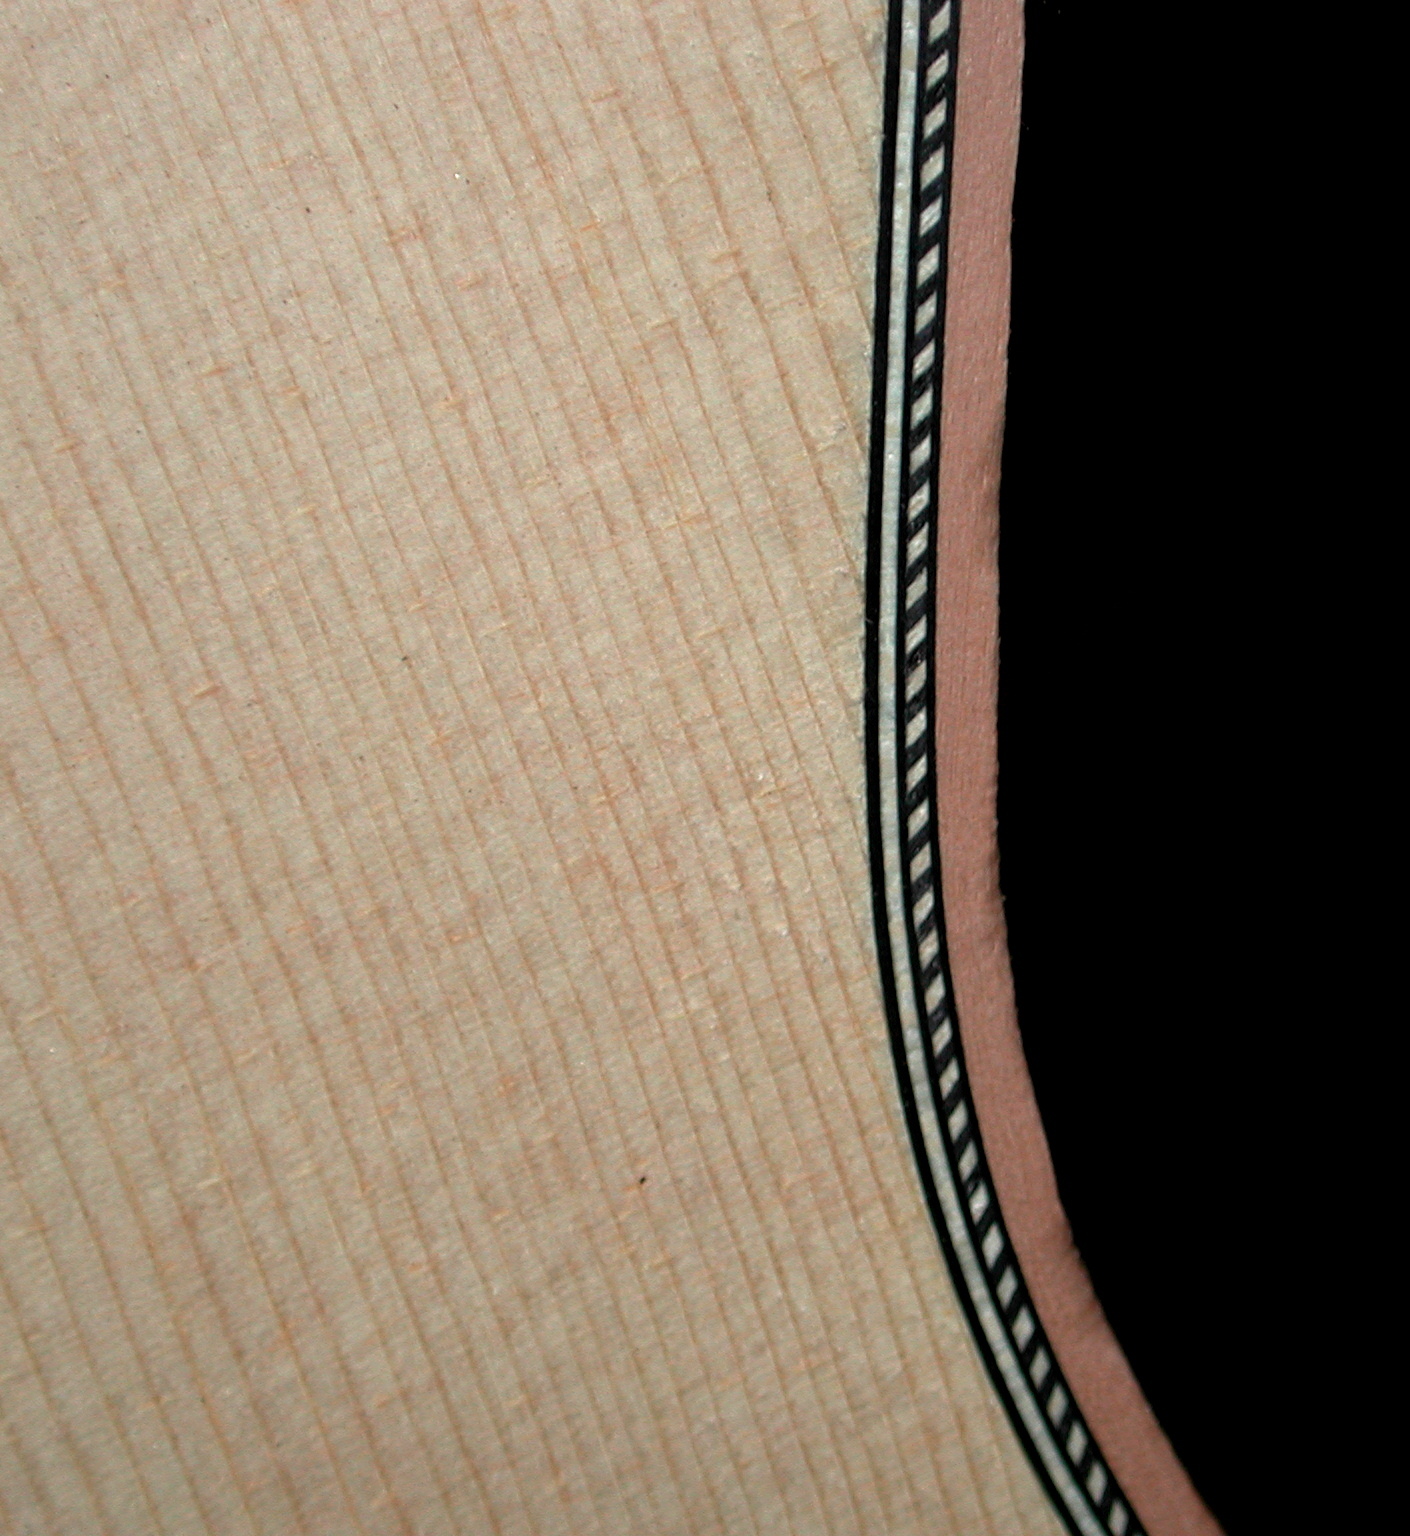
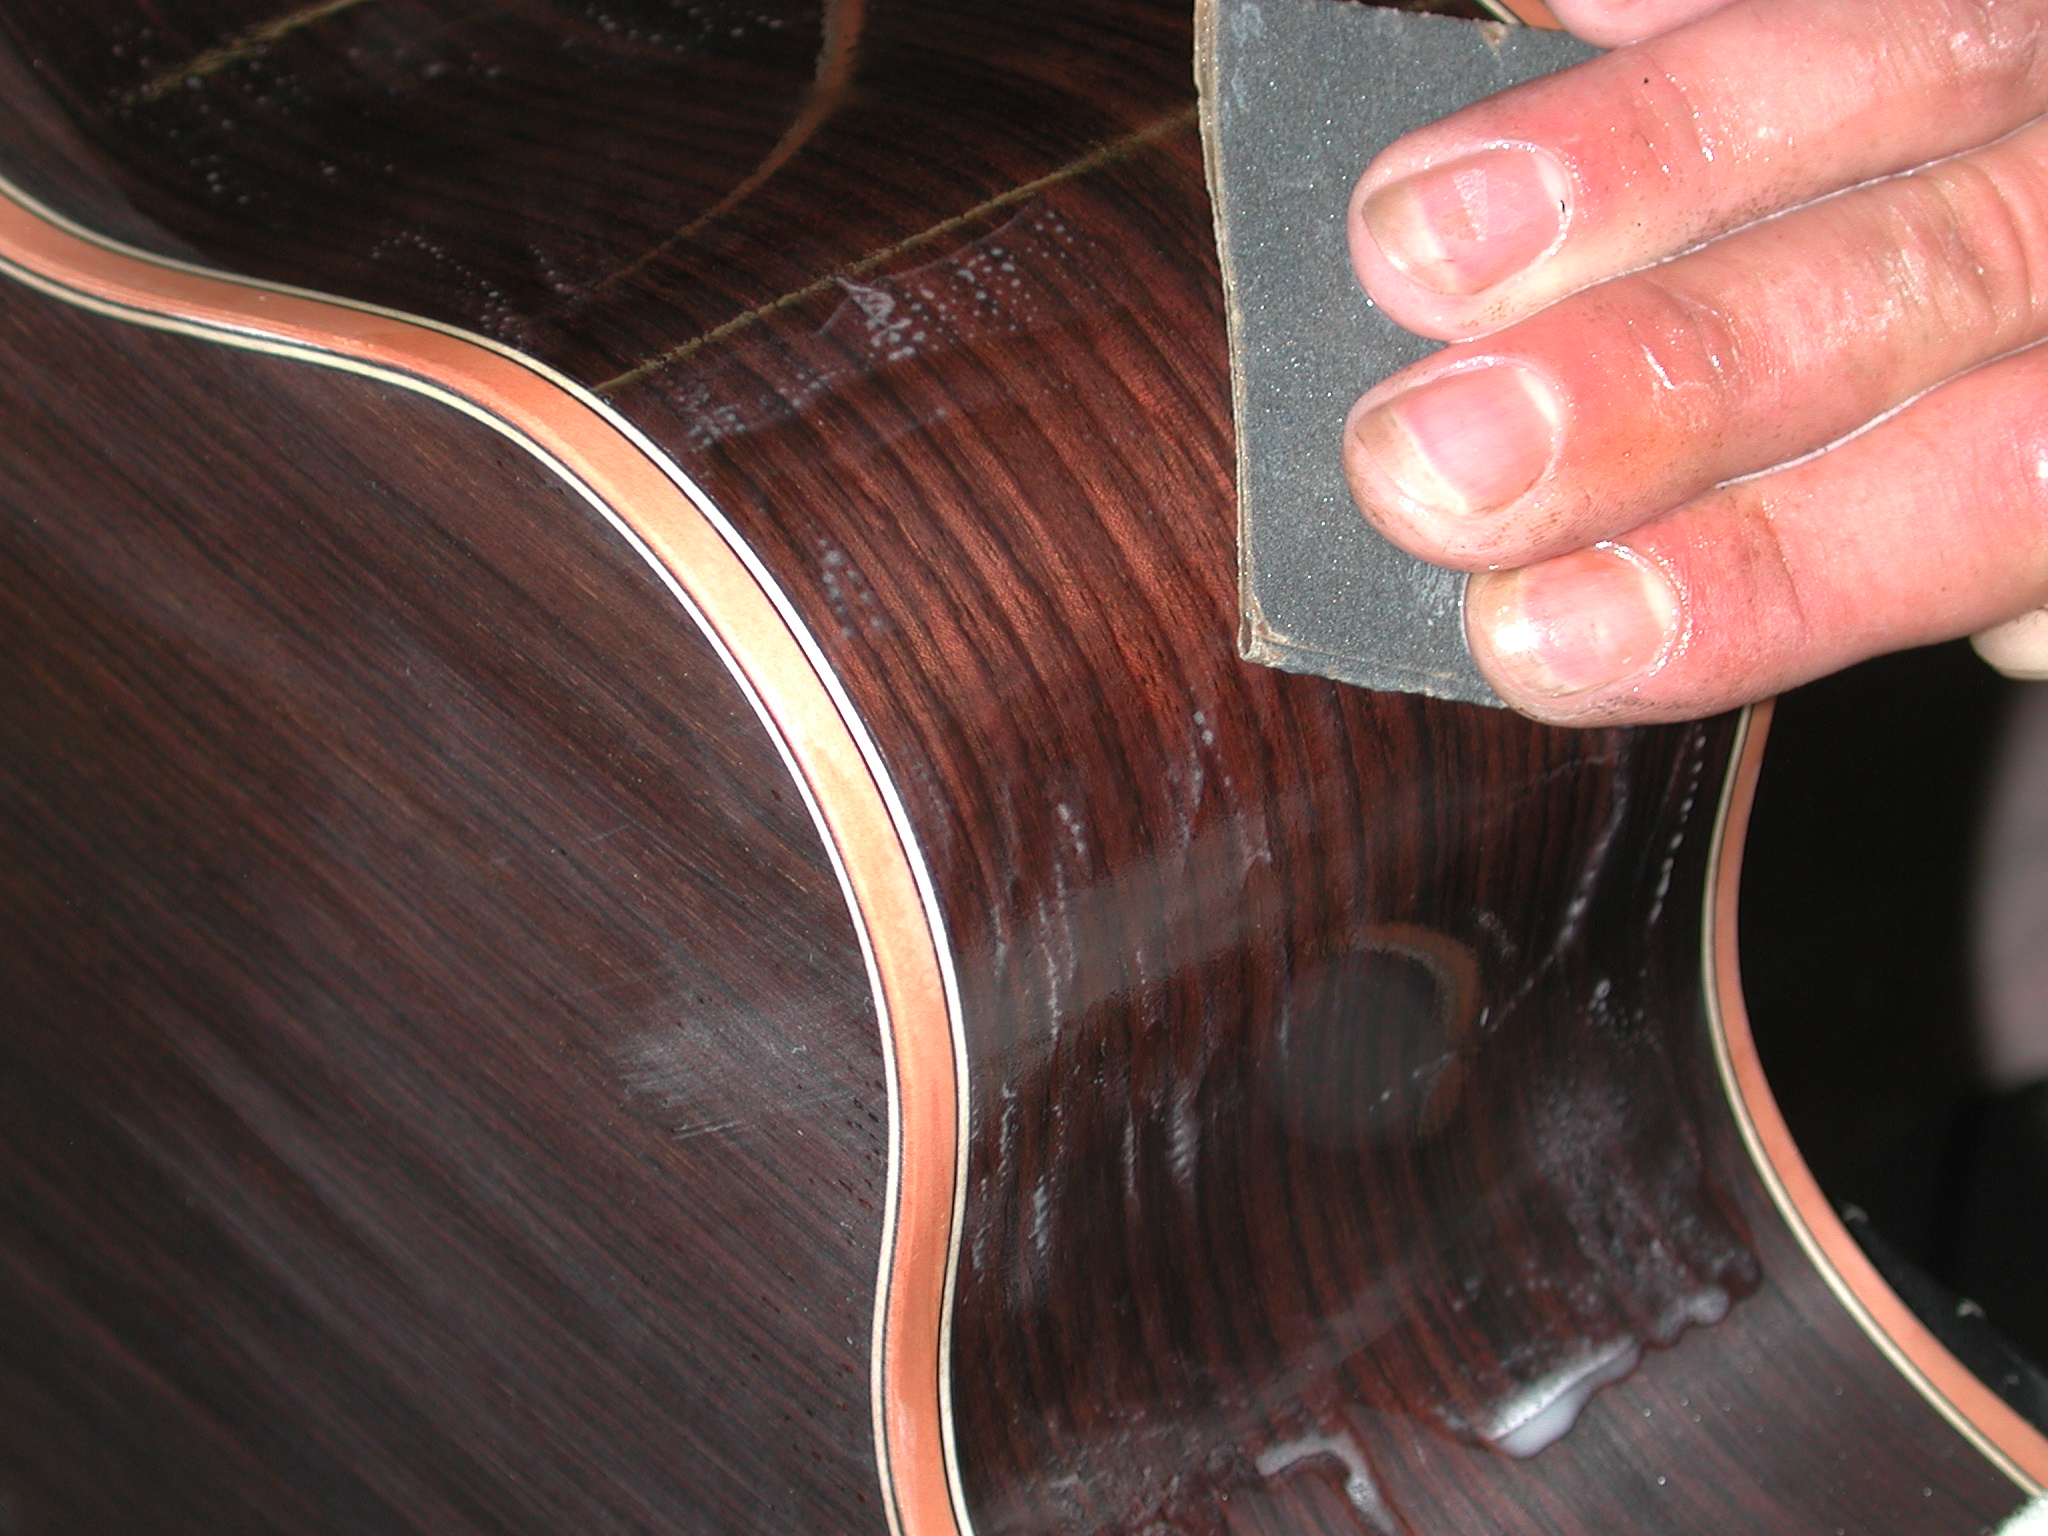
Bindings: This is how it looks after the rope is removed and the binding is sanded down to the top level.
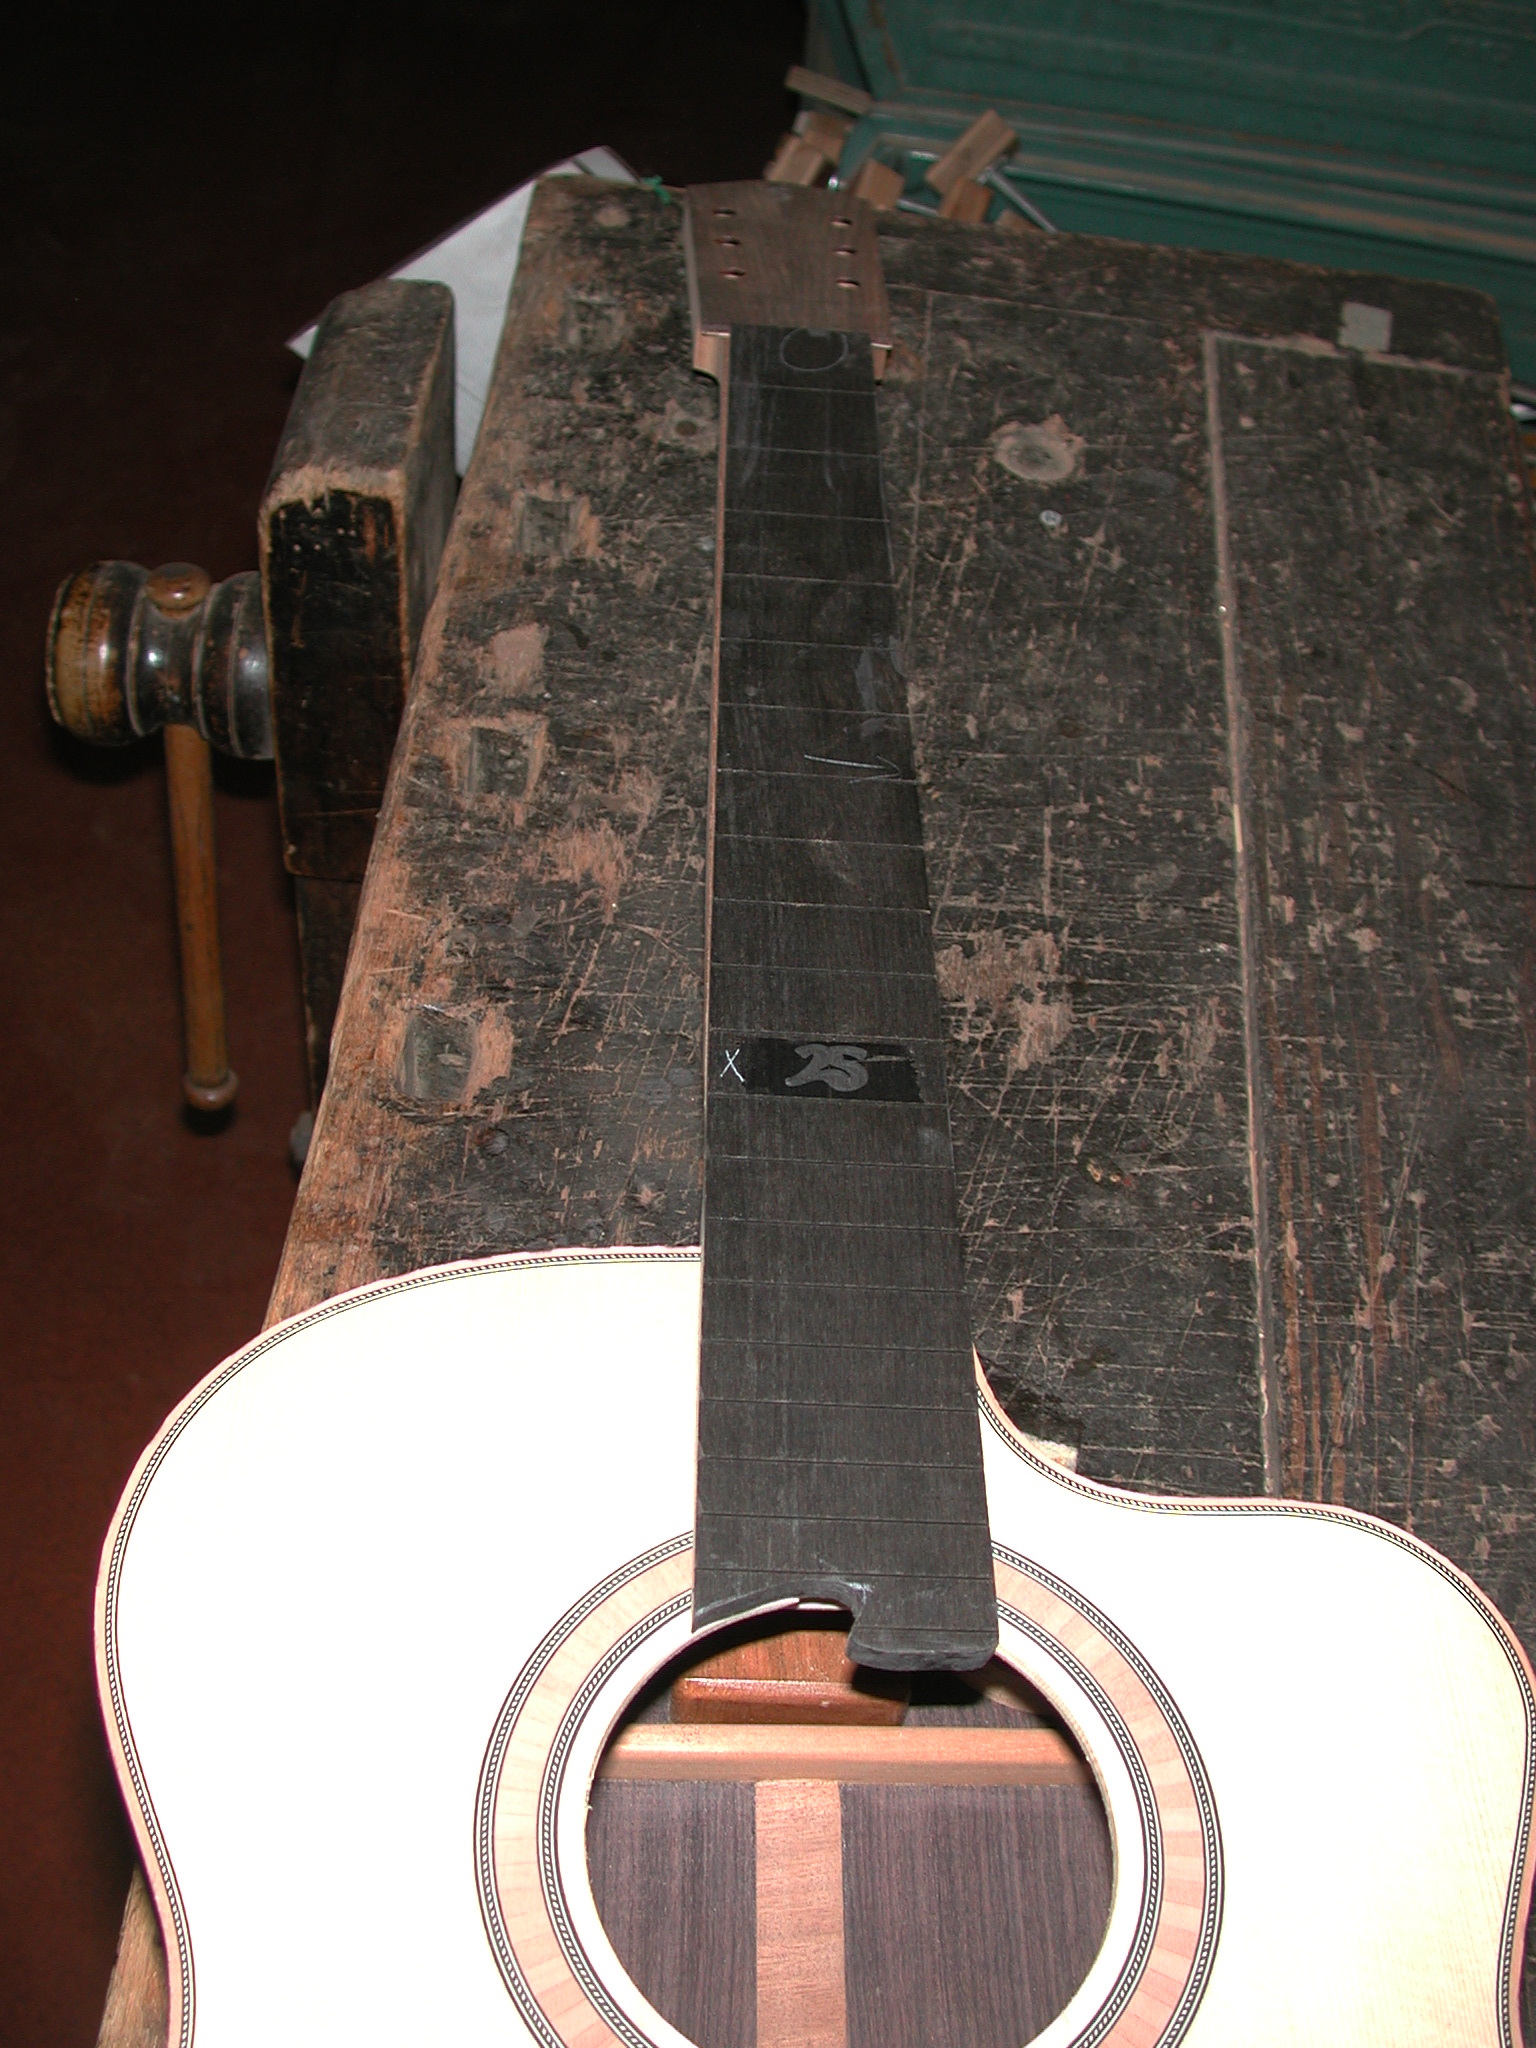
Fingerboard: The fingerboard is applied to the neck.
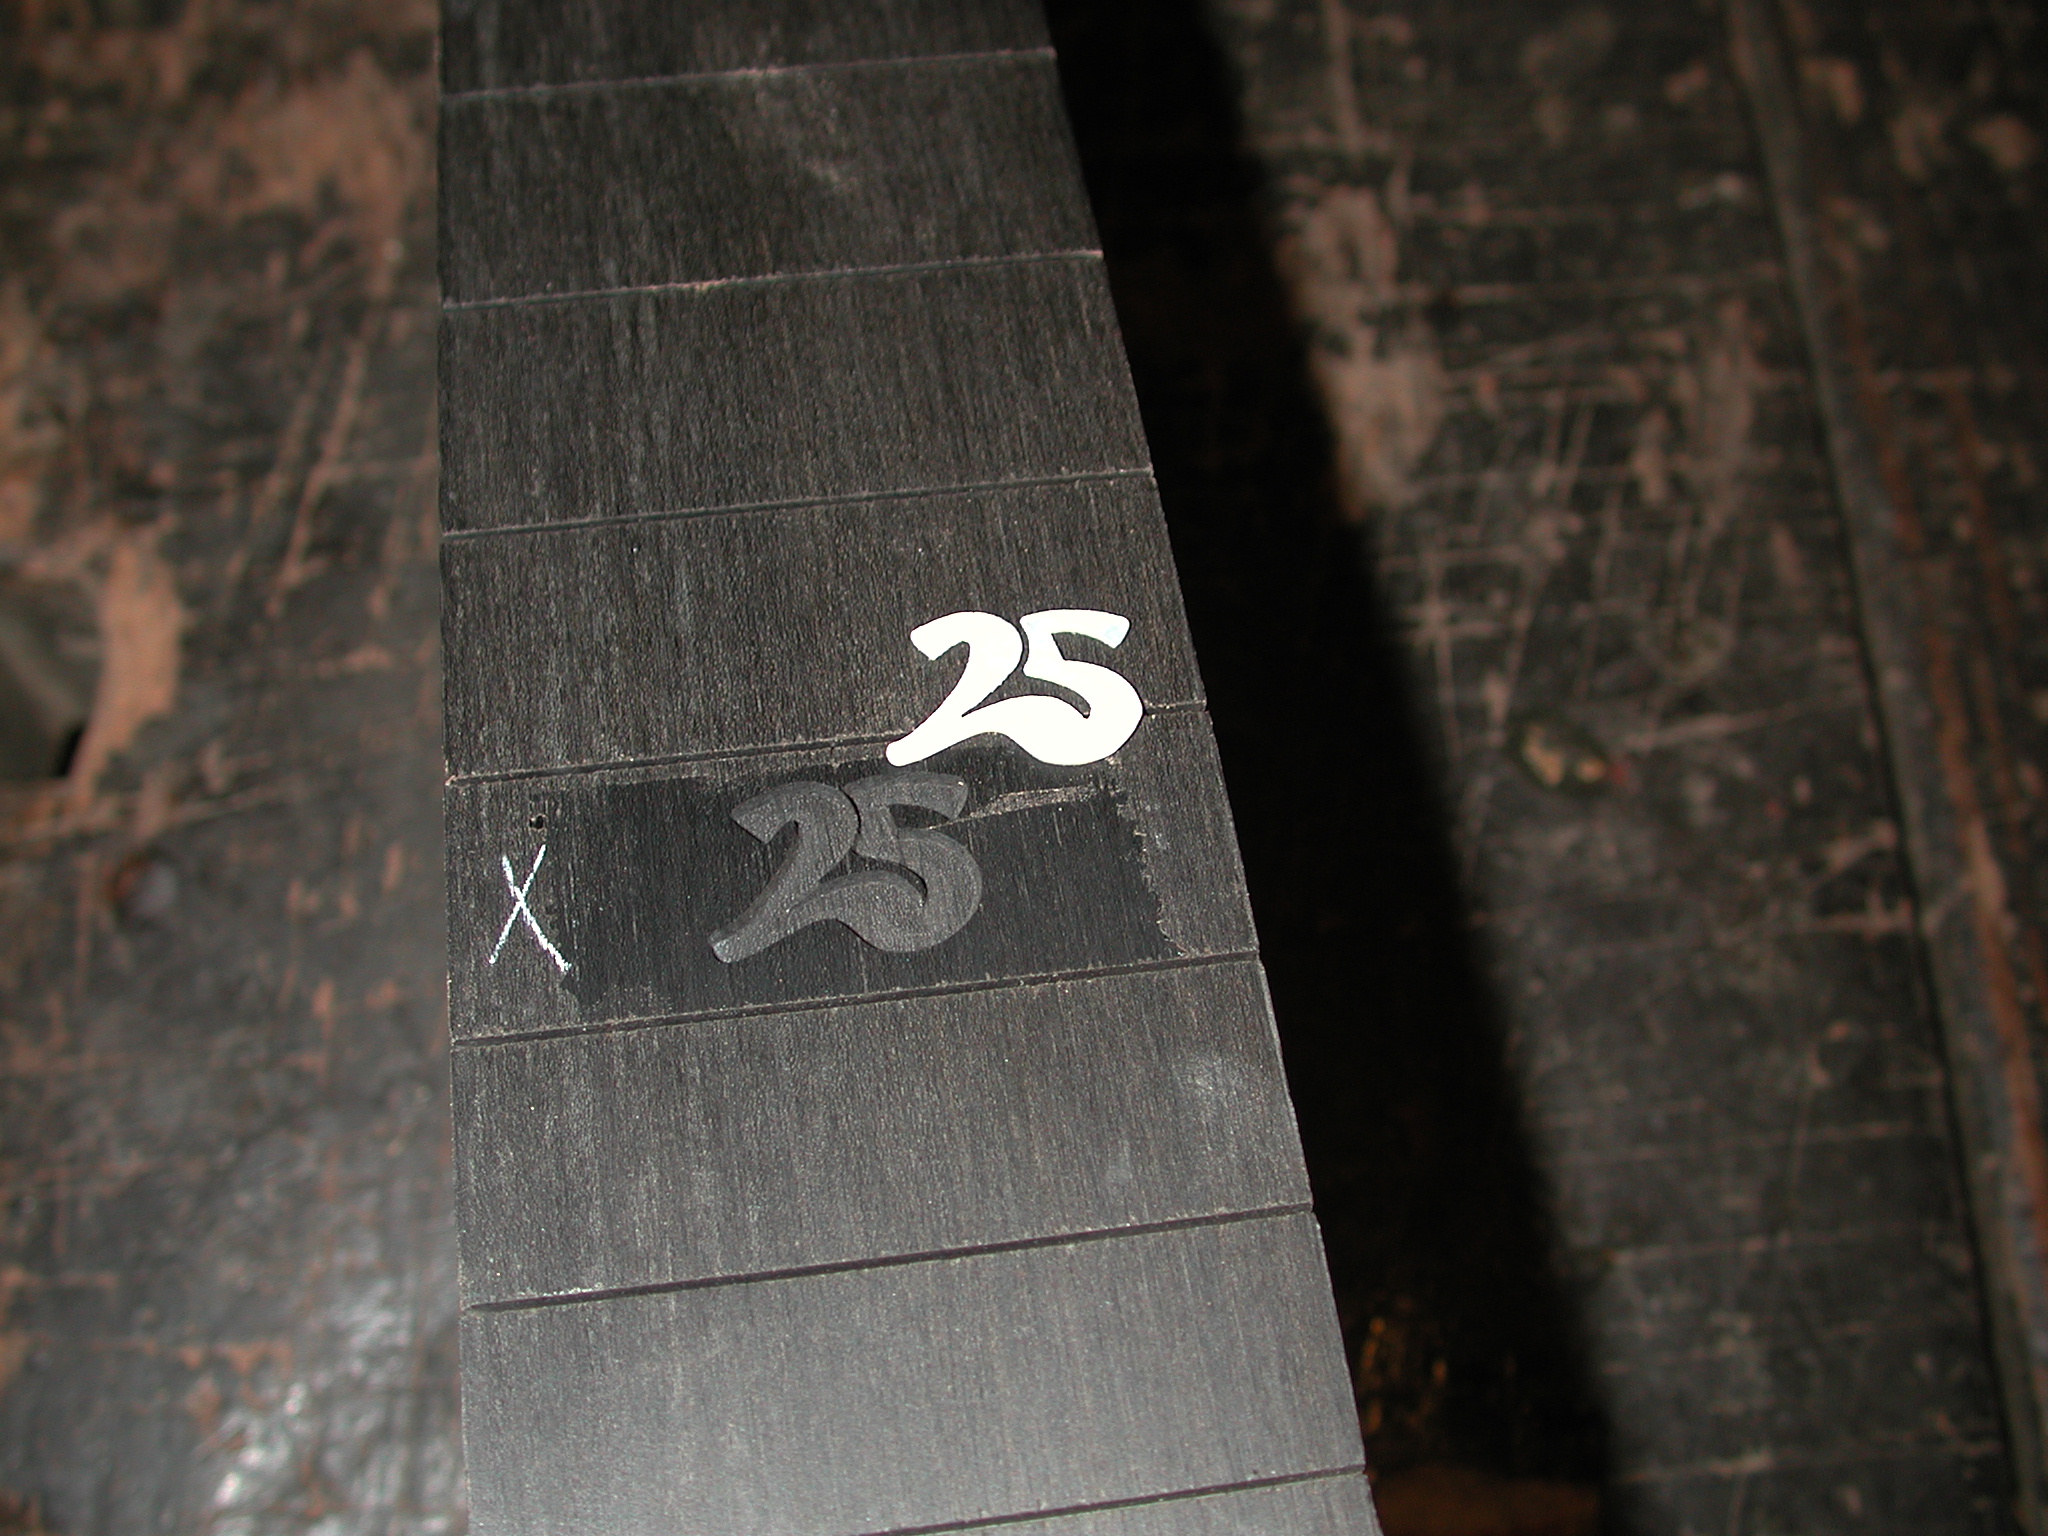
Fingerboard: The inlay "25" is fit into the cutout.
Bindings: Now the same procedure as for the top is accomplished for the back bindings.
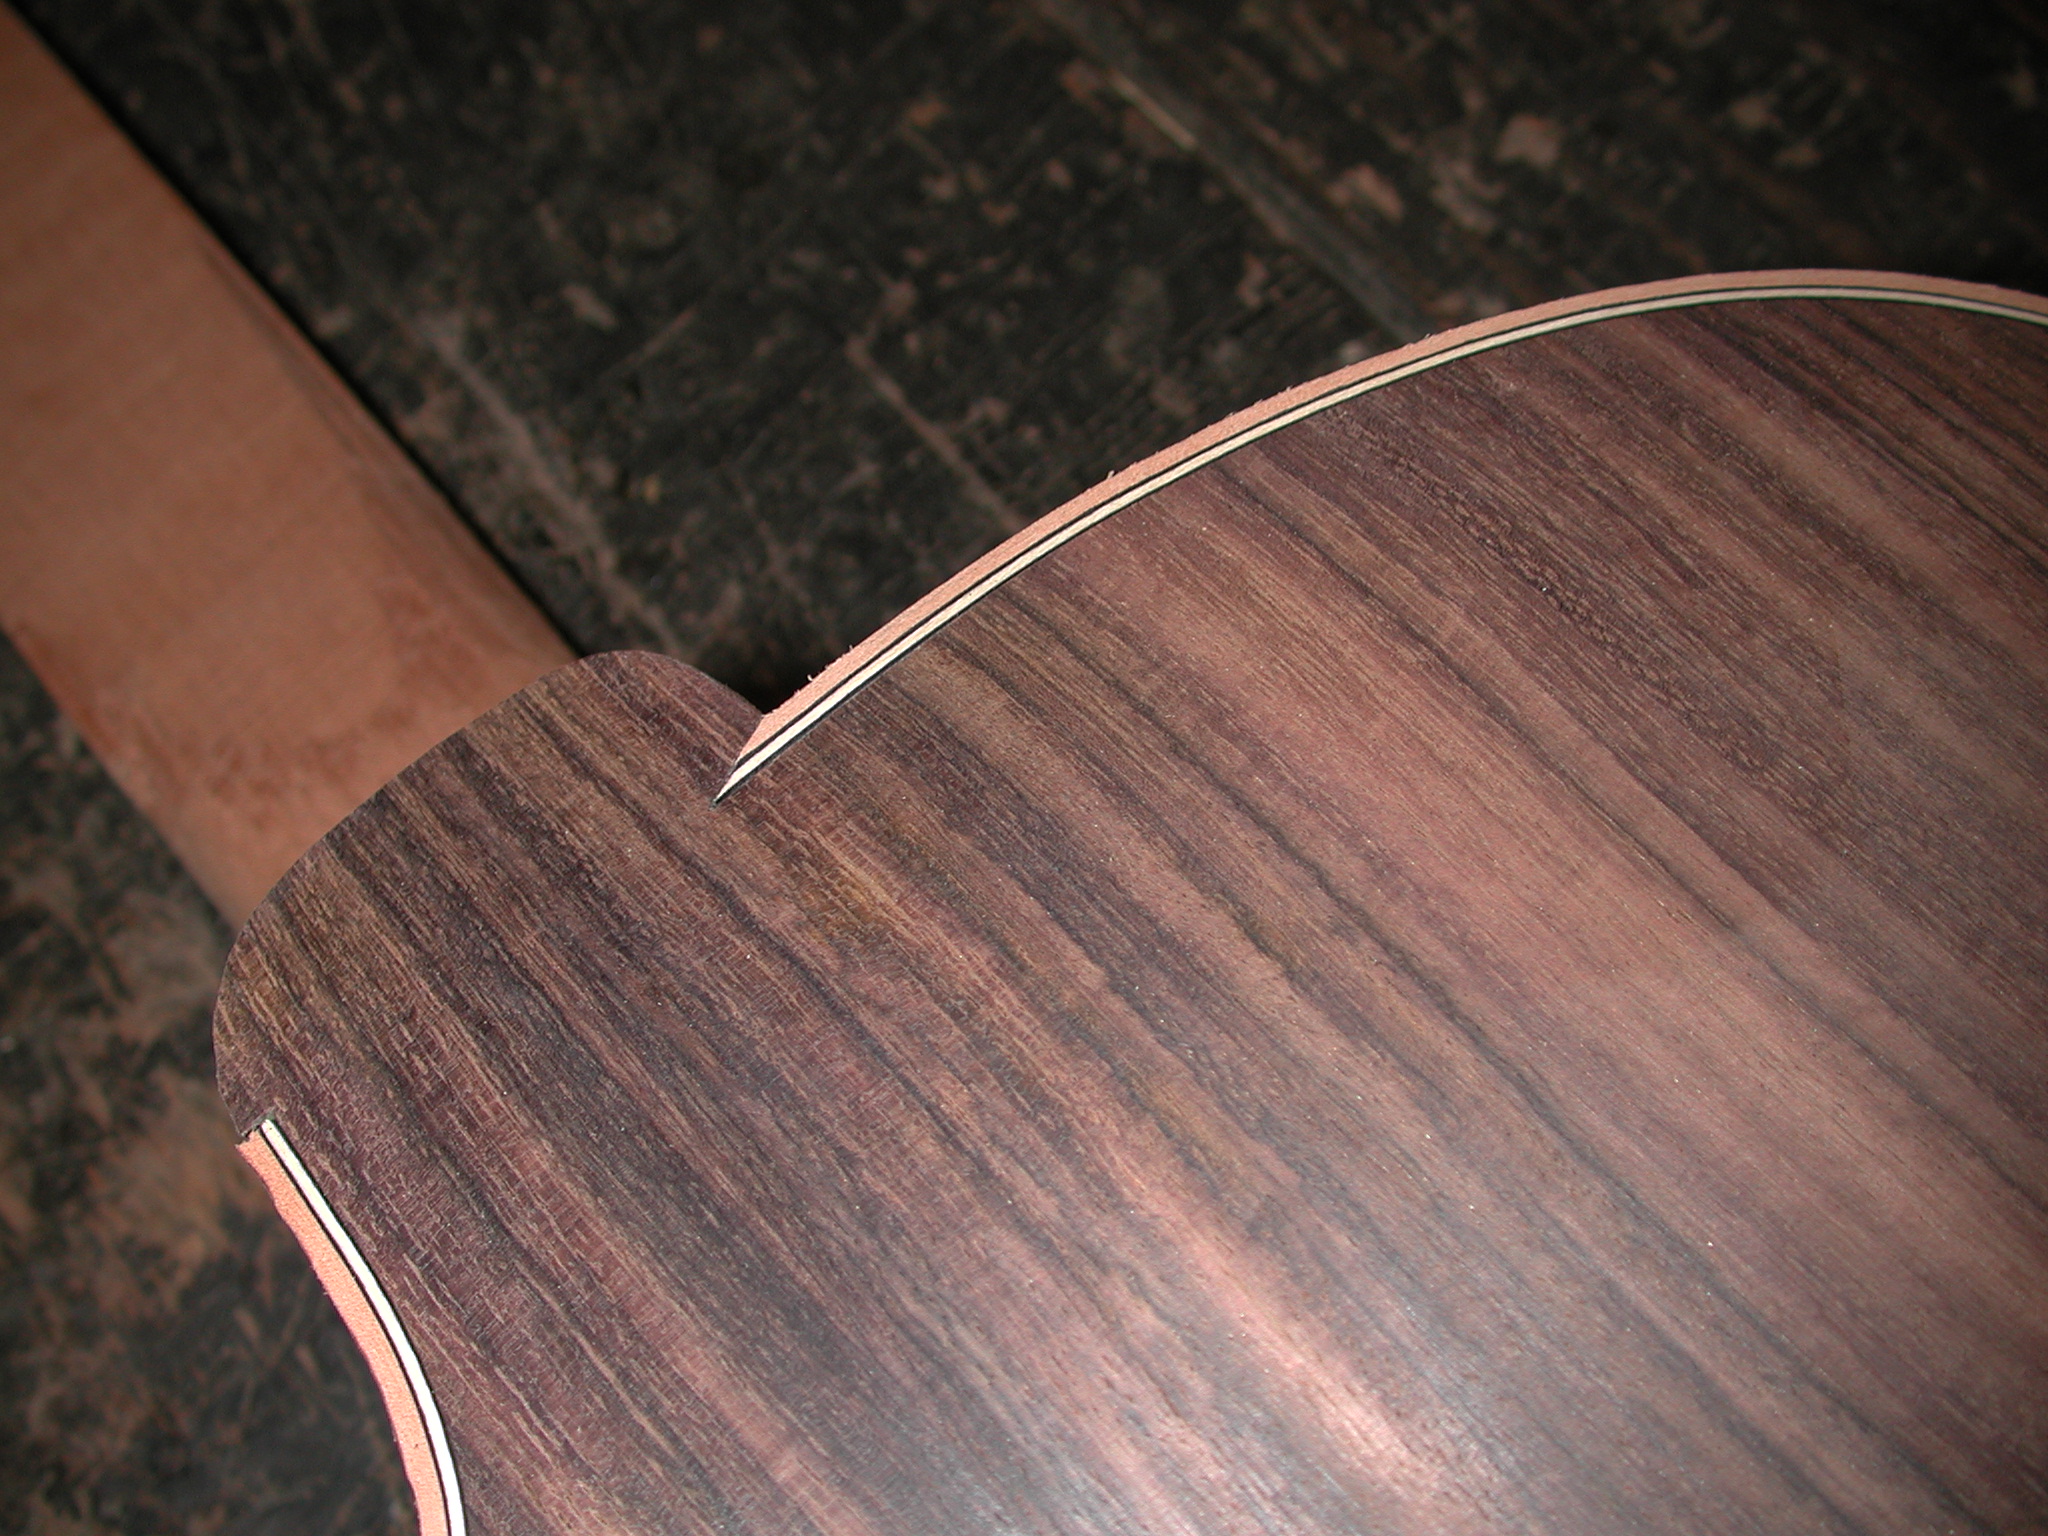
Sides: The tail purfling...
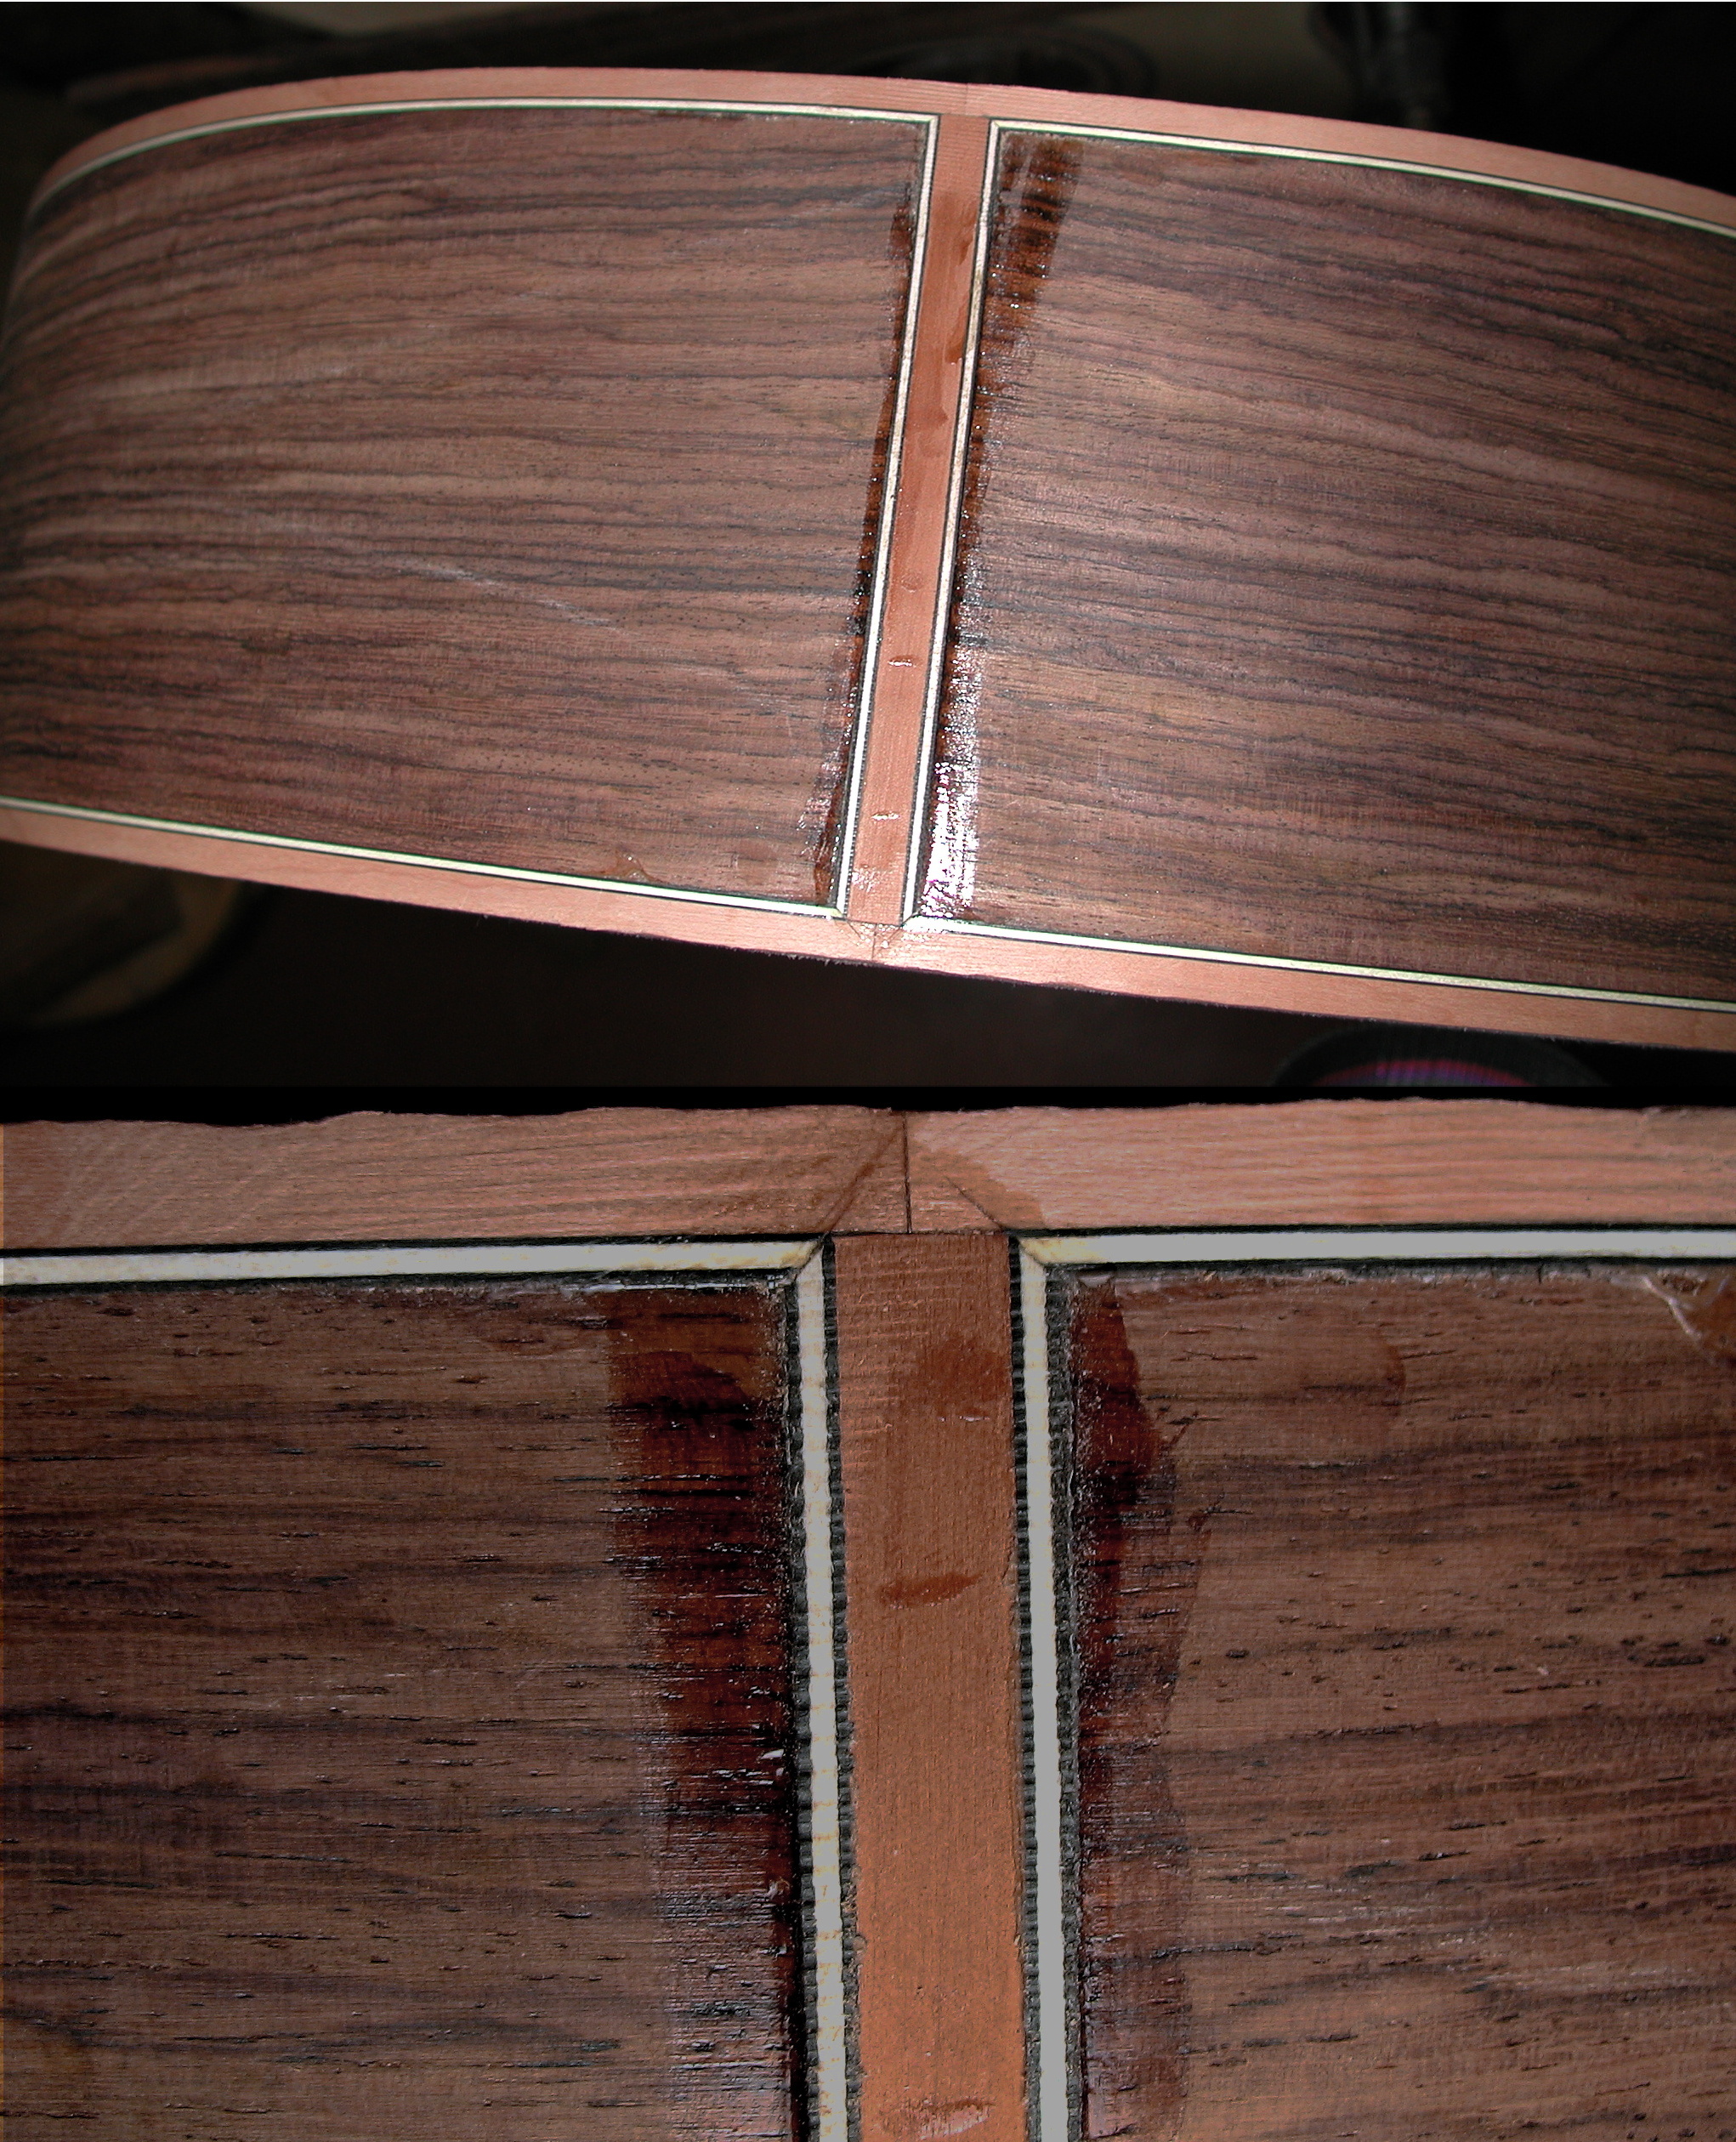
Sides: ...is applied.
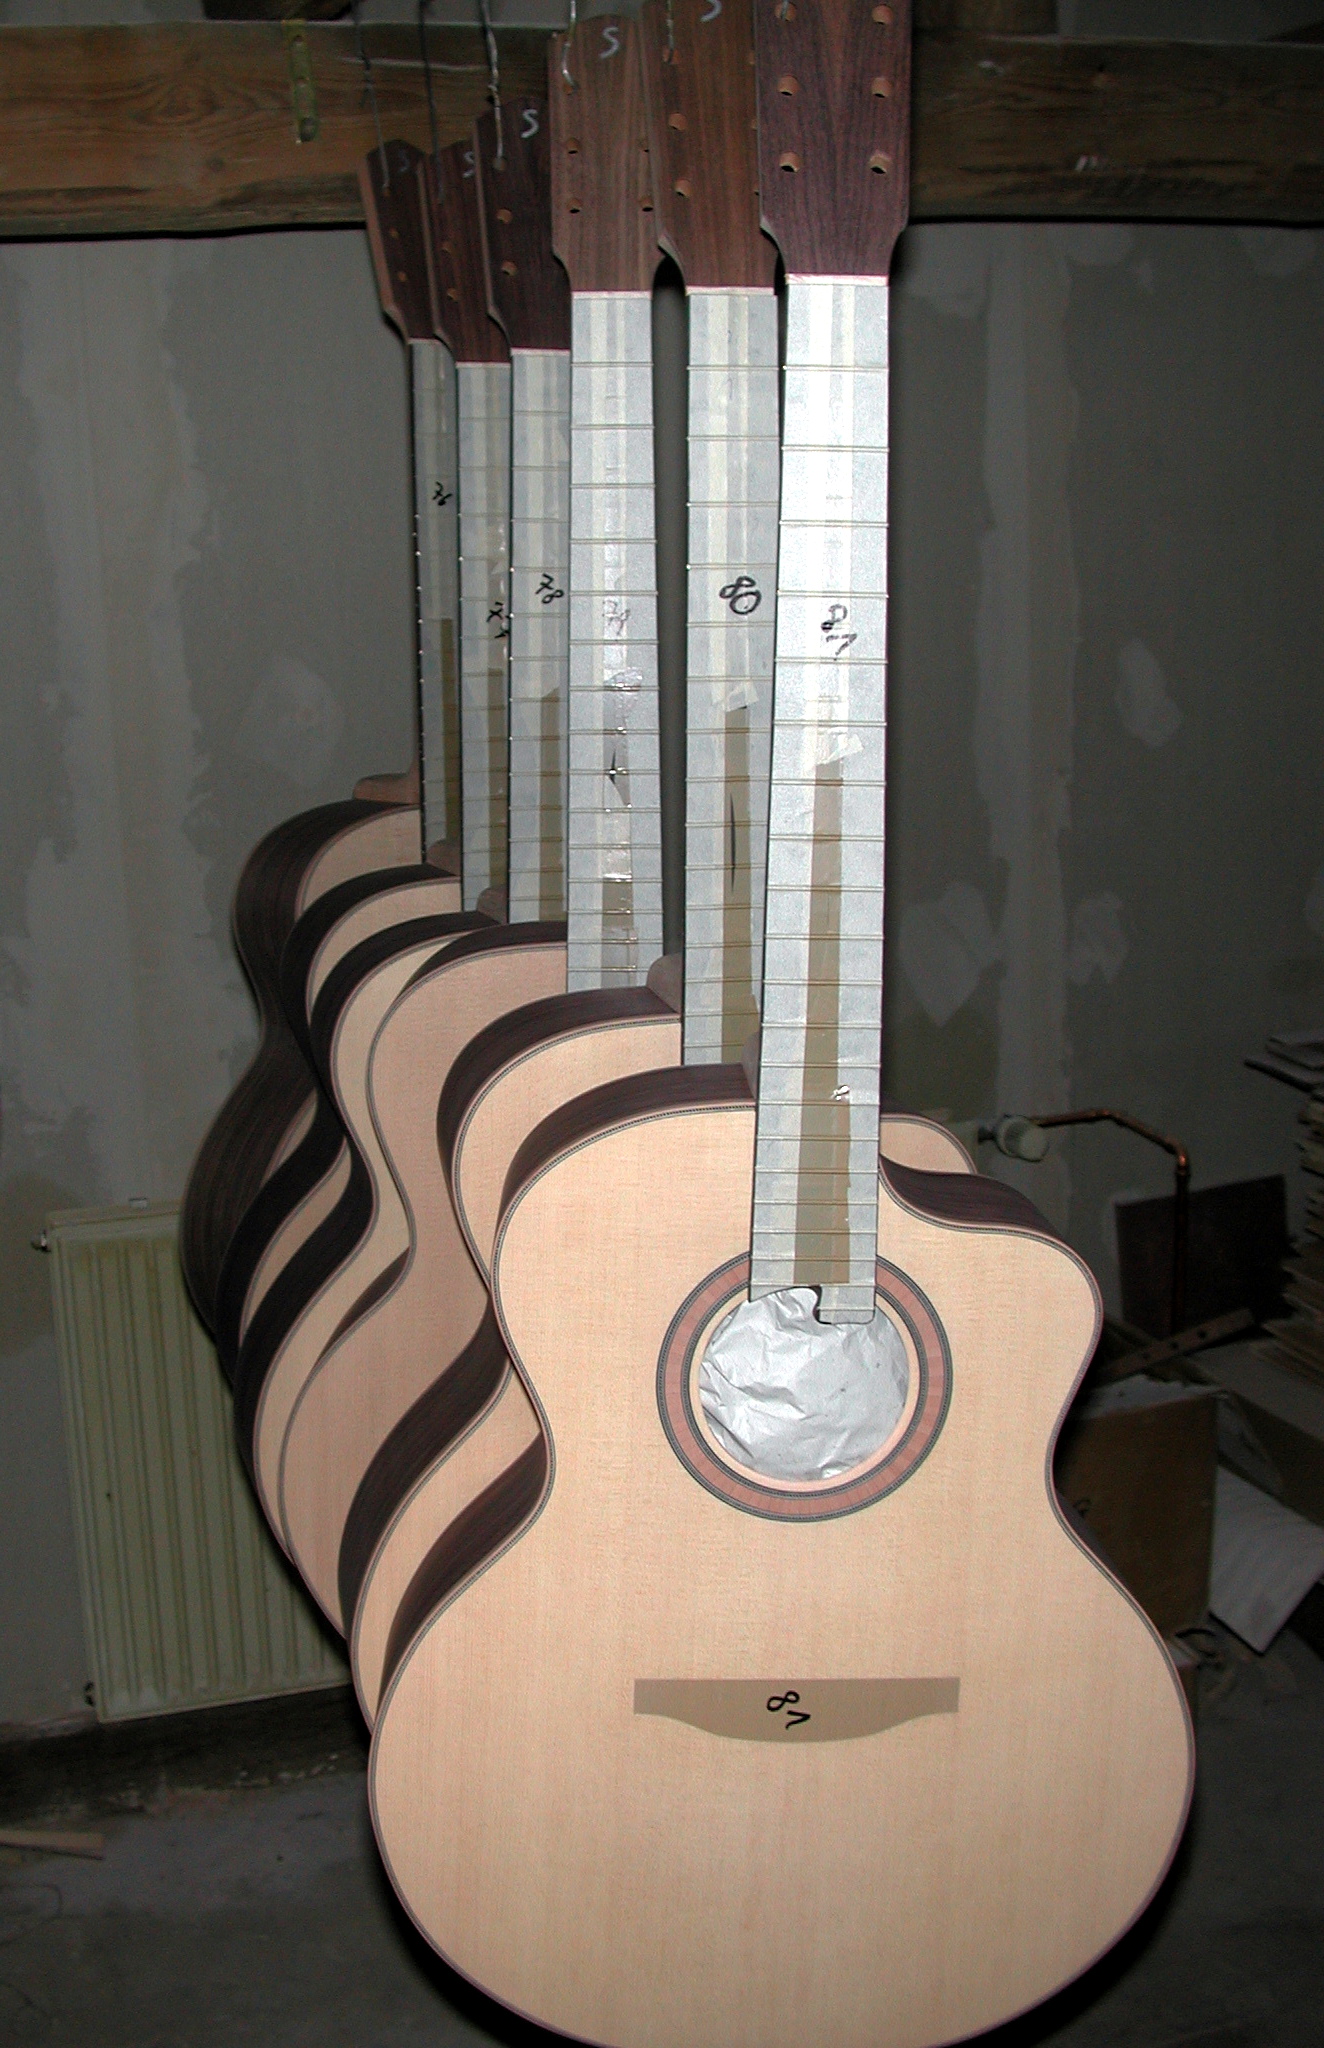
Neck: Waiting for the fingerboards to be straightened.
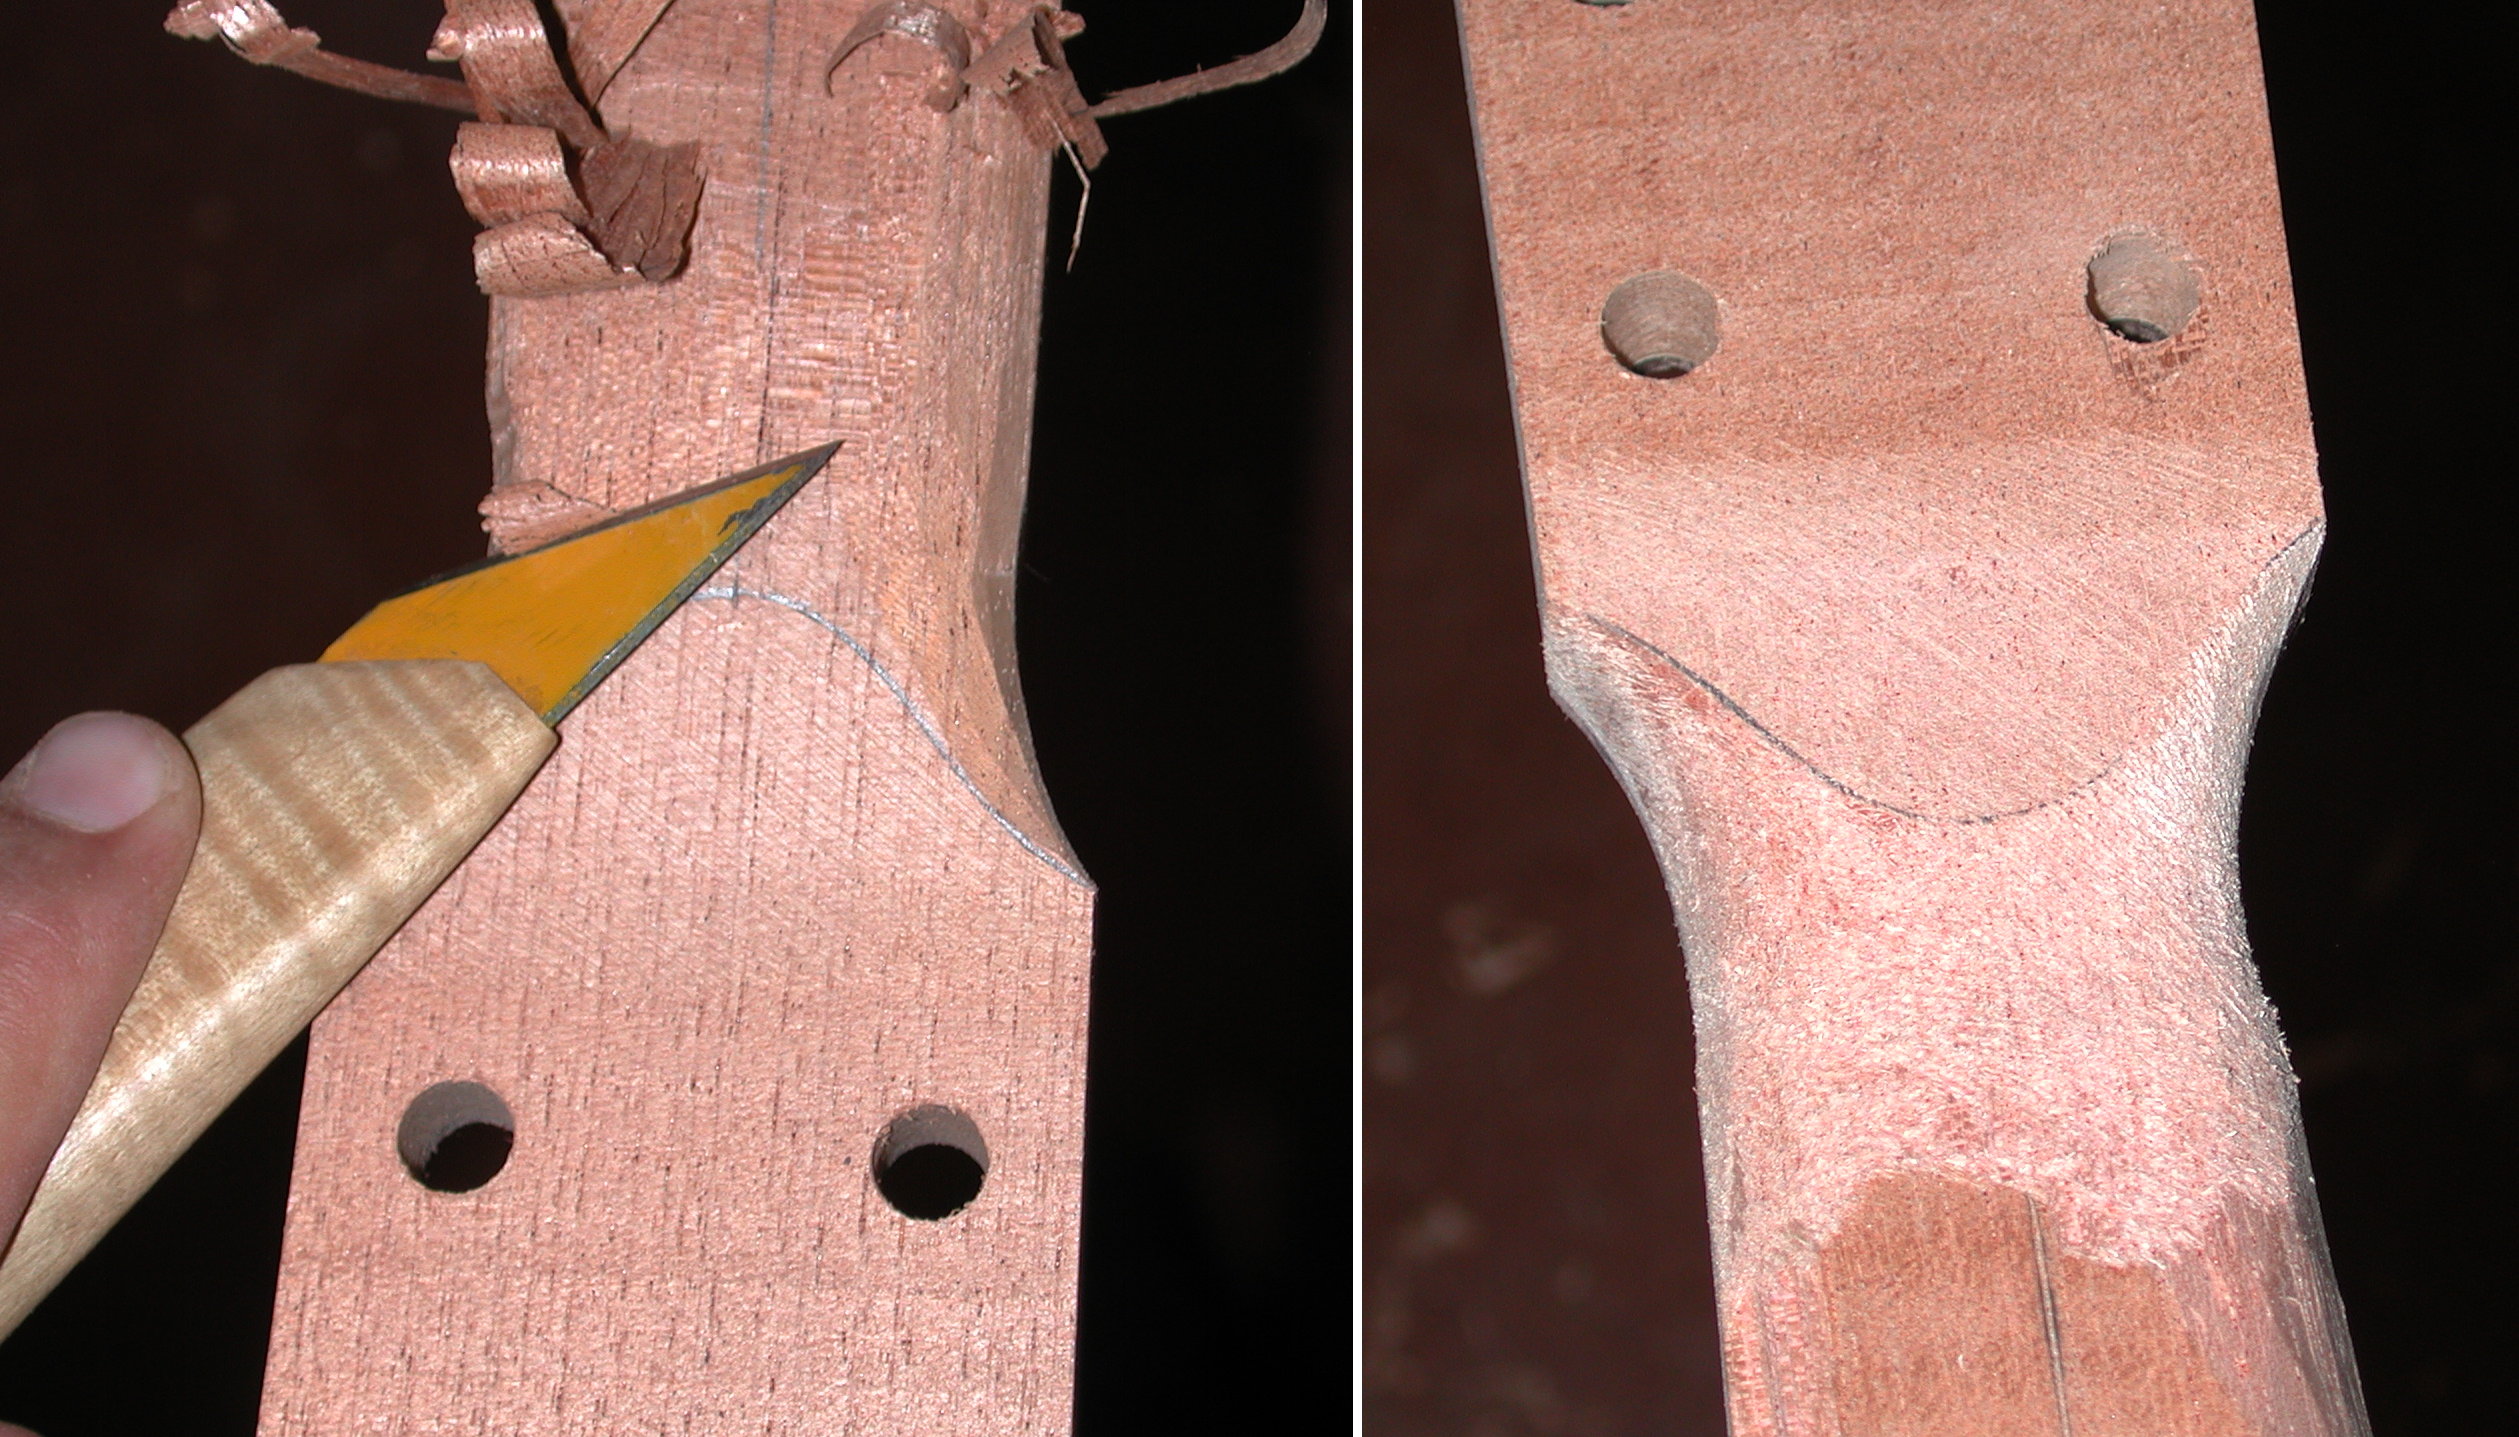
Neck: The transition area from the peghead to the back of the neck is carved.
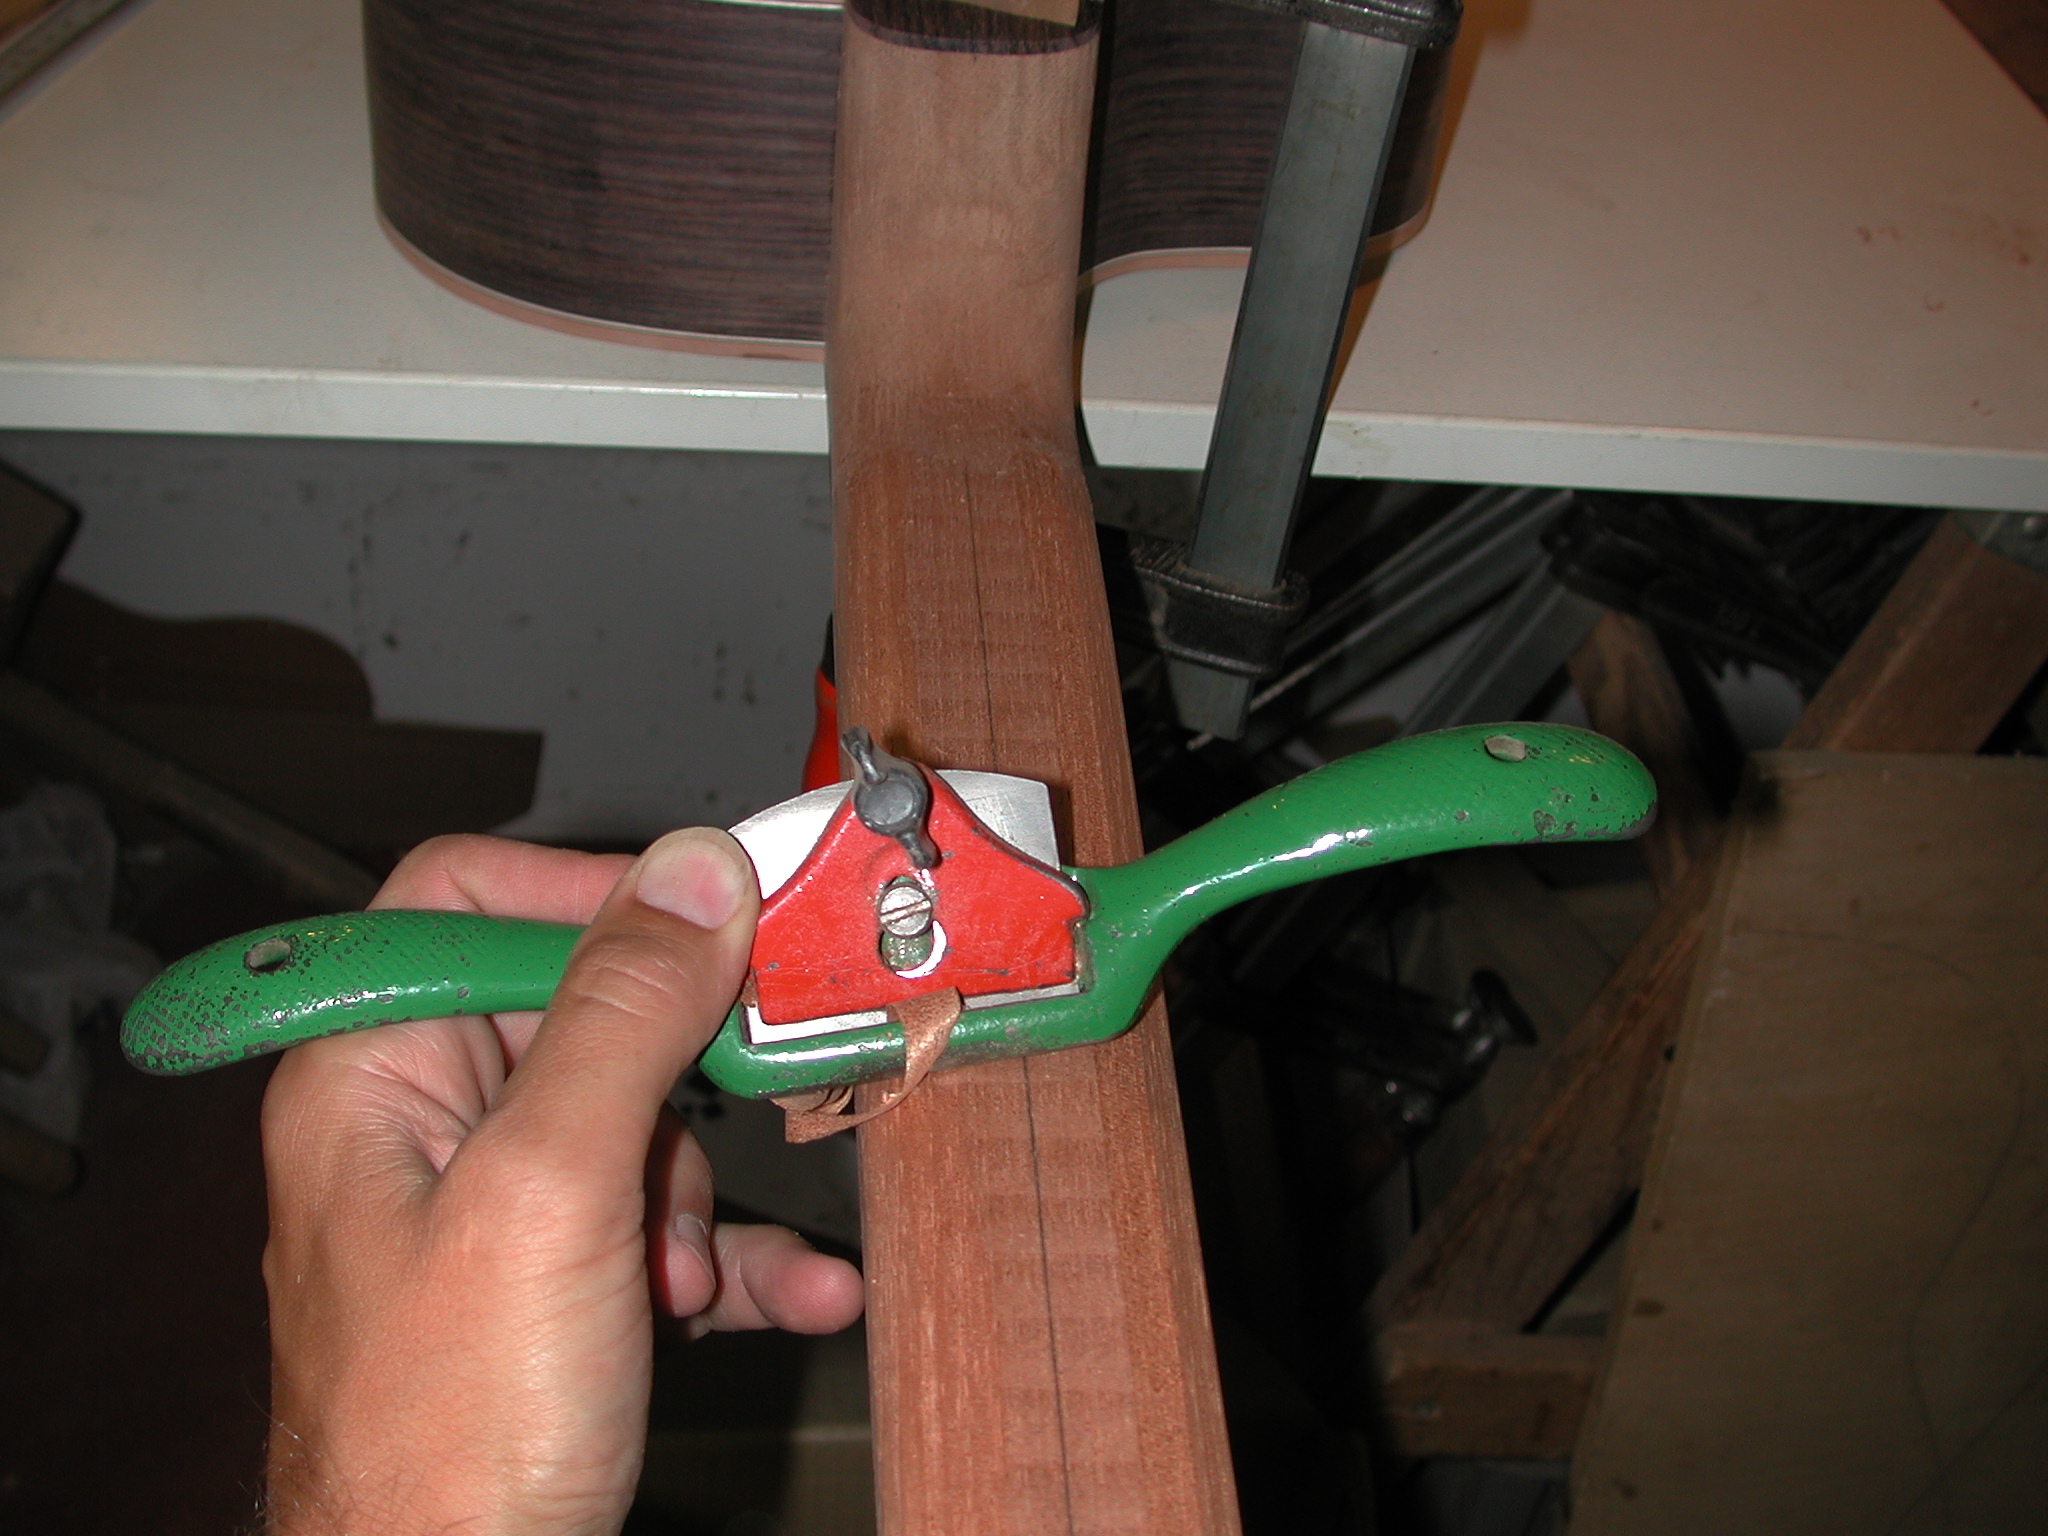
Neck: Shaping the neck roughly.

Neck: The fingerboards are straightened.
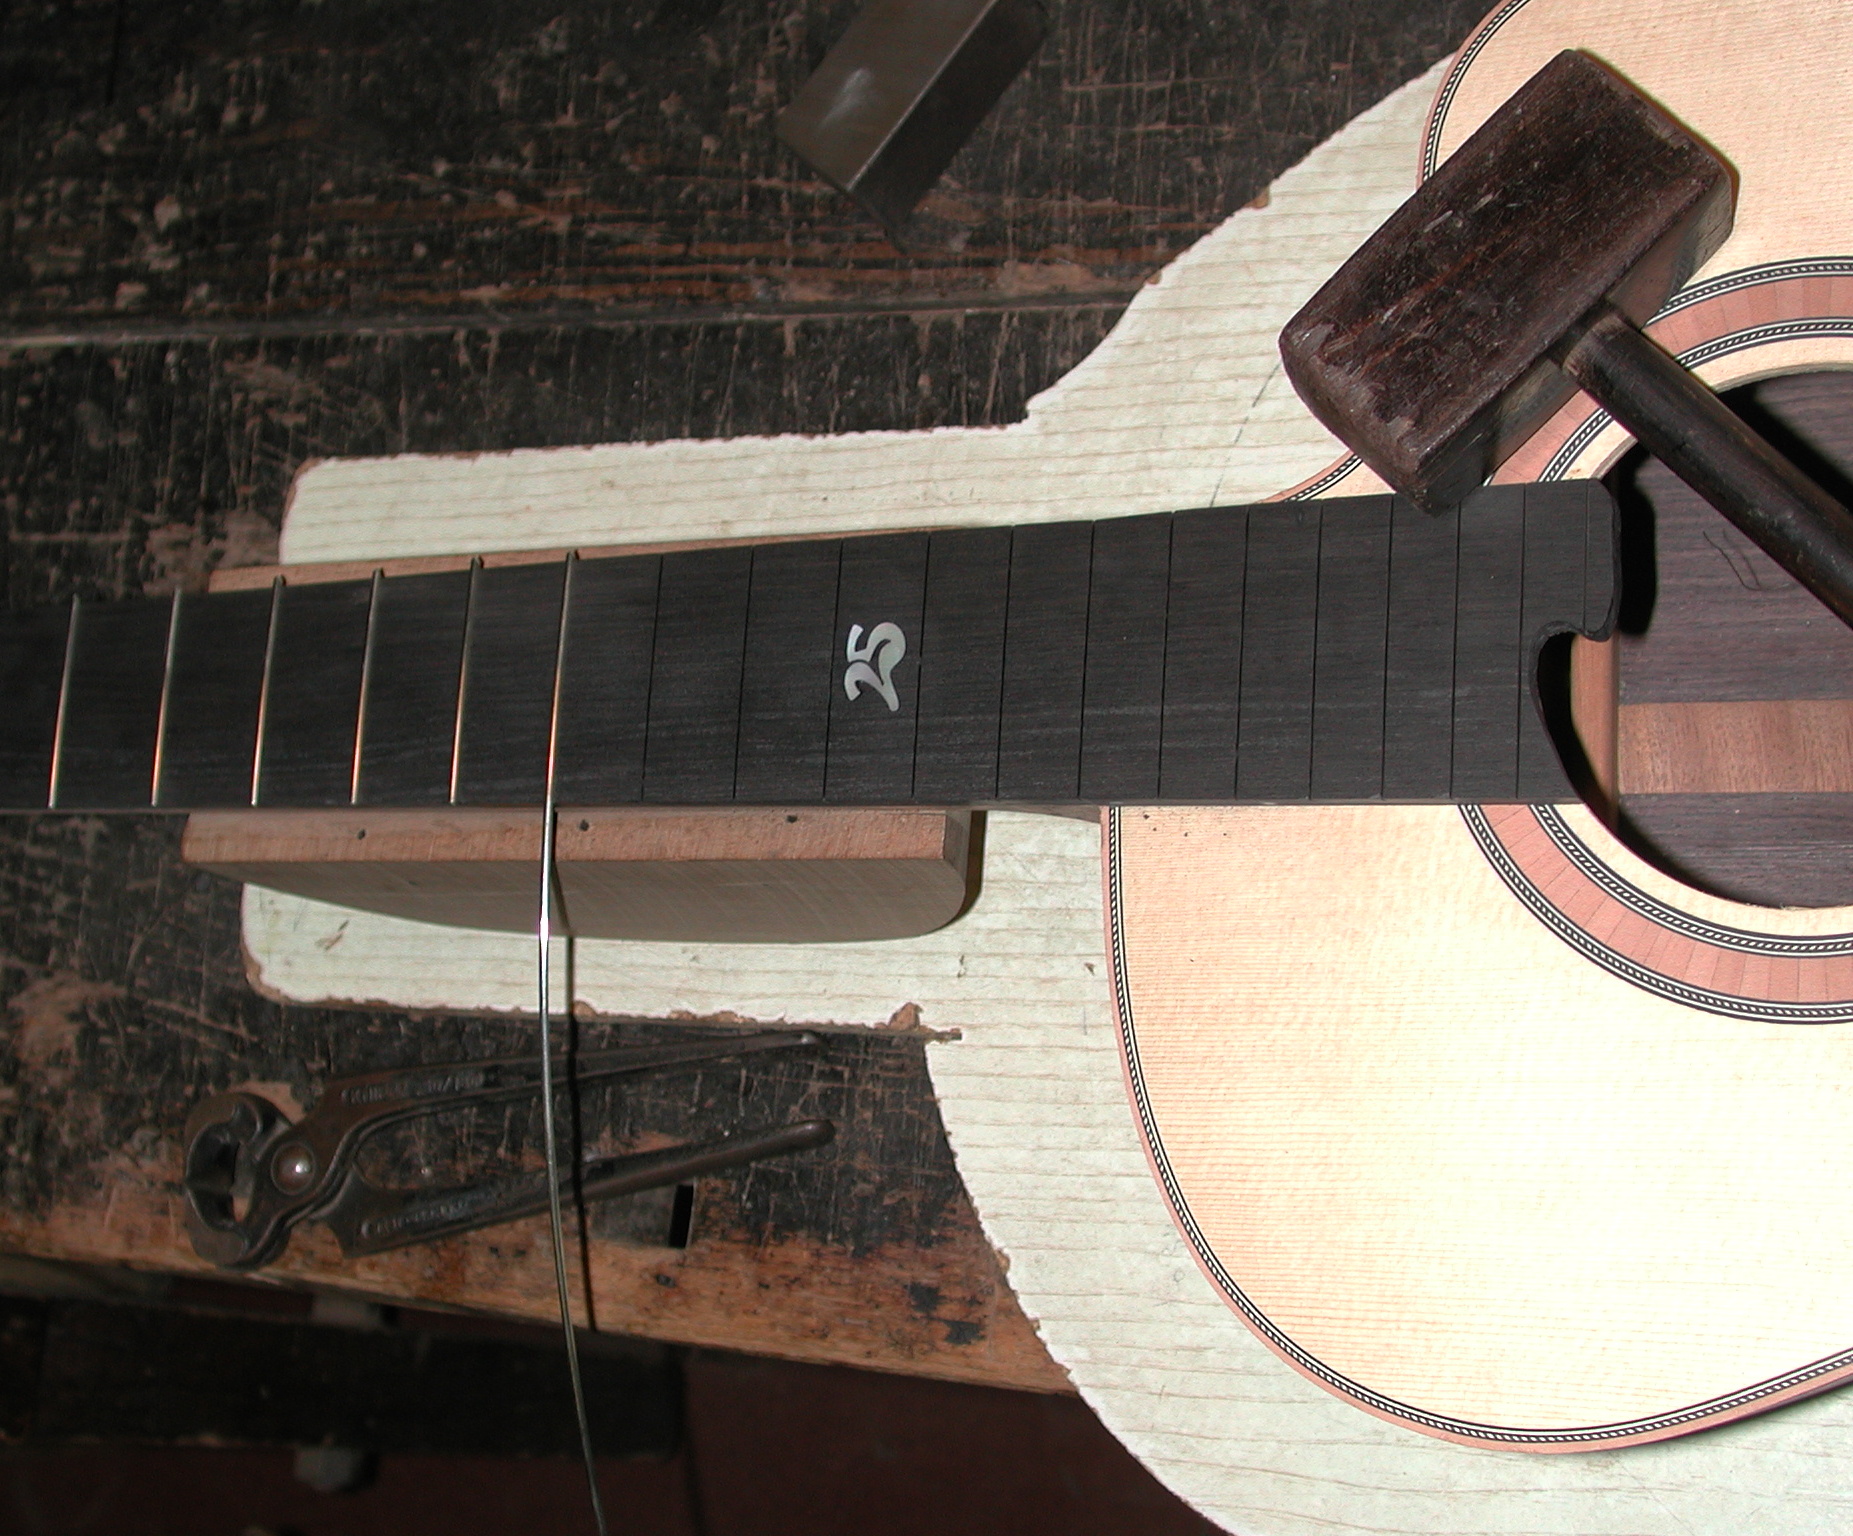
Neck: Now it's time for fretting.
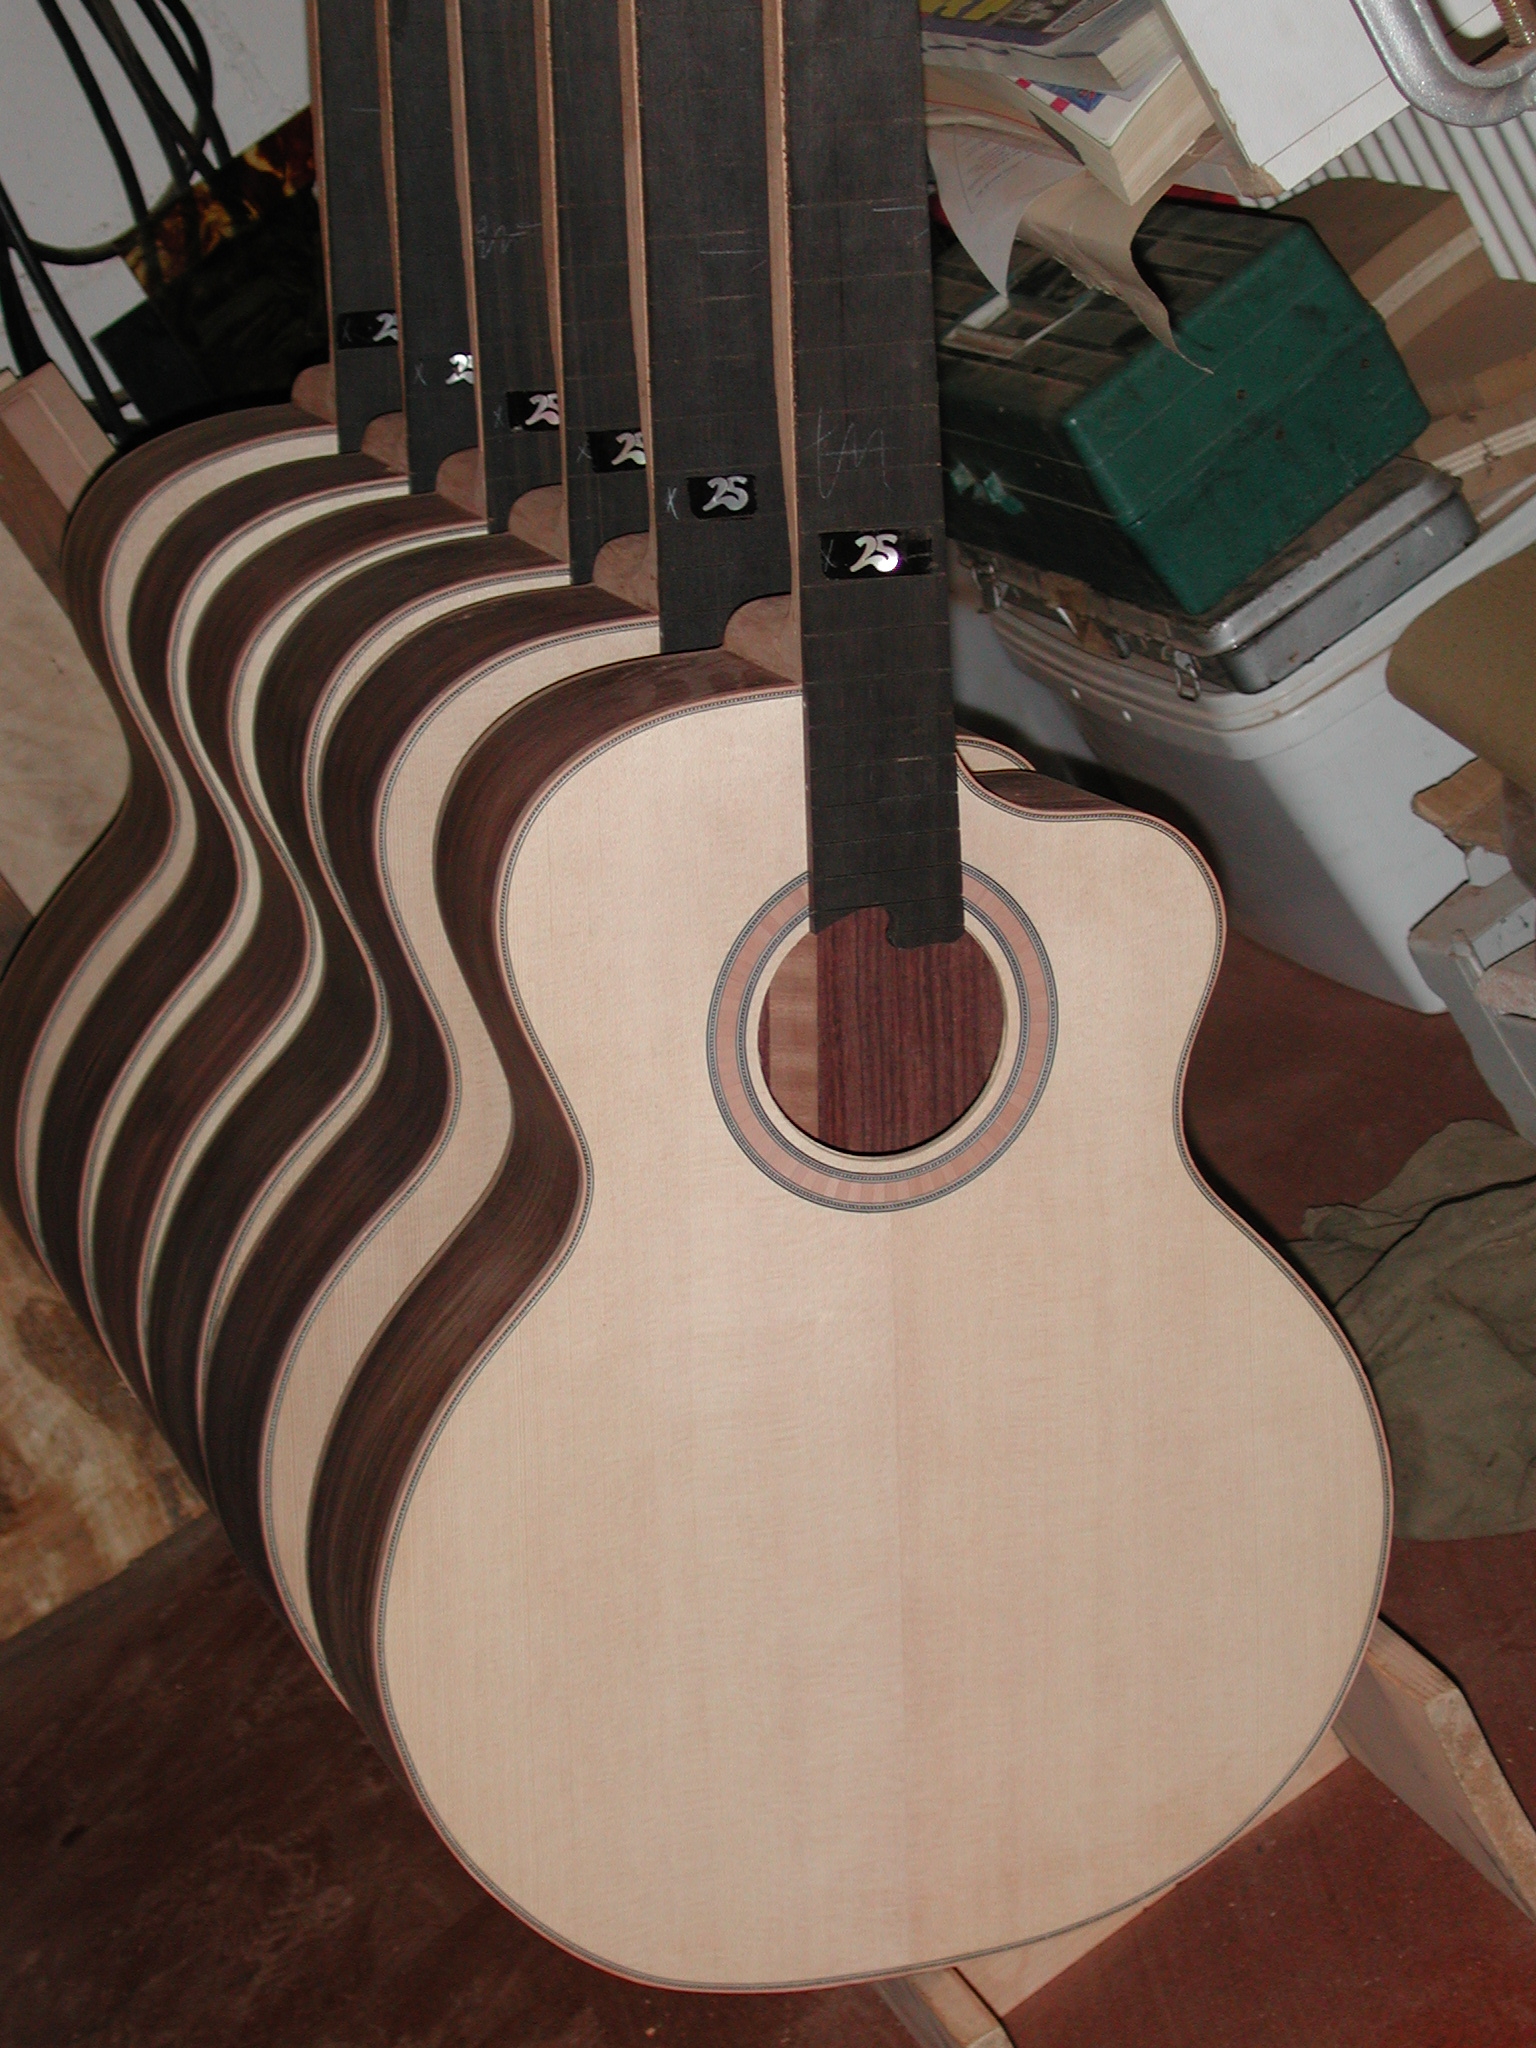
Neck: The neck is shaped completely.
Finishing: The instruments are now ready for finishing. The fretboard and the place for the bridge are masked with tape, the soundhole is clogged with paper, in order to prevent the lacquer from going inside.
Finishing: Each layer of NC lacquer (10 layers) is sanded after drying.
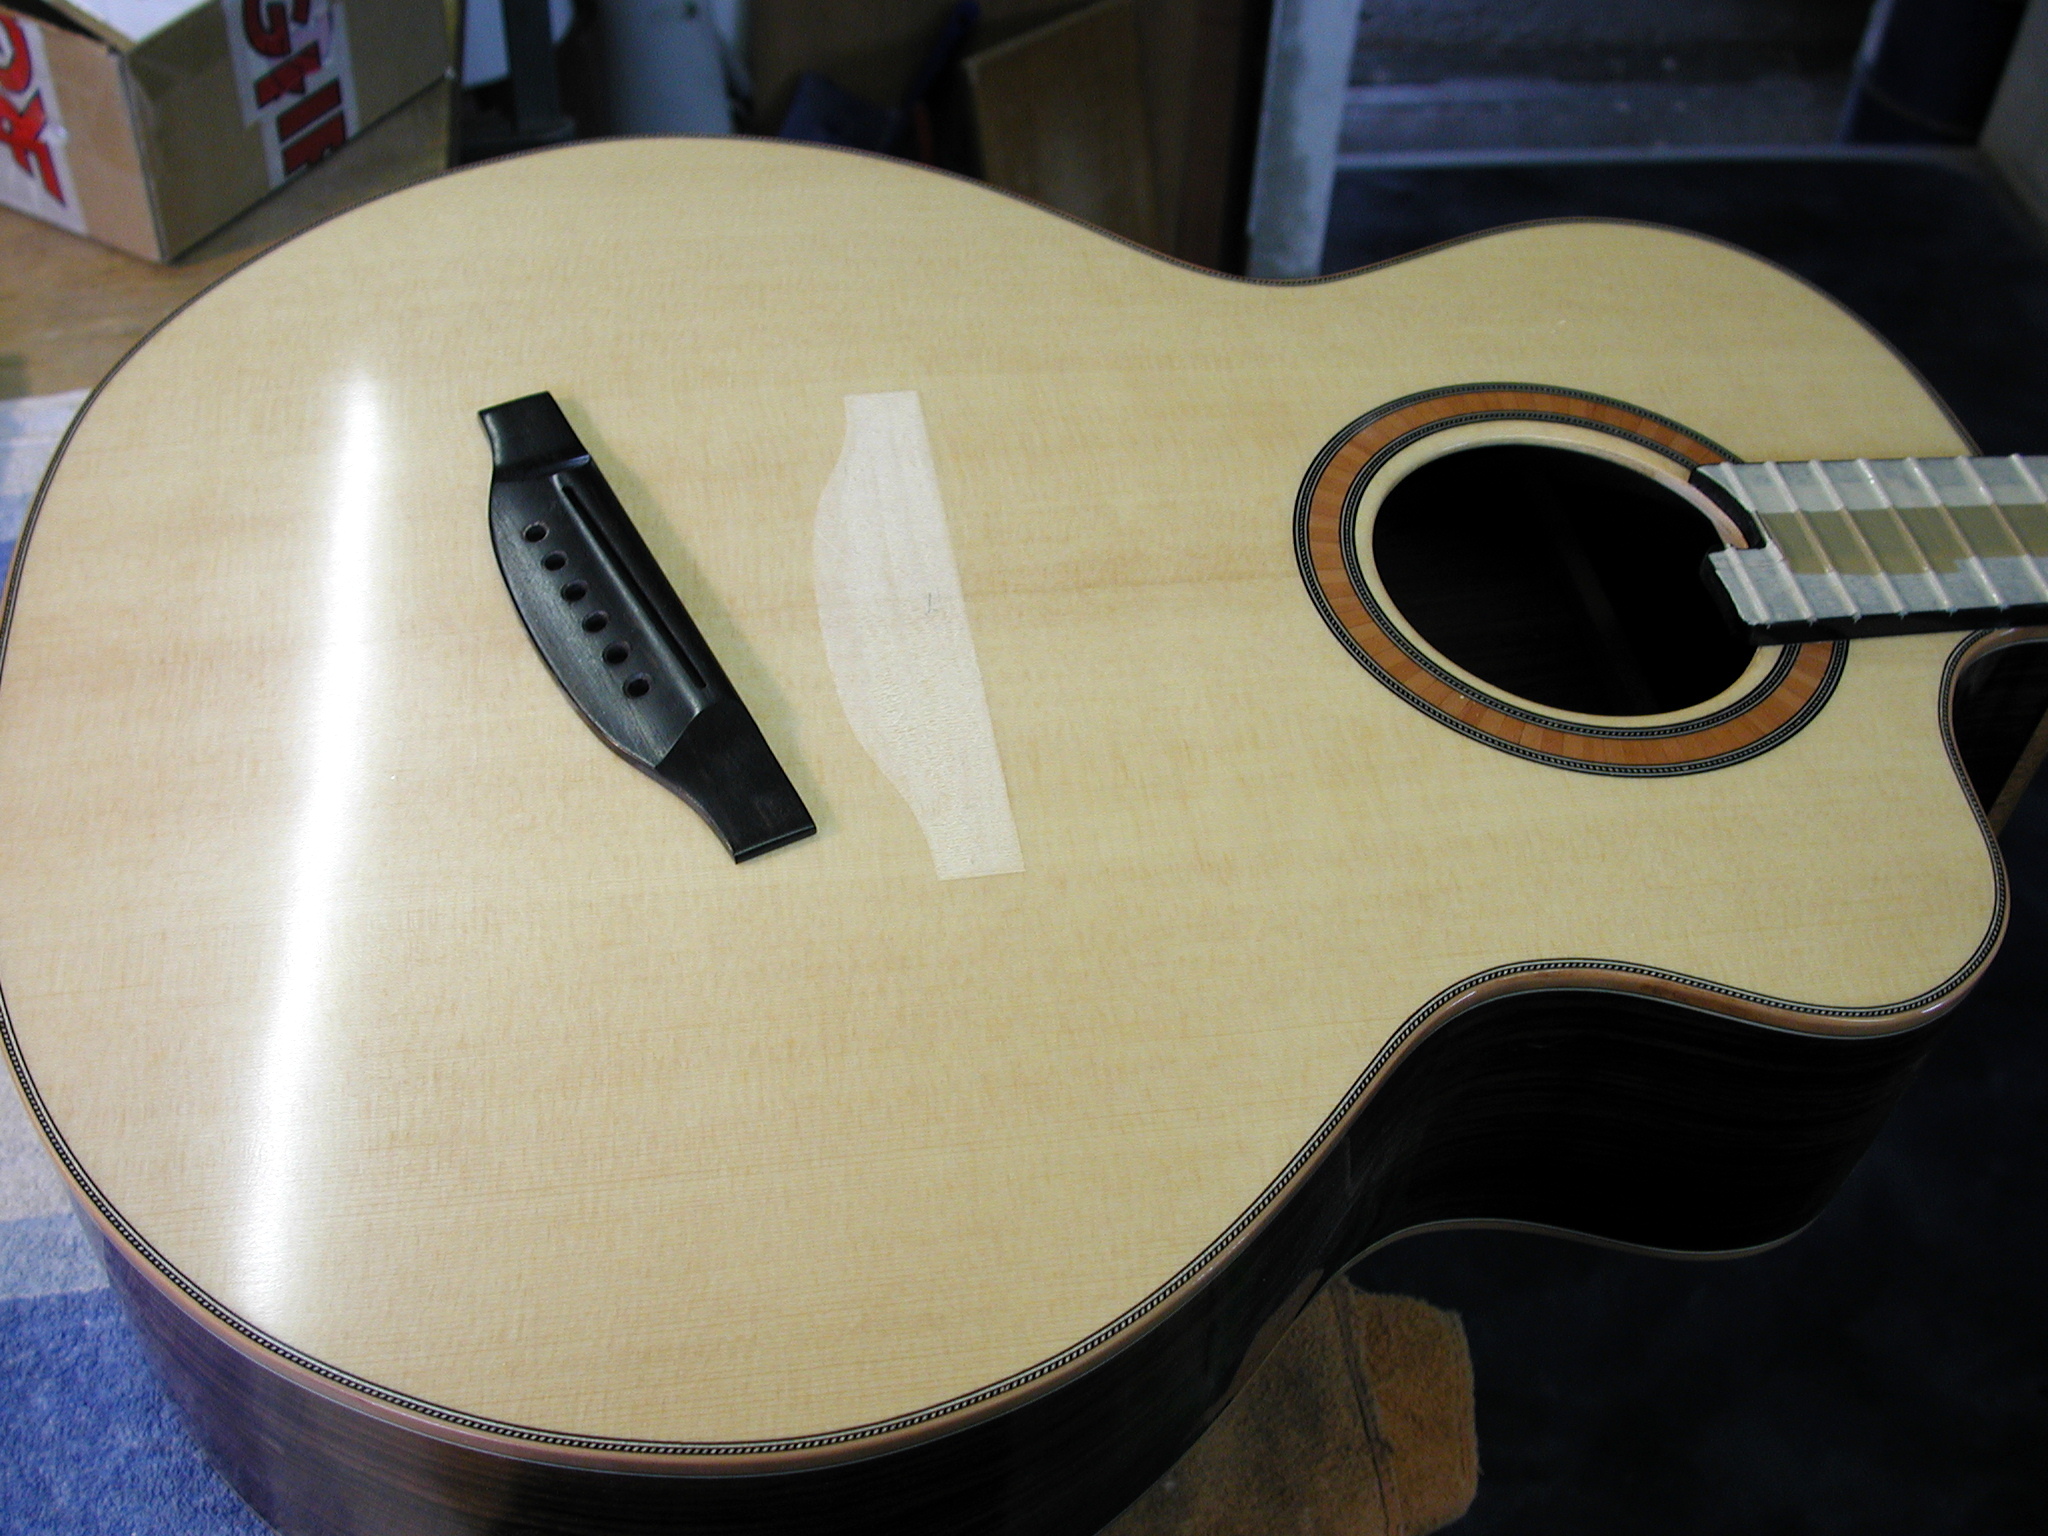
Bridge: The top is finished except for the place for the bridge.
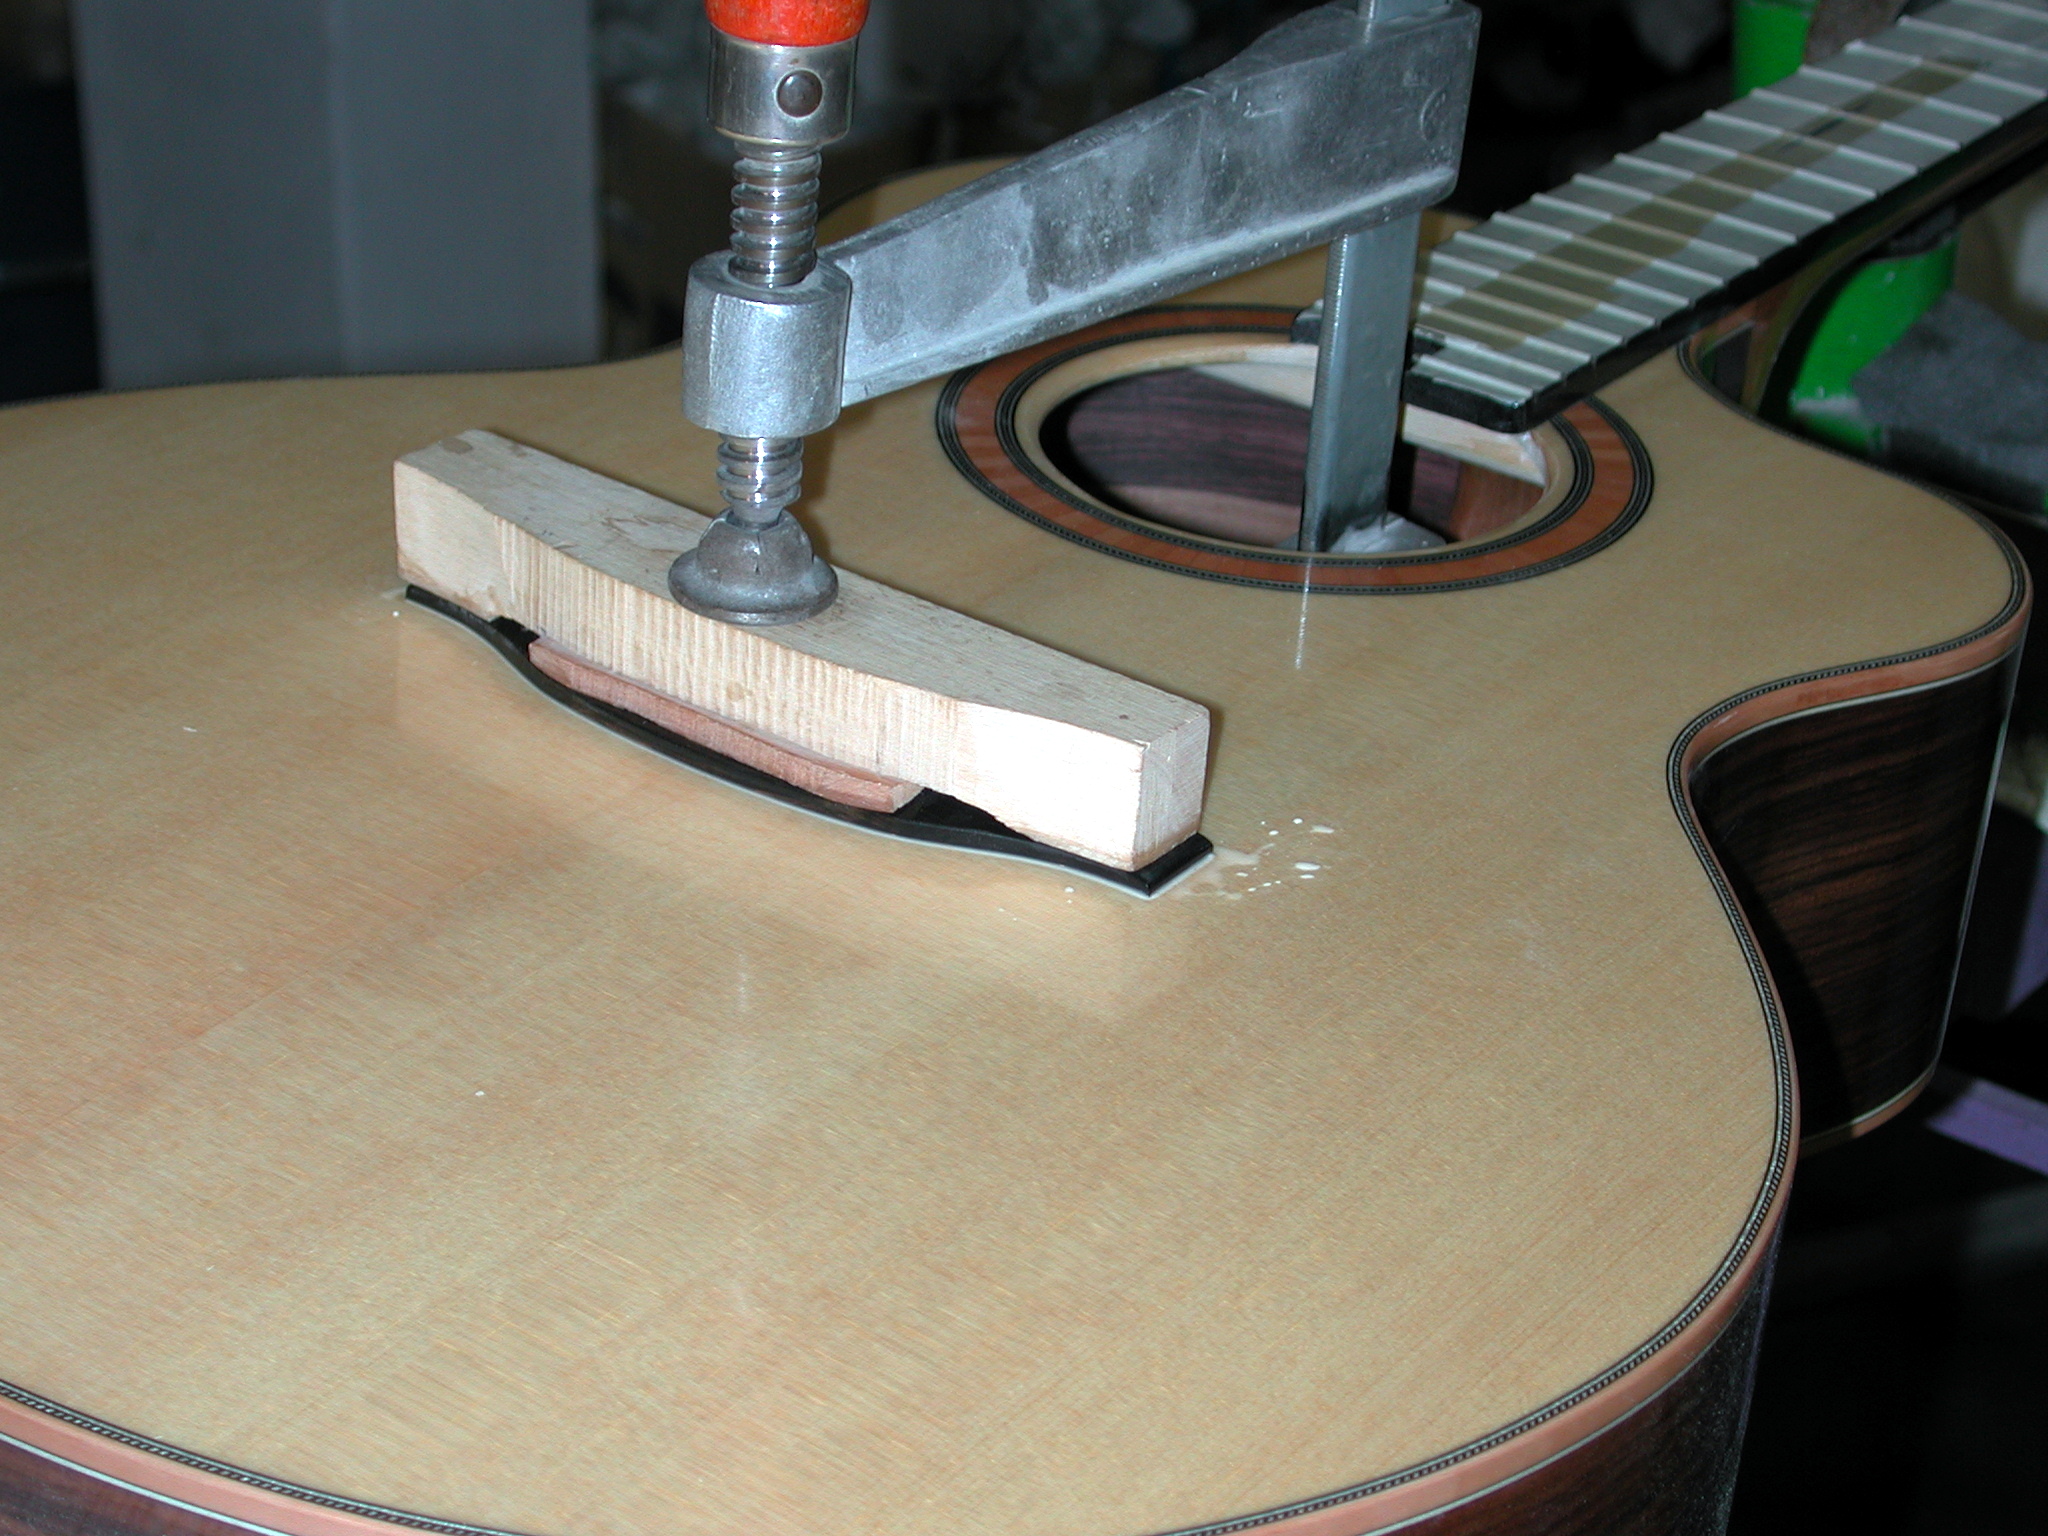
Bridge: The bridge is applied.

Fingerboard: The frets are levelled.
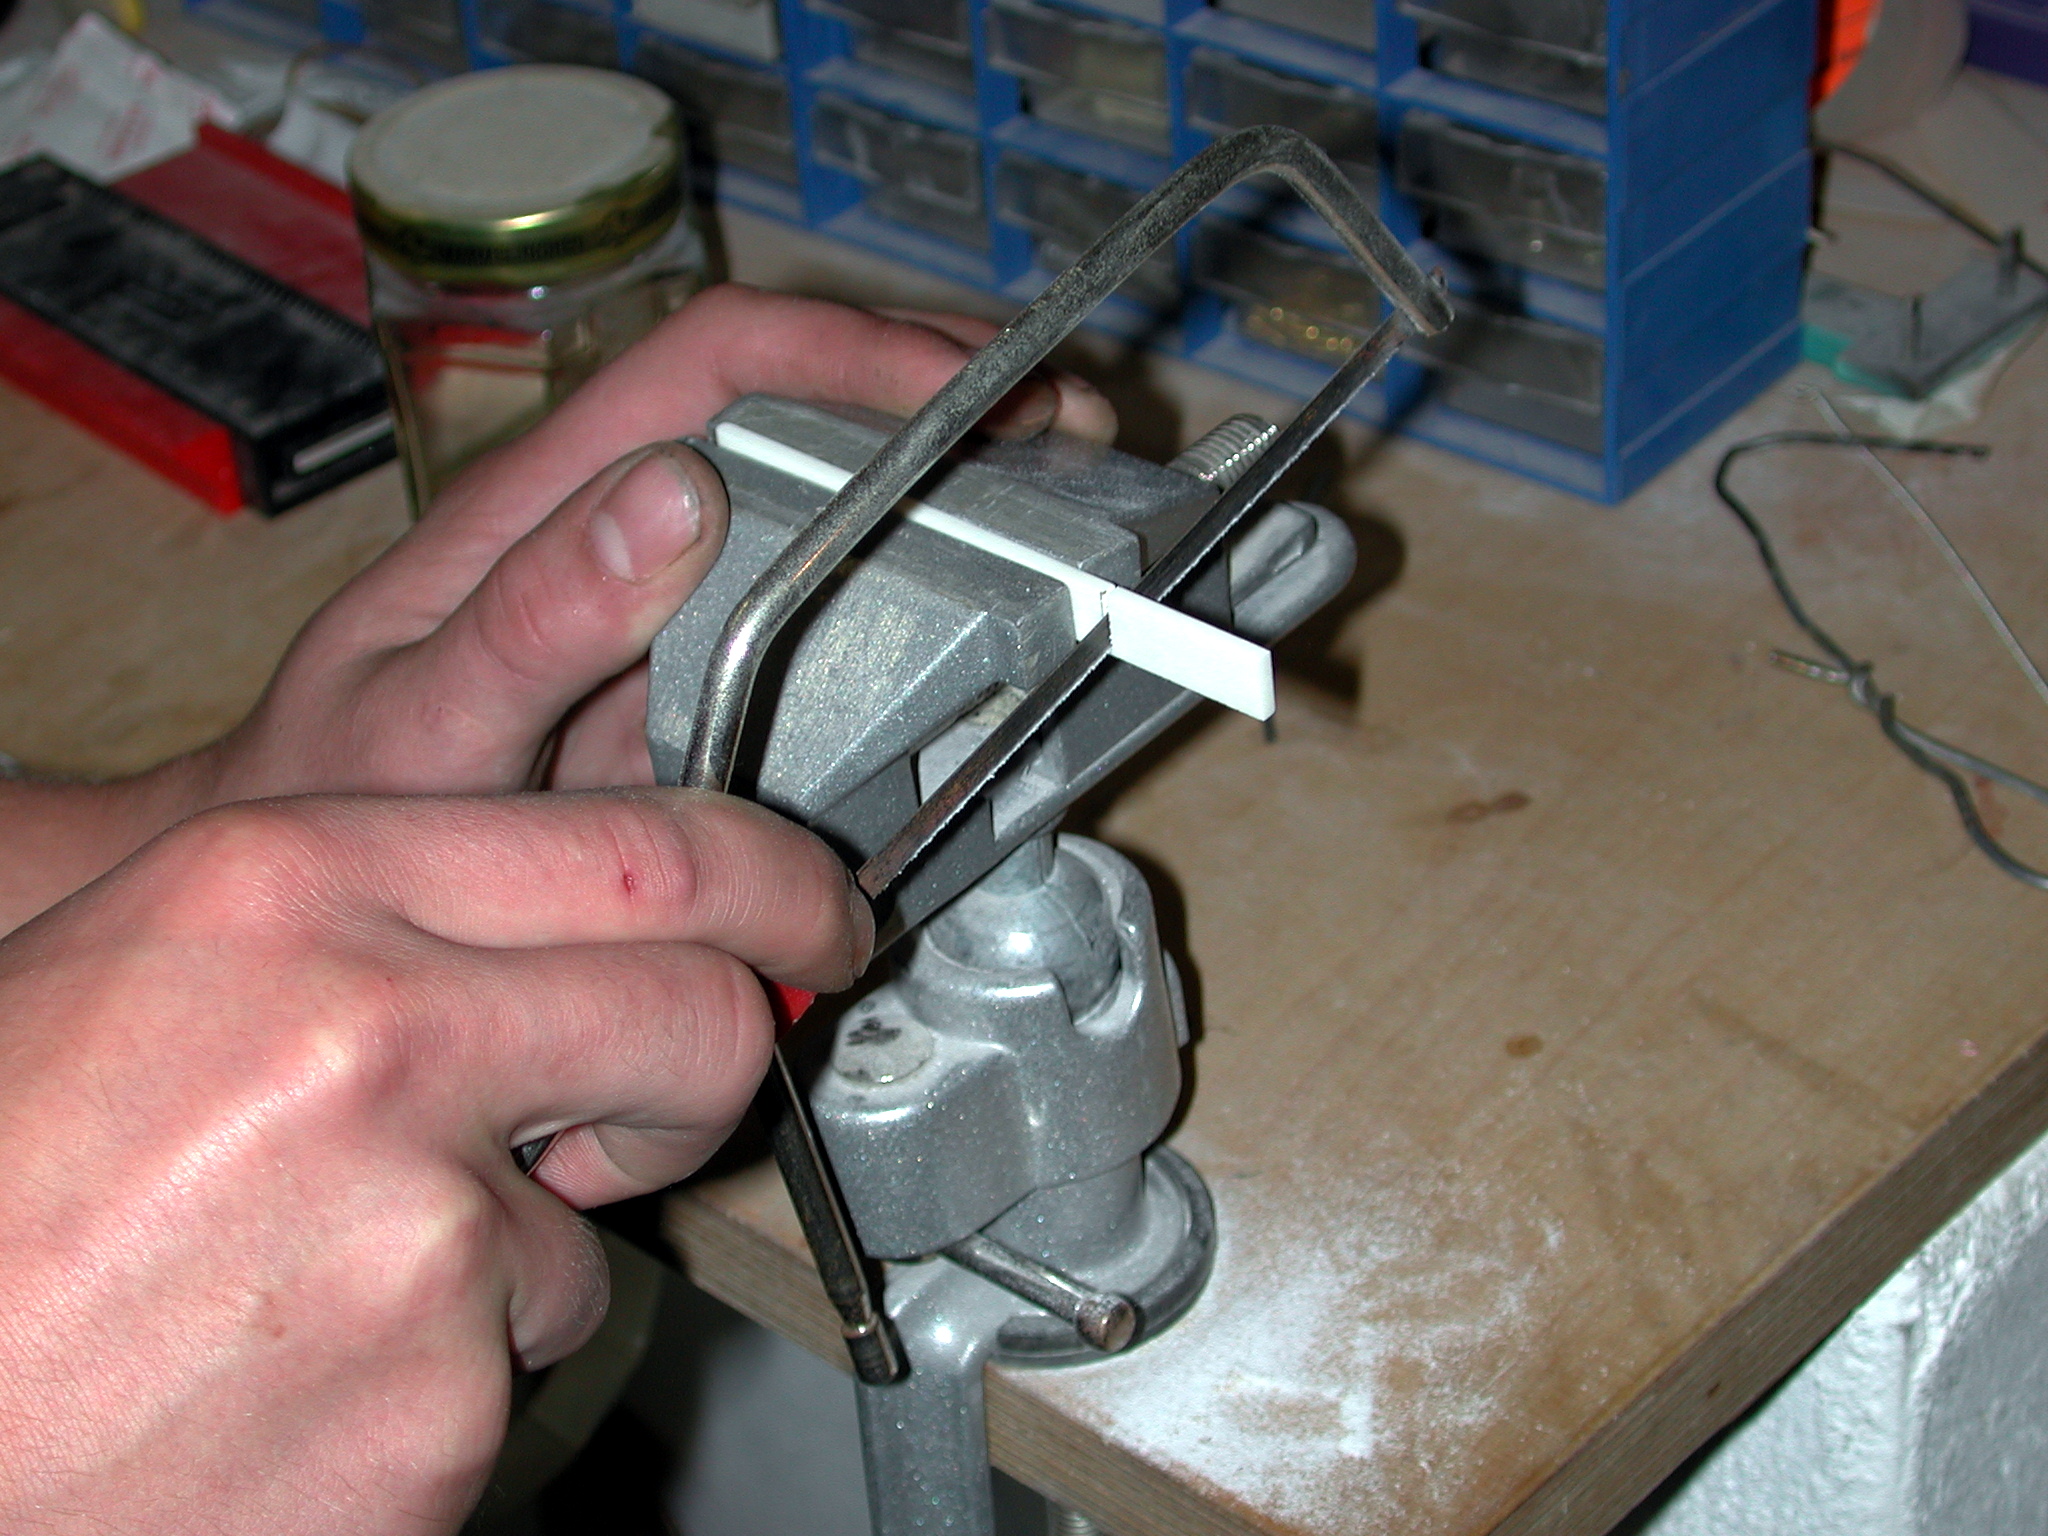
Fingerboard: The top nut is cut to appropriate length.
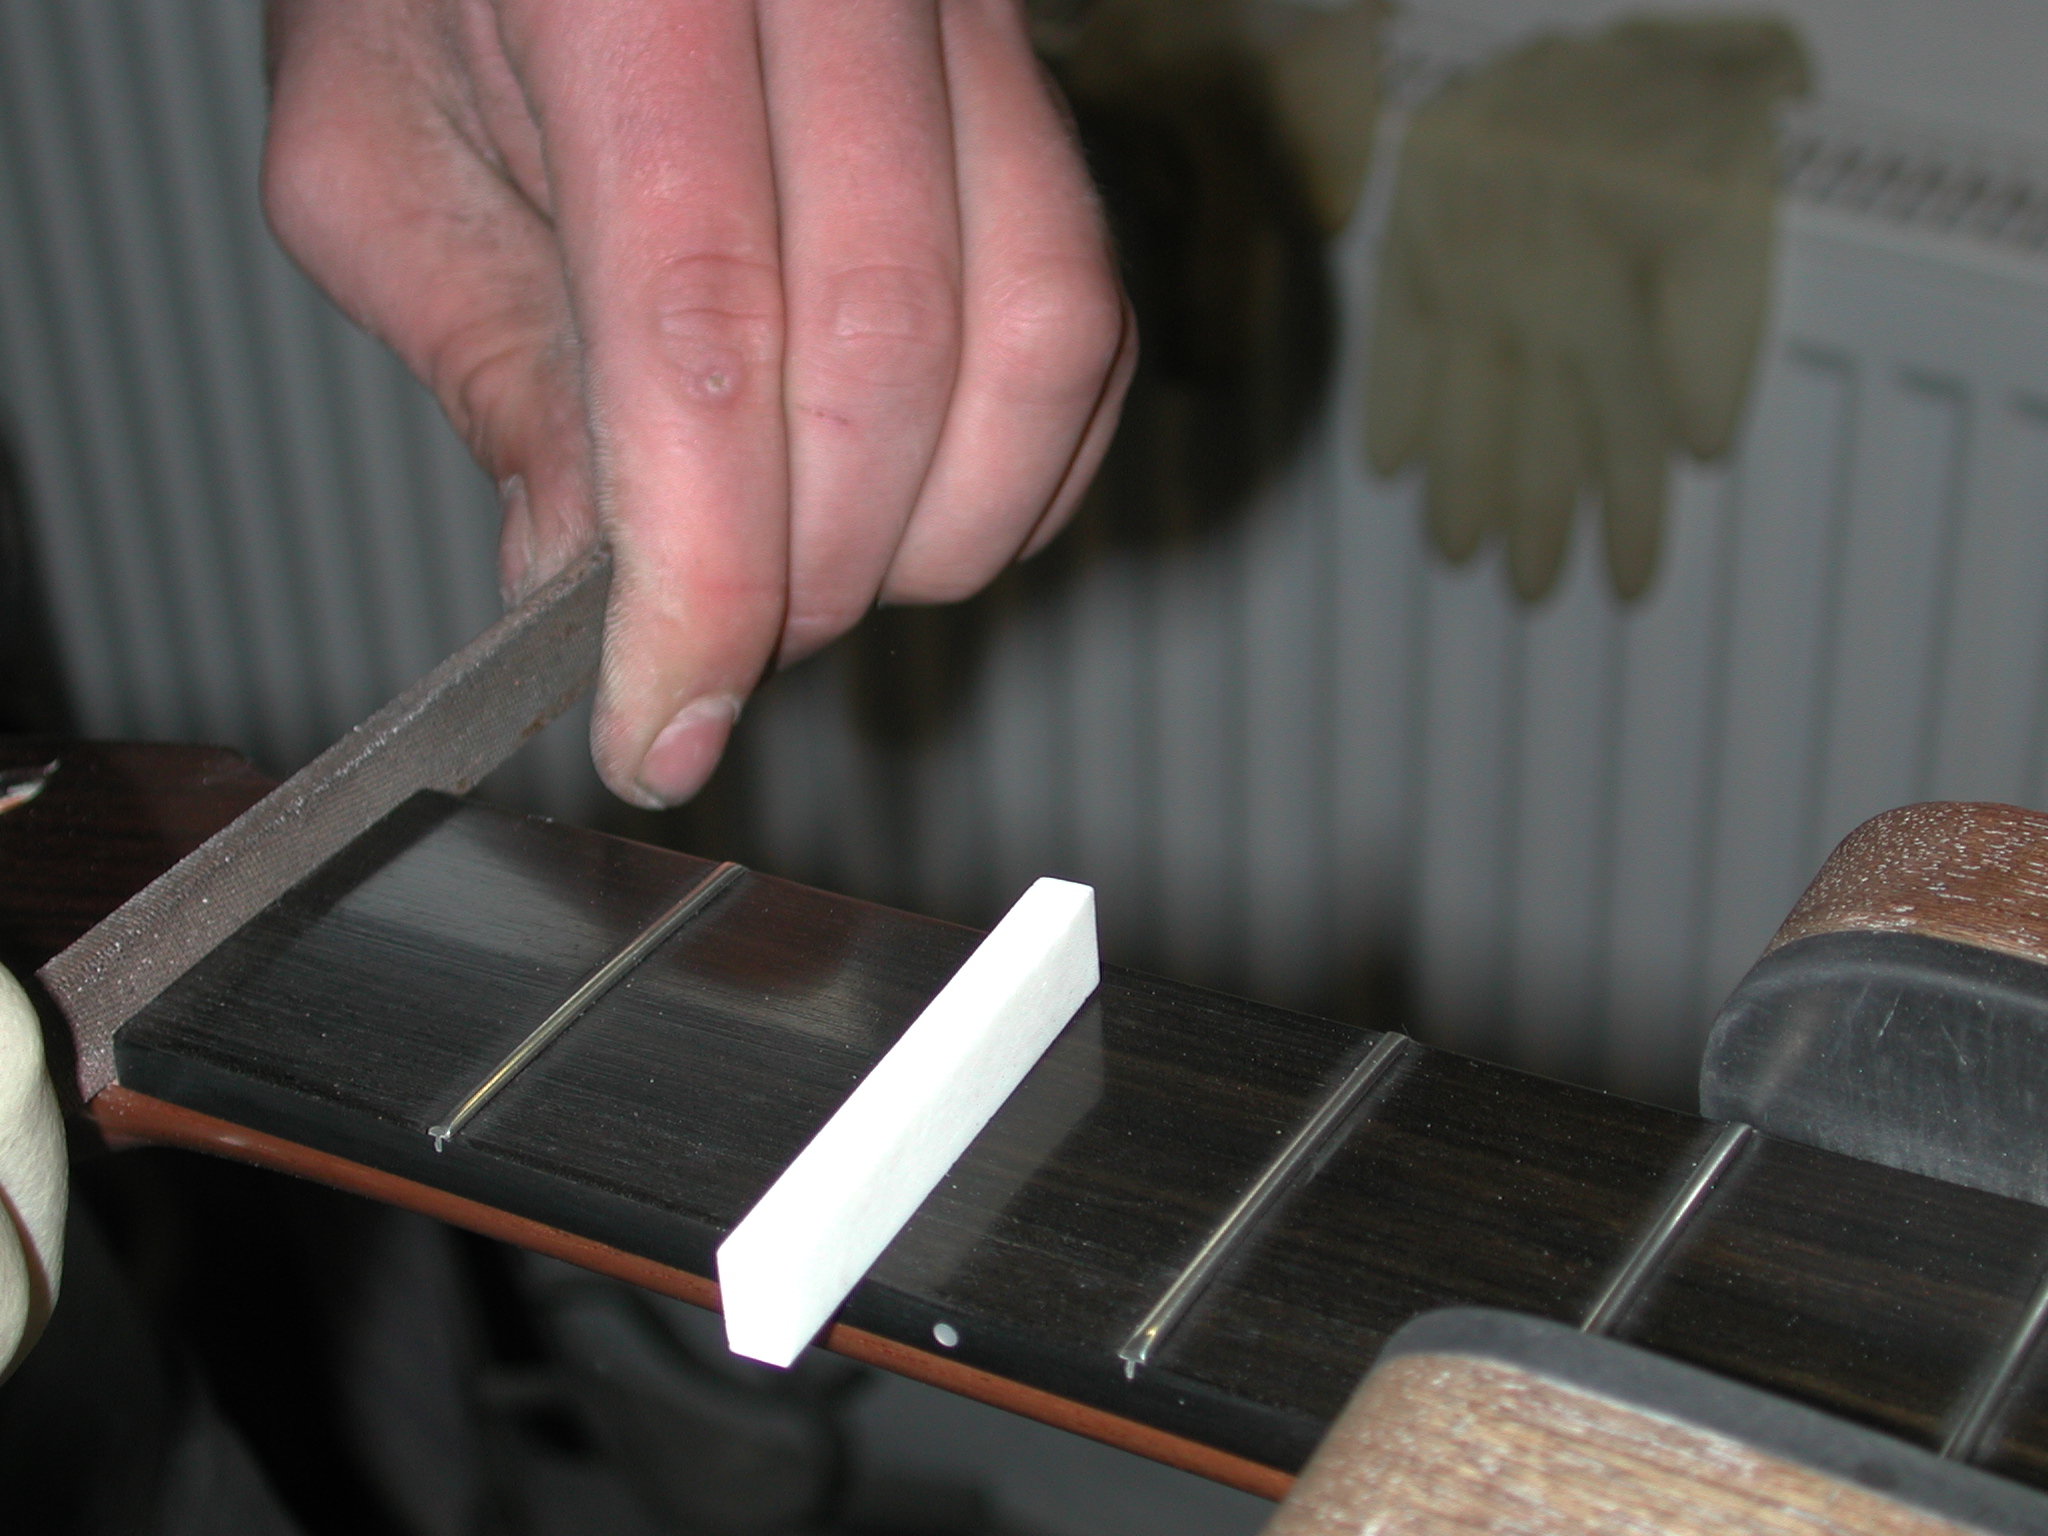
Fingerboard: The slot for the top nut is prepared.
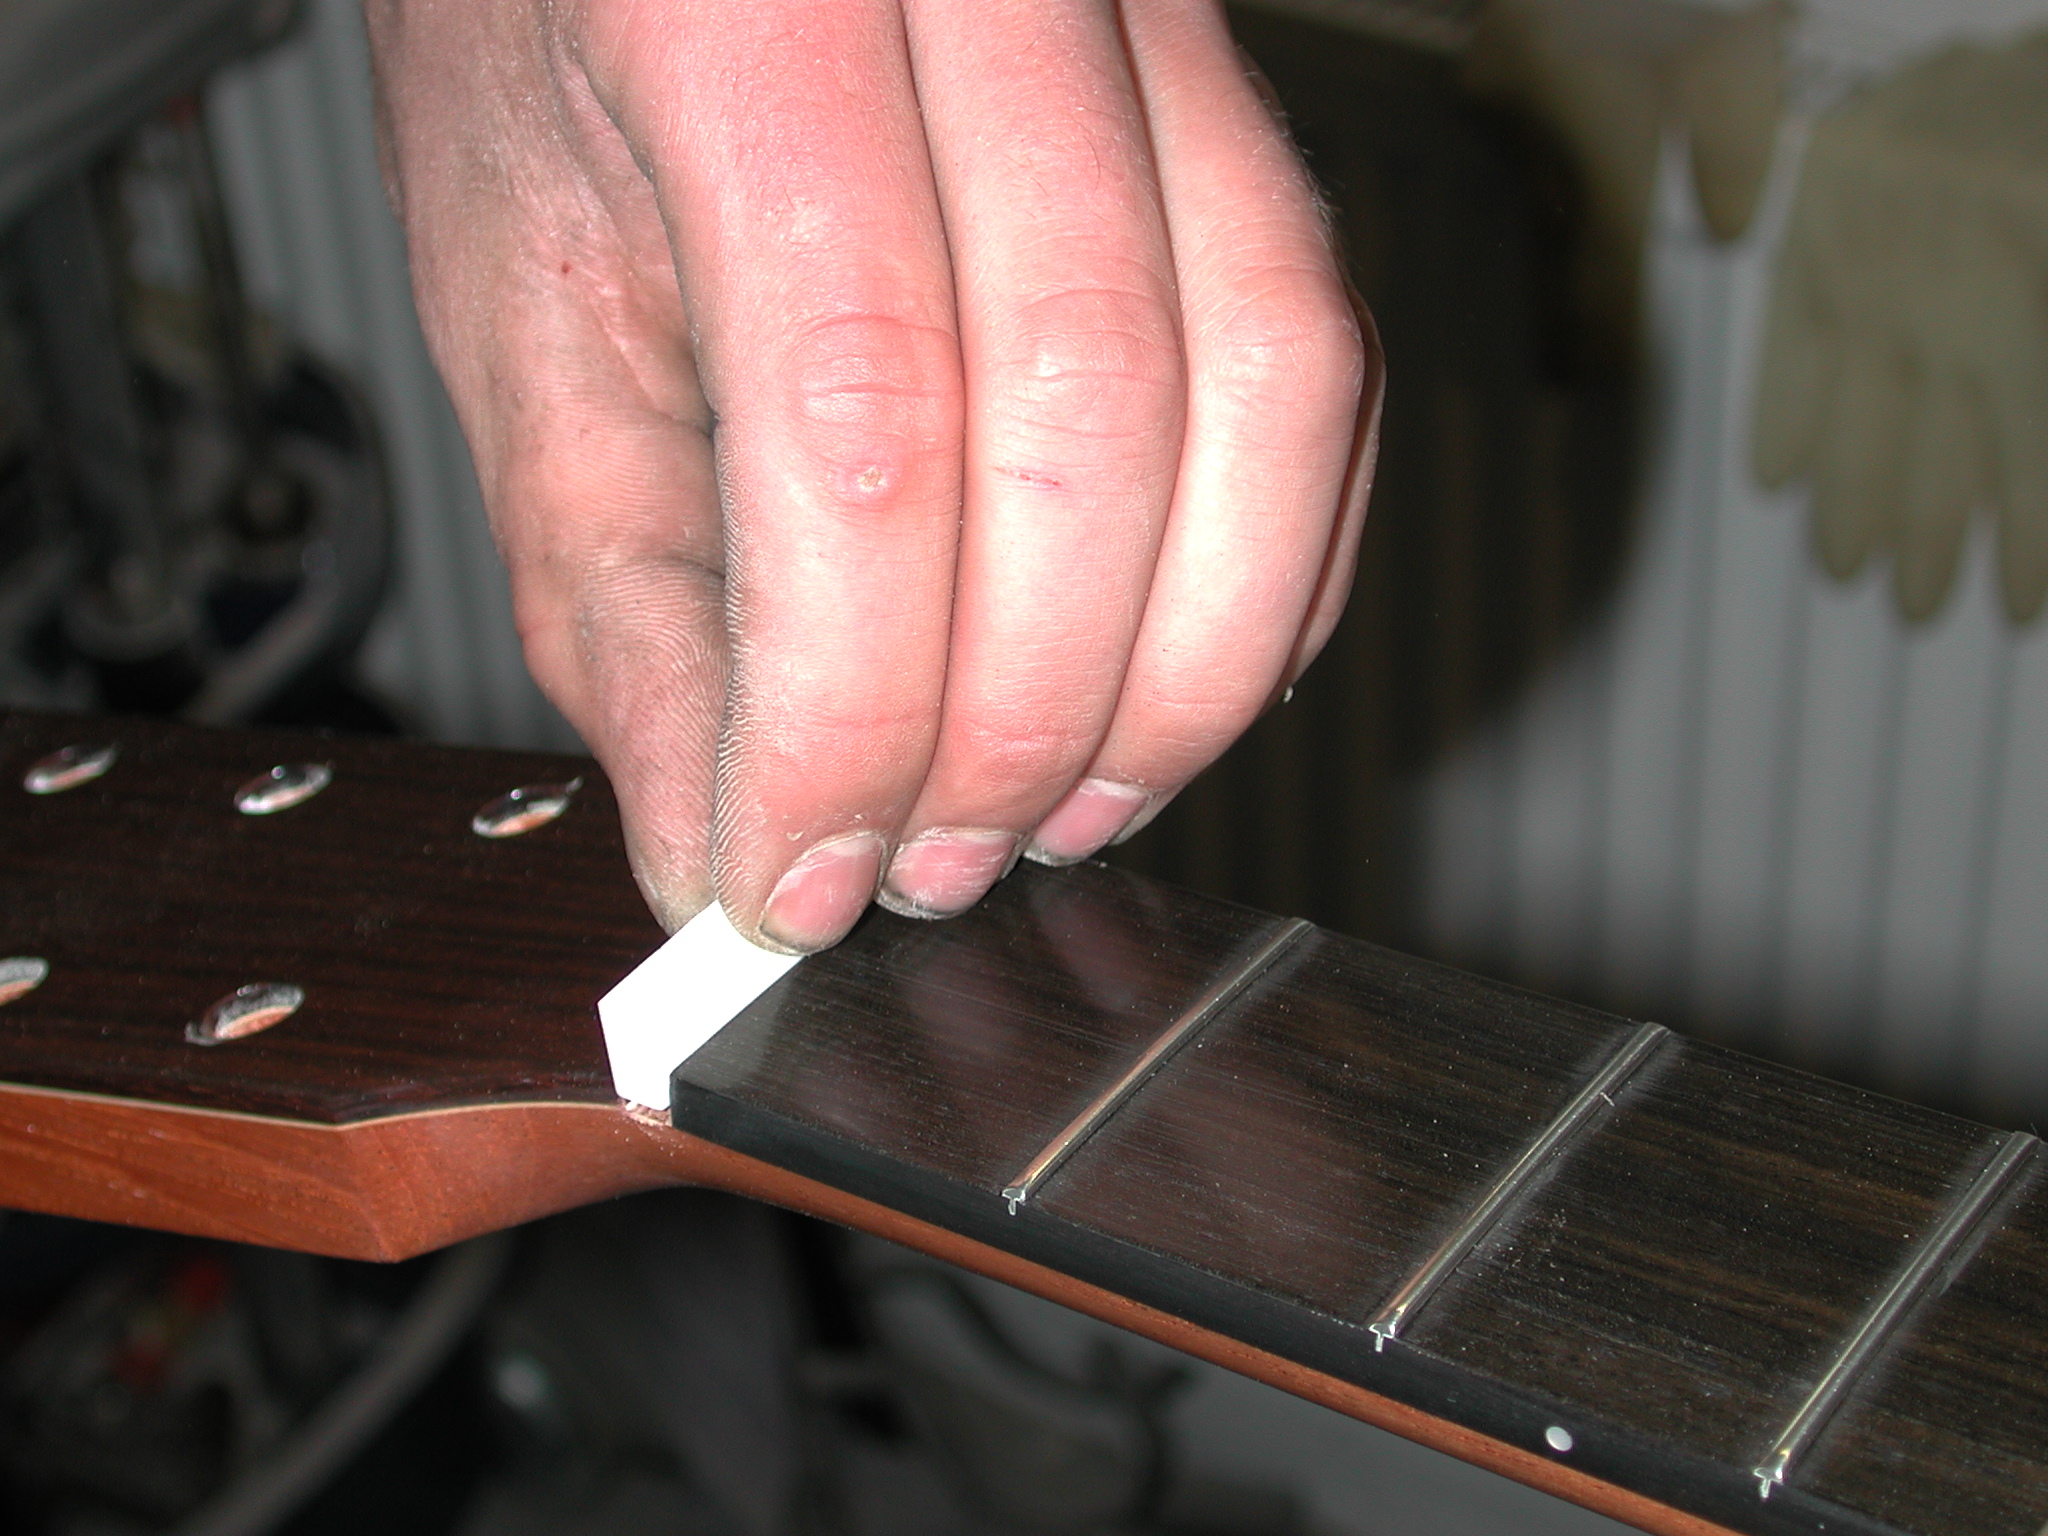
Fingerboard: The top nut is applied...
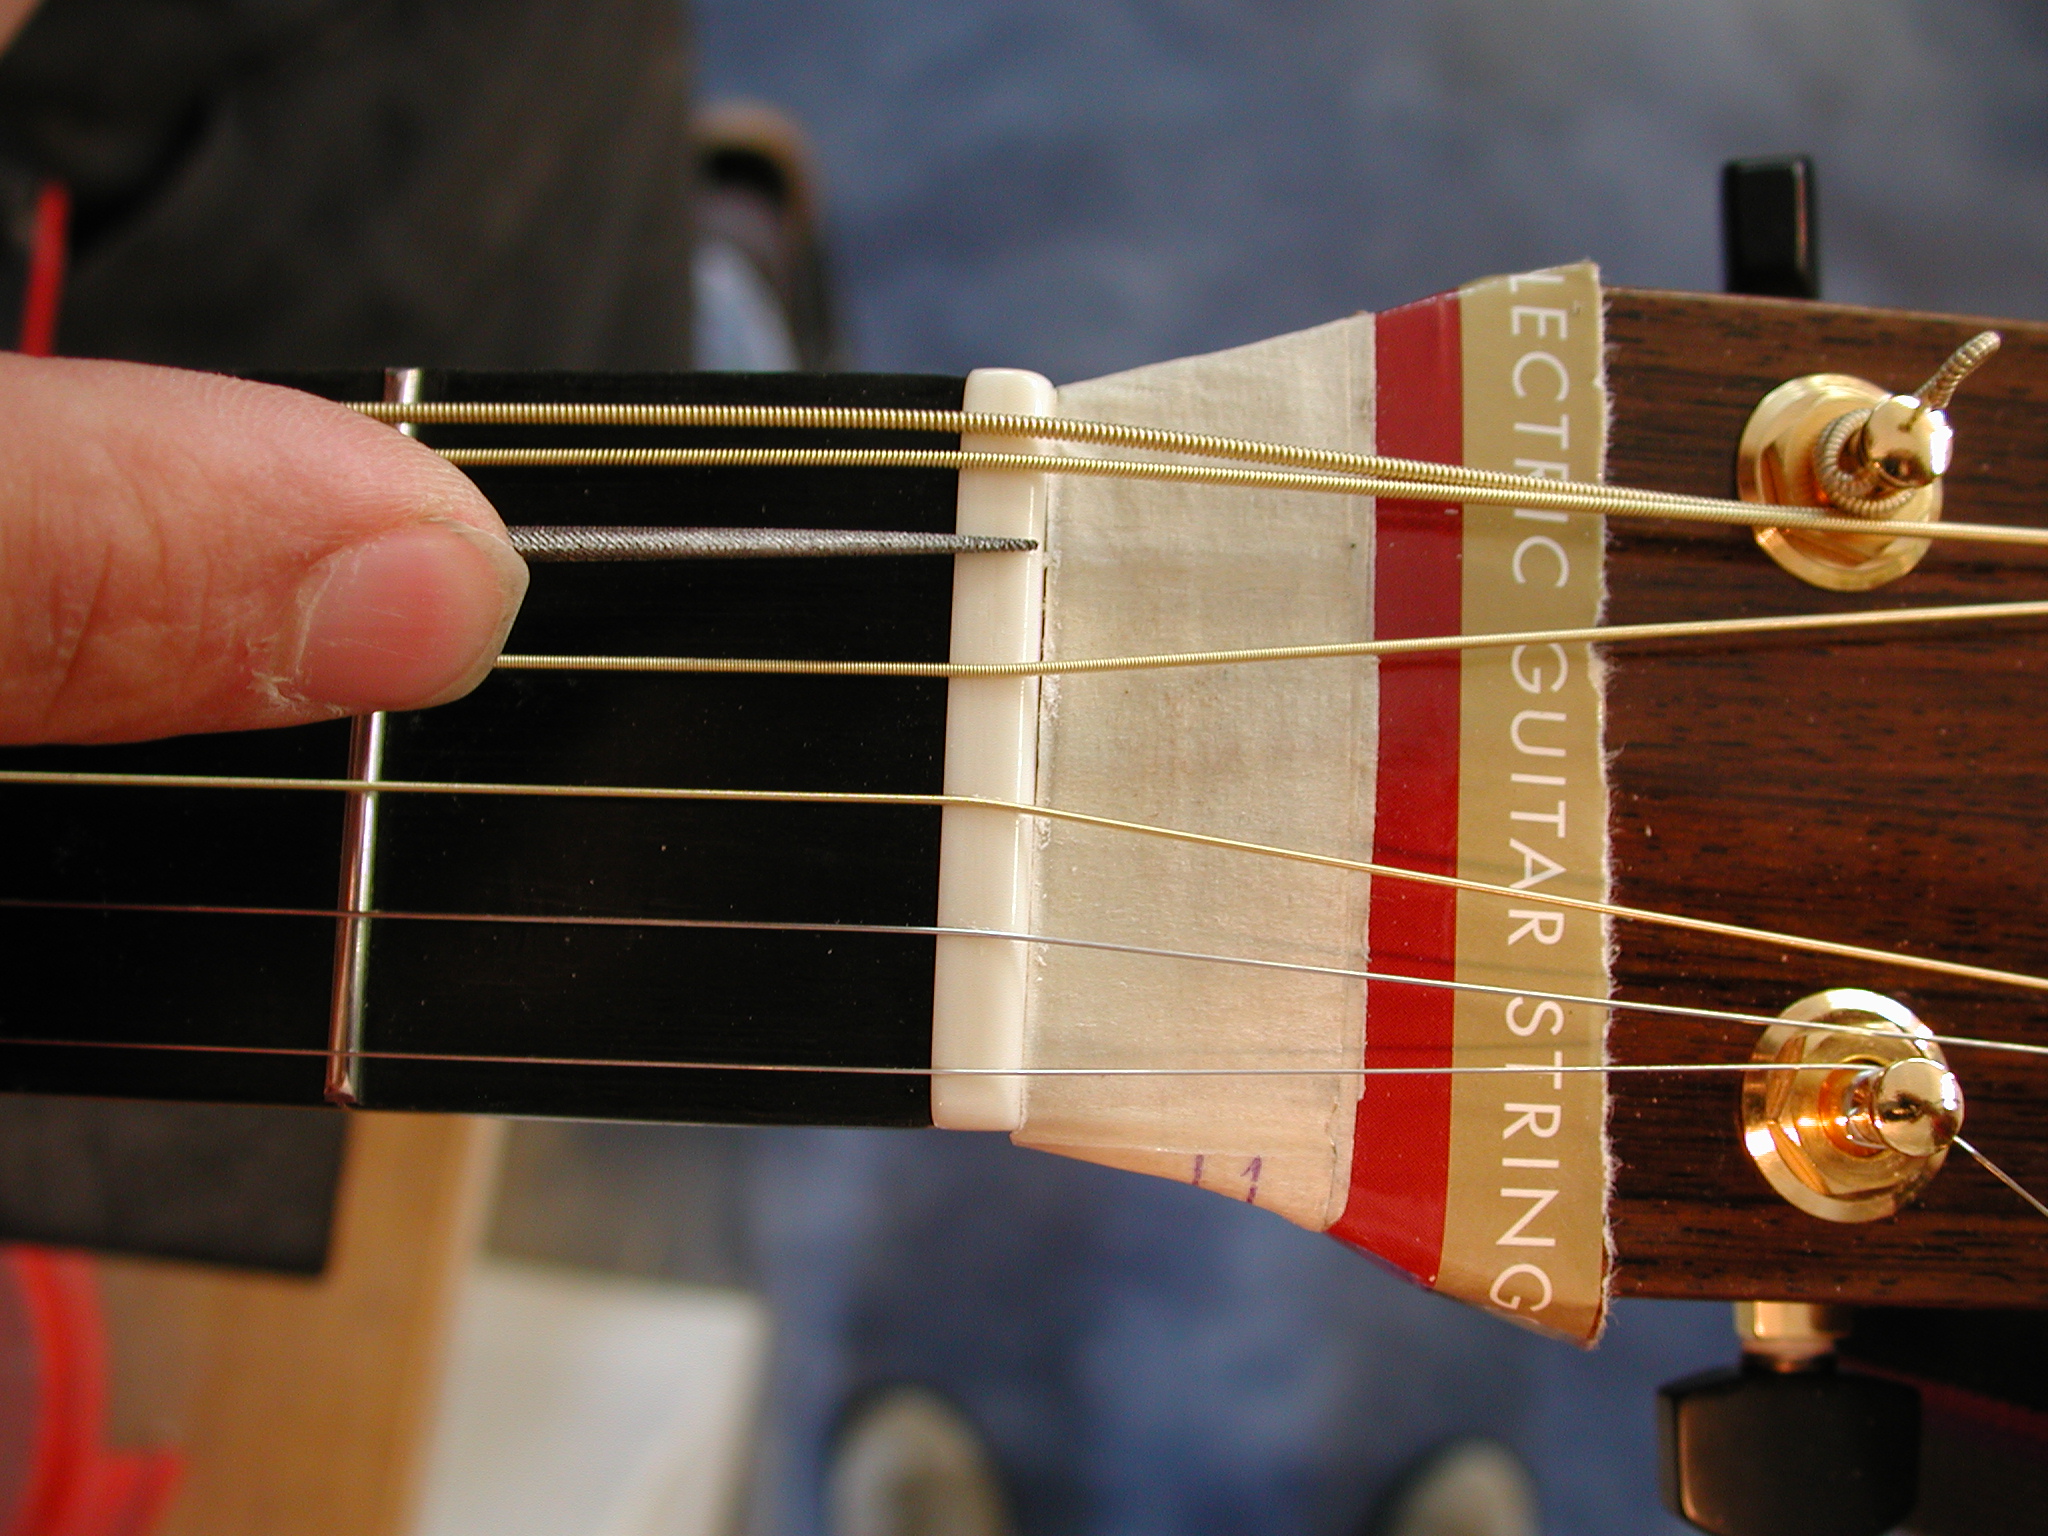
Fingerboard: ...and filed.
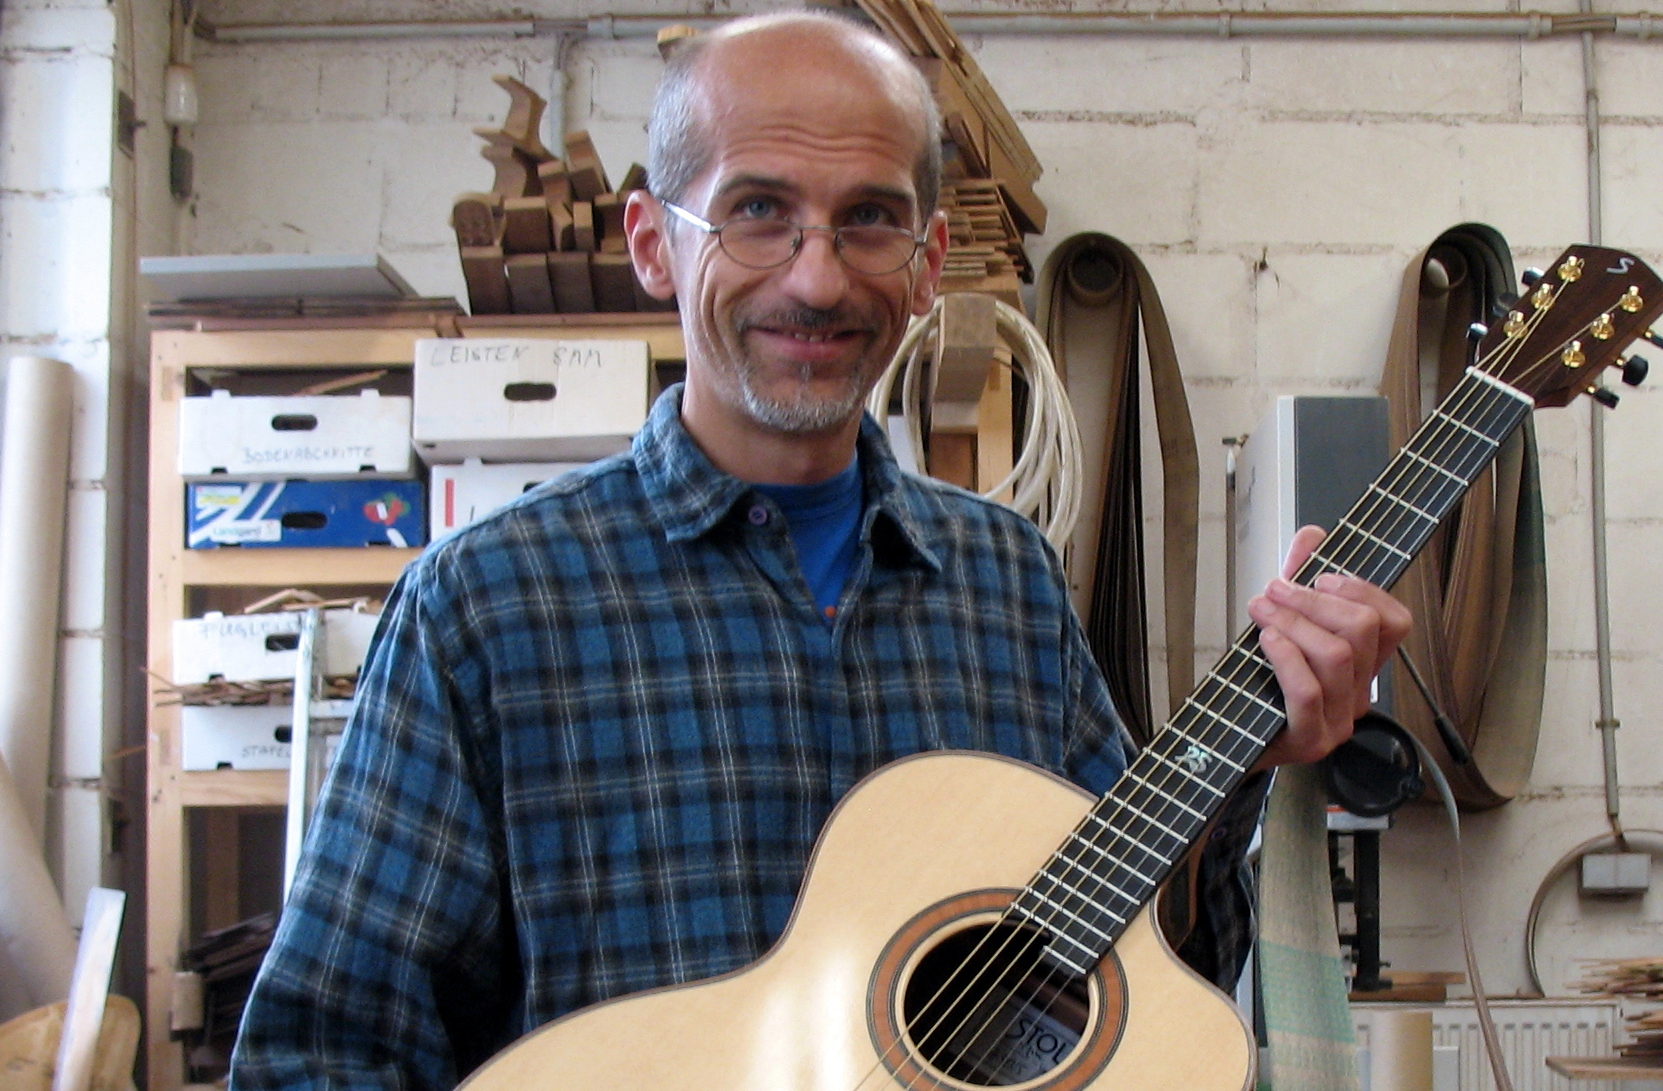
Limited 2008: The completed instrument.