
The string action is the distance between the strings and the frets. The string action has a significant influence on both the playability of the guitar and its sound.
A low string action requires less force when pressing down the strings and therefore easily allows for faster playing.
A high string action offers more dynamics when playing. The higher the string action, the less danger there is of the strings touching the frets and causing unwanted noise.
As so often, we have to find a compromise, which lies somewhere between the two. Of course, it still depends very much on the guitarist's playing style. With a harder attack, it may be appropriate to raise the position. On the other hand, there are guitarists whose playing style allows for a much lower string action.
 Checking the Truss Rod

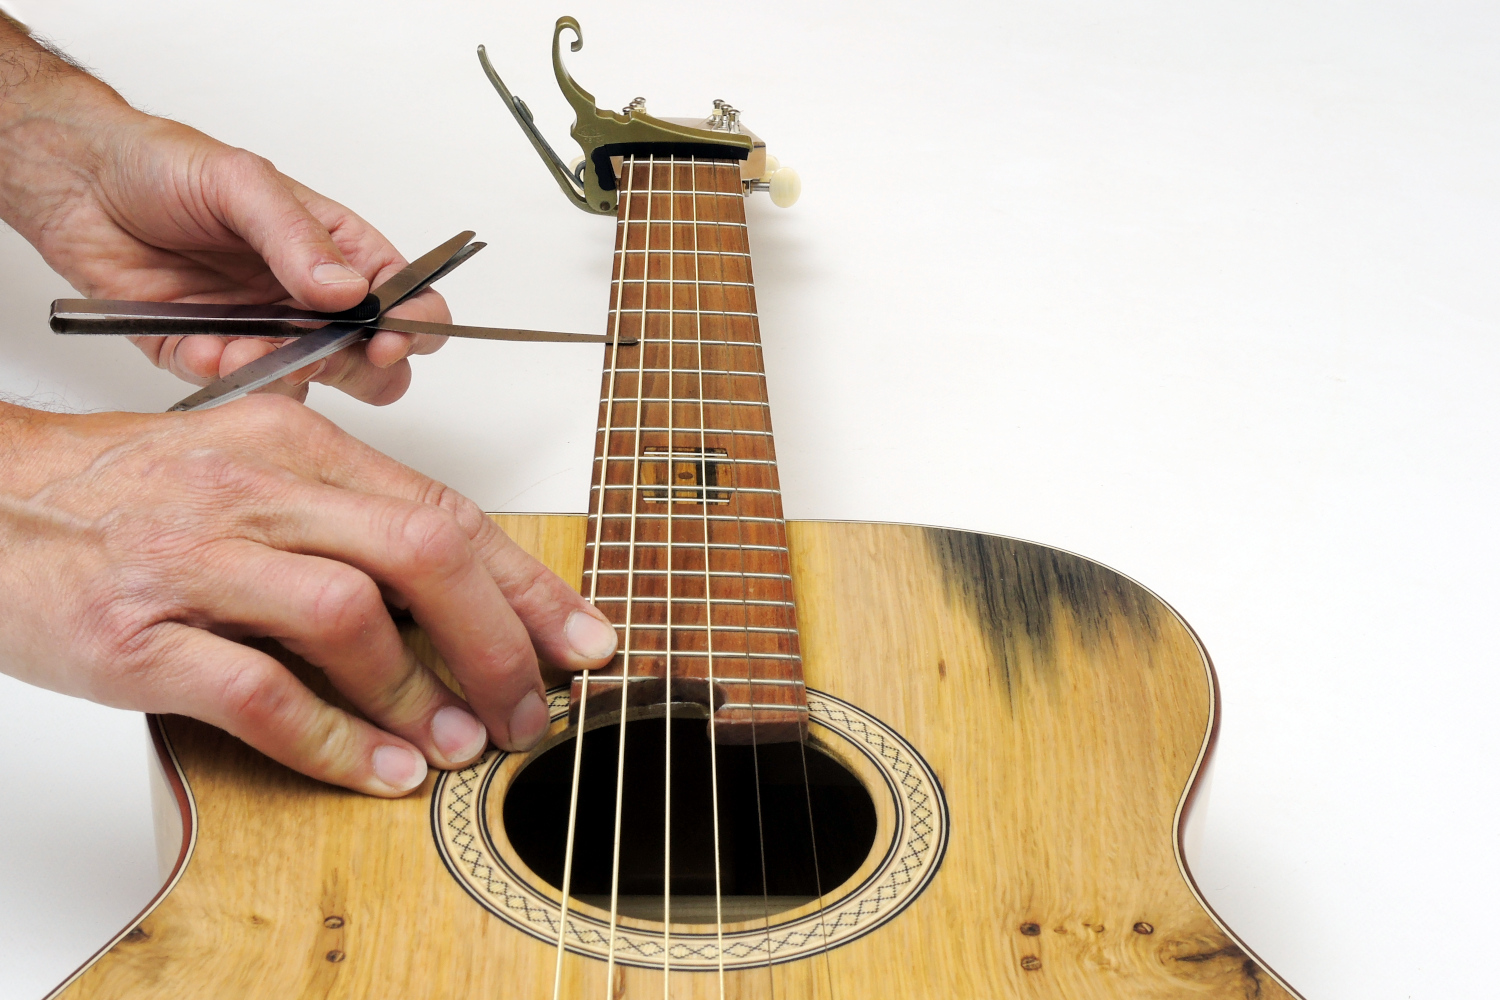
Before we go any further, we have to check the truss rod for correct adjustment and eventually make necessary changes. If the neck relief is OK, the distance between strings and fretboard is maximum at the halfway point of the vibrating part of the string. To check this, tune the guitar as you would play it. Now press down the low E-string at the first and last fret at the same time. Half the distance is now approximately at the seventh/eighth fret, depending on the total number of frets. You might want to attach a capo to the first fret for better handling. Measure the distance between the strings and the fret. If the distance is about 0.3 mm, everything is fine. If the distance is smaller, the truss rod must be loosened a little, if it is larger, it should be tightened. Of course, the 0.3 mm mentioned above can only be a general guideline. Playing style and hardness of attack strongly influence the proper degree of neck relief. This can vary between 0.1 and 0.8 mm. However, the latter is already an extremely high value, for most guitarists values between 0.2 and 0.3 mm are optimal.
 Adjusting the Neck
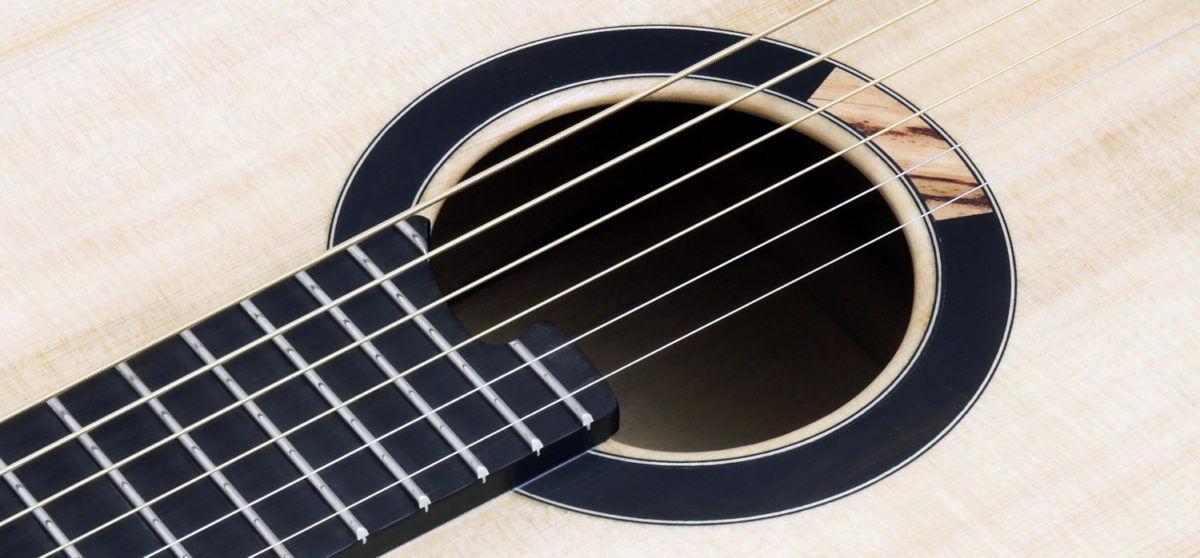
The truss rod nut is located in the sound hole or at the headstock, depending on the guitar model. Turning it clockwise increases the amount of bow of the truss rod. The neck bends backwards and thus resists the string tension to a greater extent, the distance between neck and strings is reduced. Turning the screw counterclockwise makes the truss rod straighter, decreases the tension of the neck, the distance between neck and strings increases. When adjusting the truss rod nut, it is important to proceed only in very small steps, an eighth of a turn can already make a great deal of difference. It can happen that the truss rod does not react immediately. In this case, simply allow the instrument a little time to adjust to the changed tension. Very important: NEVER use force. If you cannot turn the nut, you should go to a professional. He has the experience and the tools to deal with this problem and you can save yourself the cost of repairing a broken truss rod.
Once the neck relief is optimised, the string action can be adjusted.
Measuring the String Action
- The string action is usually measured between the upper edge of the 12th fret and the lower edge of the string. A metal tape measure is sufficient for a simple estimation of the height; more precise results can be achieved with a feeler gauge.
- The high E-string should be about 0.5 mm lower at 12th fret than the low one.
- On a steel string guitar, 2.0 to 2.2 mm for the high E-string and 2.5 to 2.7 mm for the low E-string are good average values.
- The nylon strings of the classical guitar are somewhat higher because of their greater amplitude, that is 3.0 to 3.5 mm (E1) and 3.5 to 4.0 mm (E6).
Adjusting the String Action
The string action can be adjusted at two points, the bridge and the nut.
Never correct the nut by yourself
Correction at the nut is necessary if the guitar is difficult to play at the first fret, e.g. F-major can only be played with great effort. To check this, press the strings individually at the 3rd fret. There should now be just enough space between the string and the first fret for a sheet of paper to fit through. If the distance is higher or lower, have the saddle re-filed or replaced by a professional. I strongly advise against self-help measures here.
The situation is different if the string action is too high over the entire fingerboard.
Sand the bridge saddle by yourself
In this case, the bridge saddle must be sanded down. All you need is patience, some sandpaper and a glass plate. The sandpaper (150 or 180 grit) is stuck to the glass plate with double-sided adhesive tape, so that you have a 100% straight sanding surface.
When the strings are loosened, the bridge saddle can be removed and then sanded from the underside by simply running it over the glass plate. By repeatedly inserting and checking the string position, the optimal height can be found.

Of course, the utmost care must be taken, because what has been sanded once is irretrievably lost - the string action becomes too flat. In this case, a veneer strip or similar aid can be placed under the saddle as an immediate aid, but this should not be a permanent solution for tonal reasons.
Adjusting the String Action Via Truss Tod?
There is a widespread belief among guitarists that the truss rod is used to adjust the string action. The aim of changing the string action is always a continuously decreasing distance between strings and fingerboard, starting from the bridge towards the nut. This is achieved by working on the bridge, i.e. from the lower end of the strings. In contrast, changing the truss rod has less effect on the string action near the nut, and more effect towards the middle of the neck.